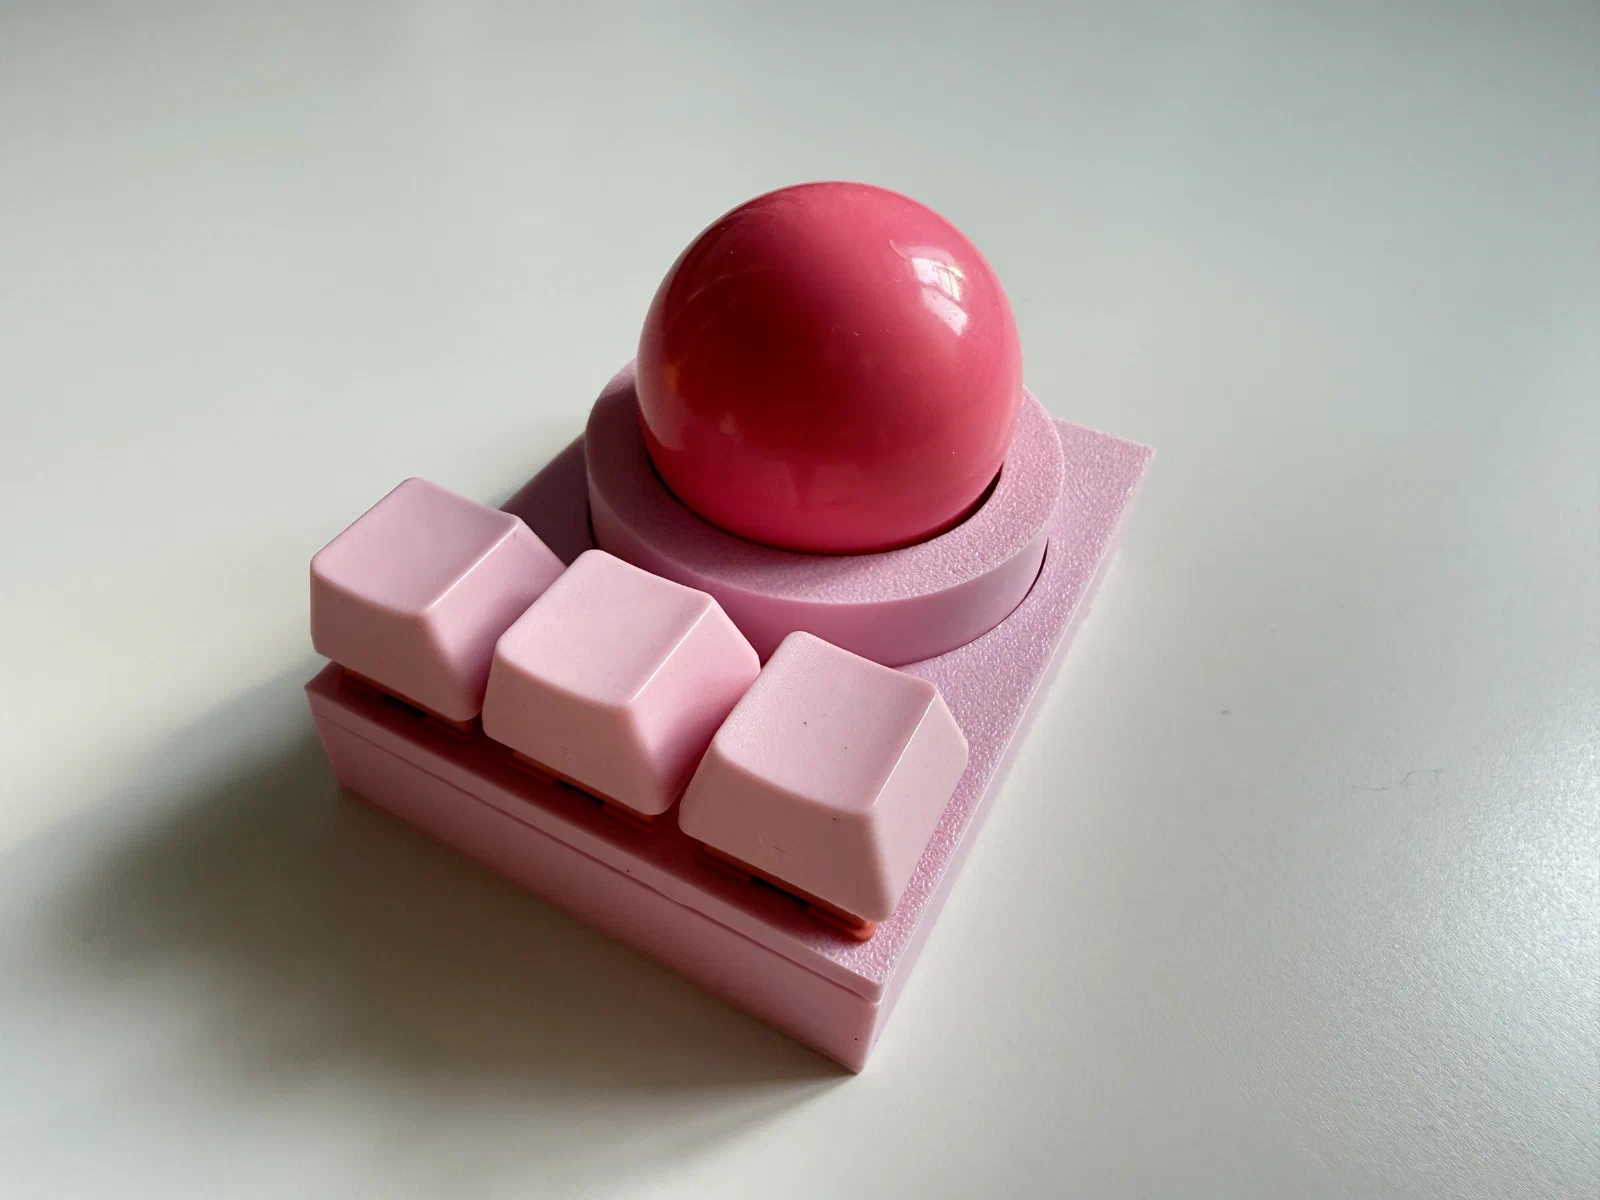
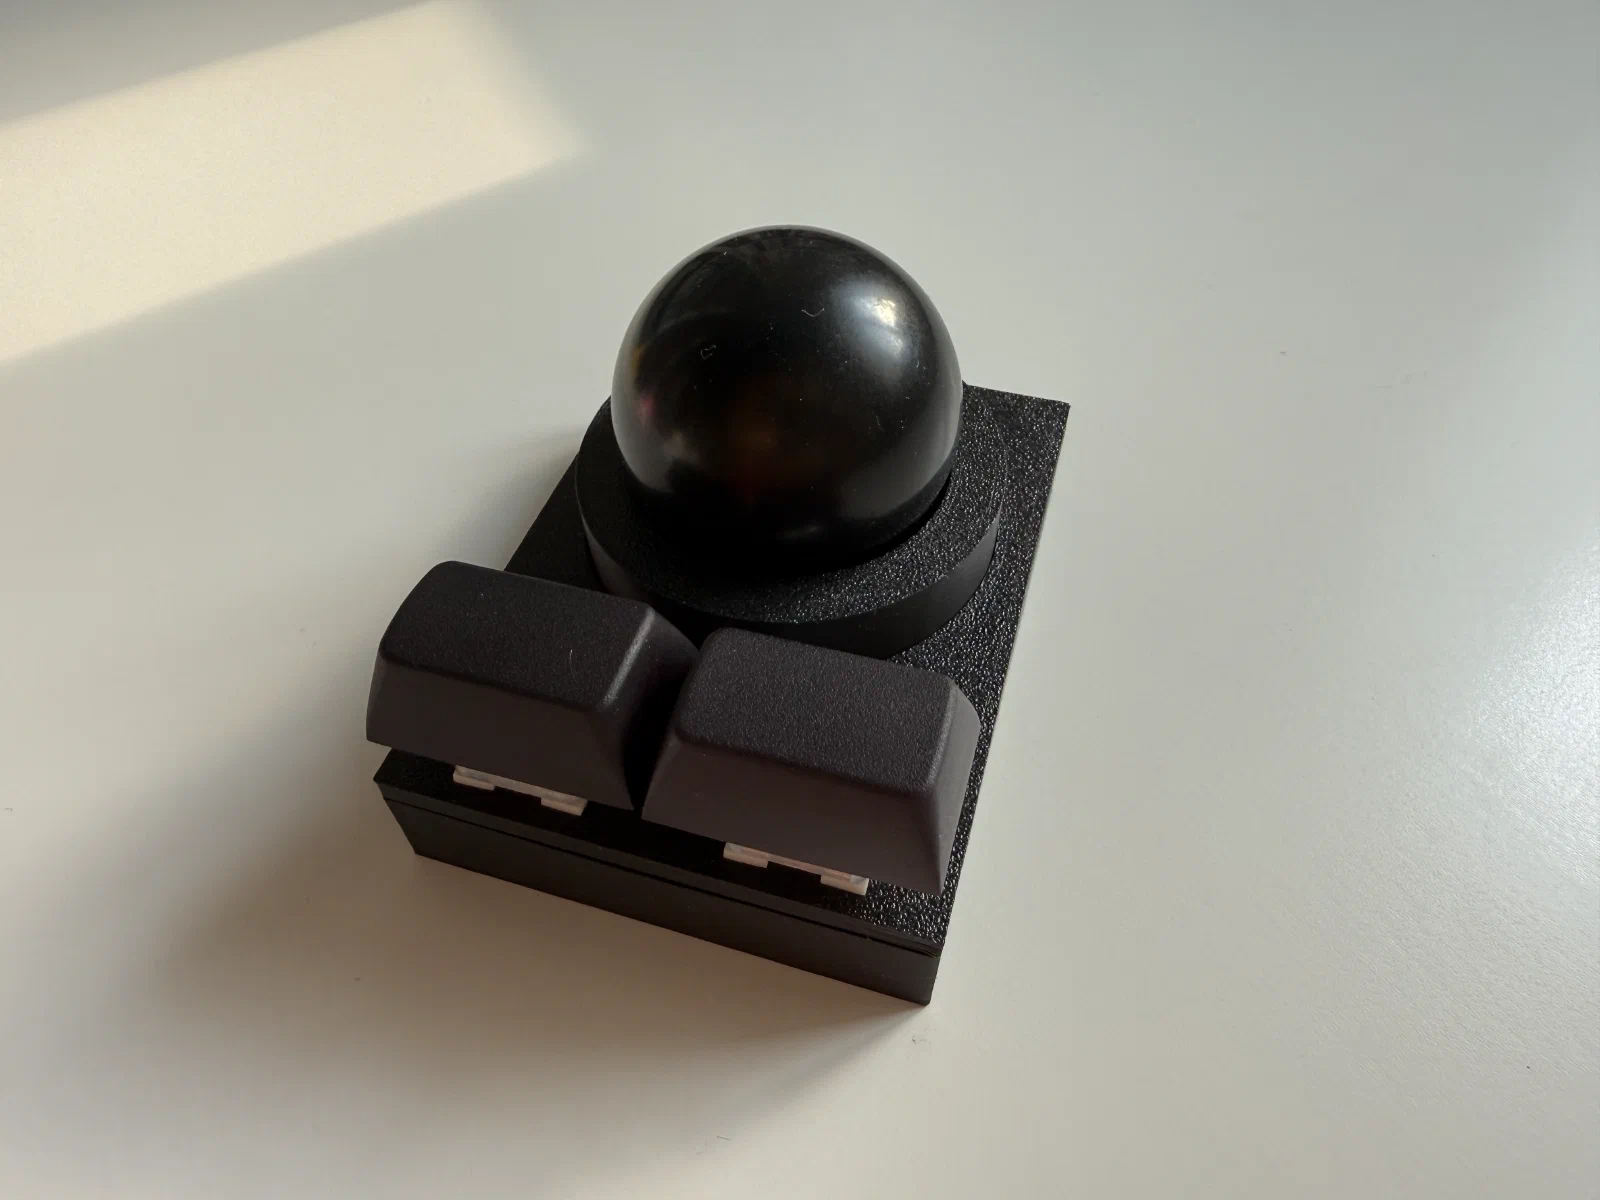
My first attempt at building a handwired trackball. Yes, it’s far from ergonomic, but I decided to start with something simple.
Case
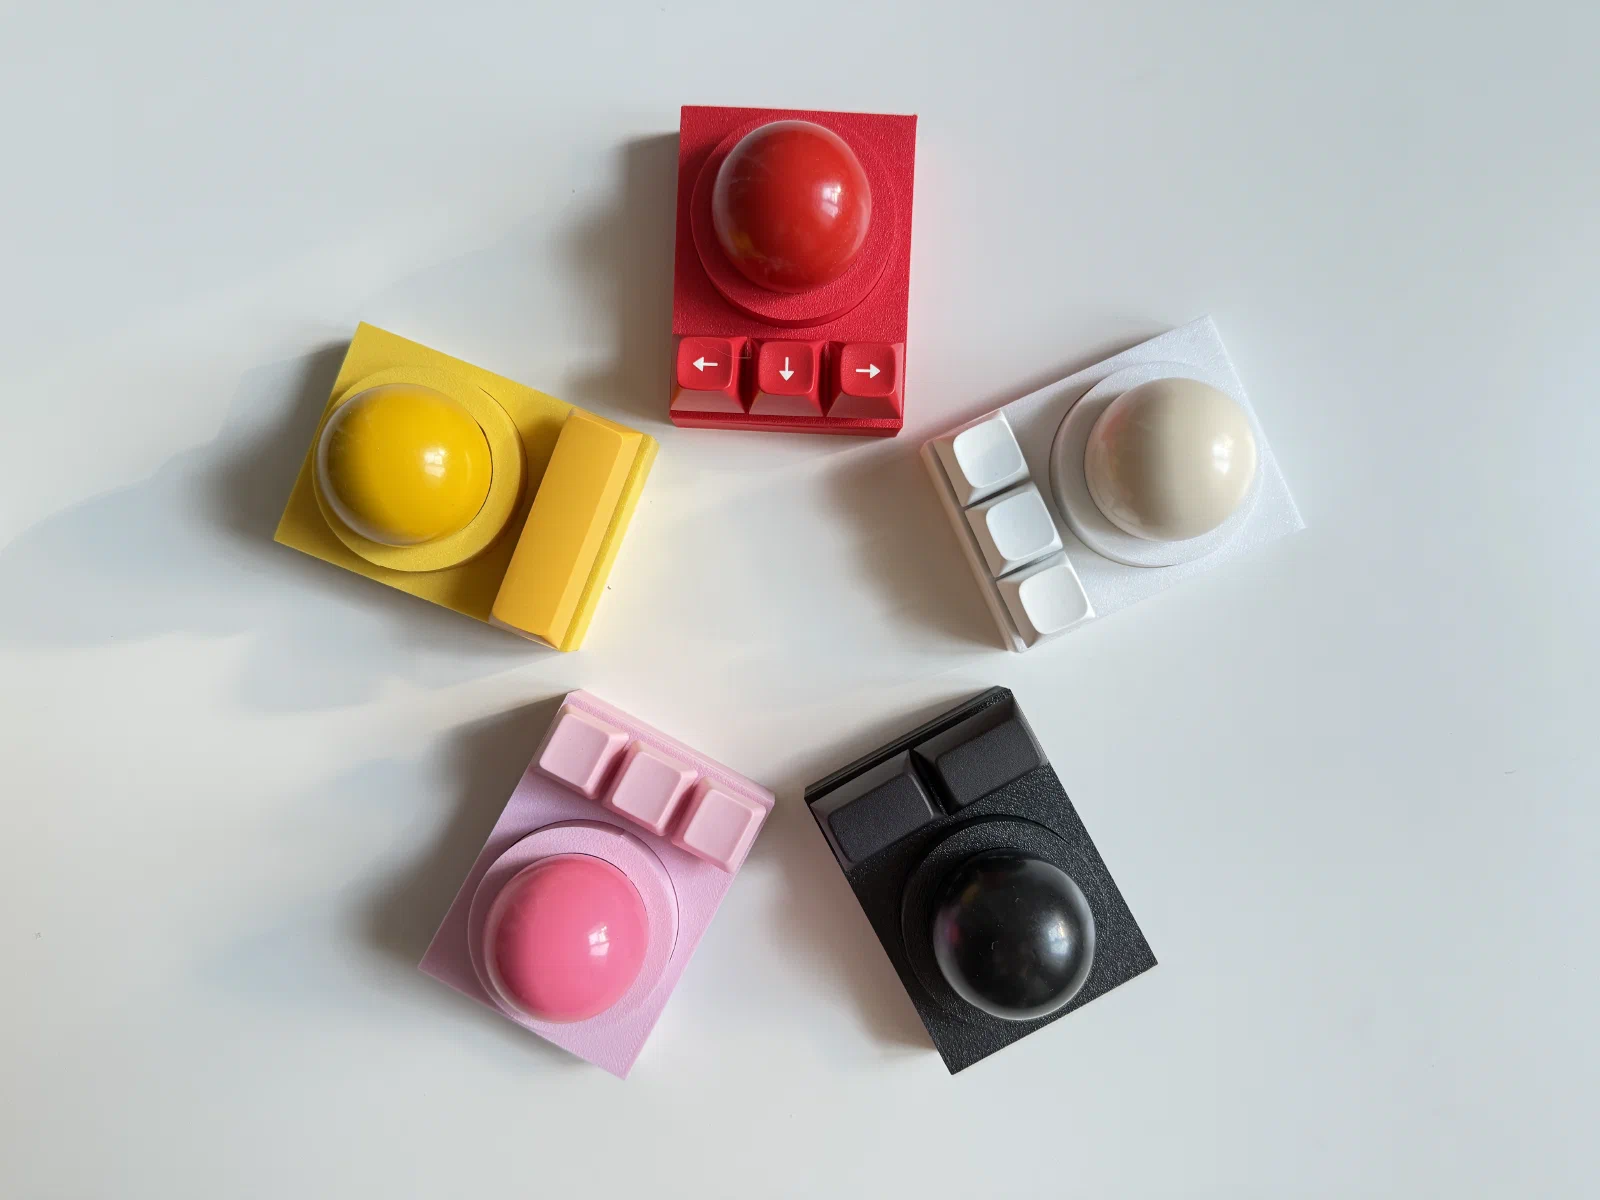
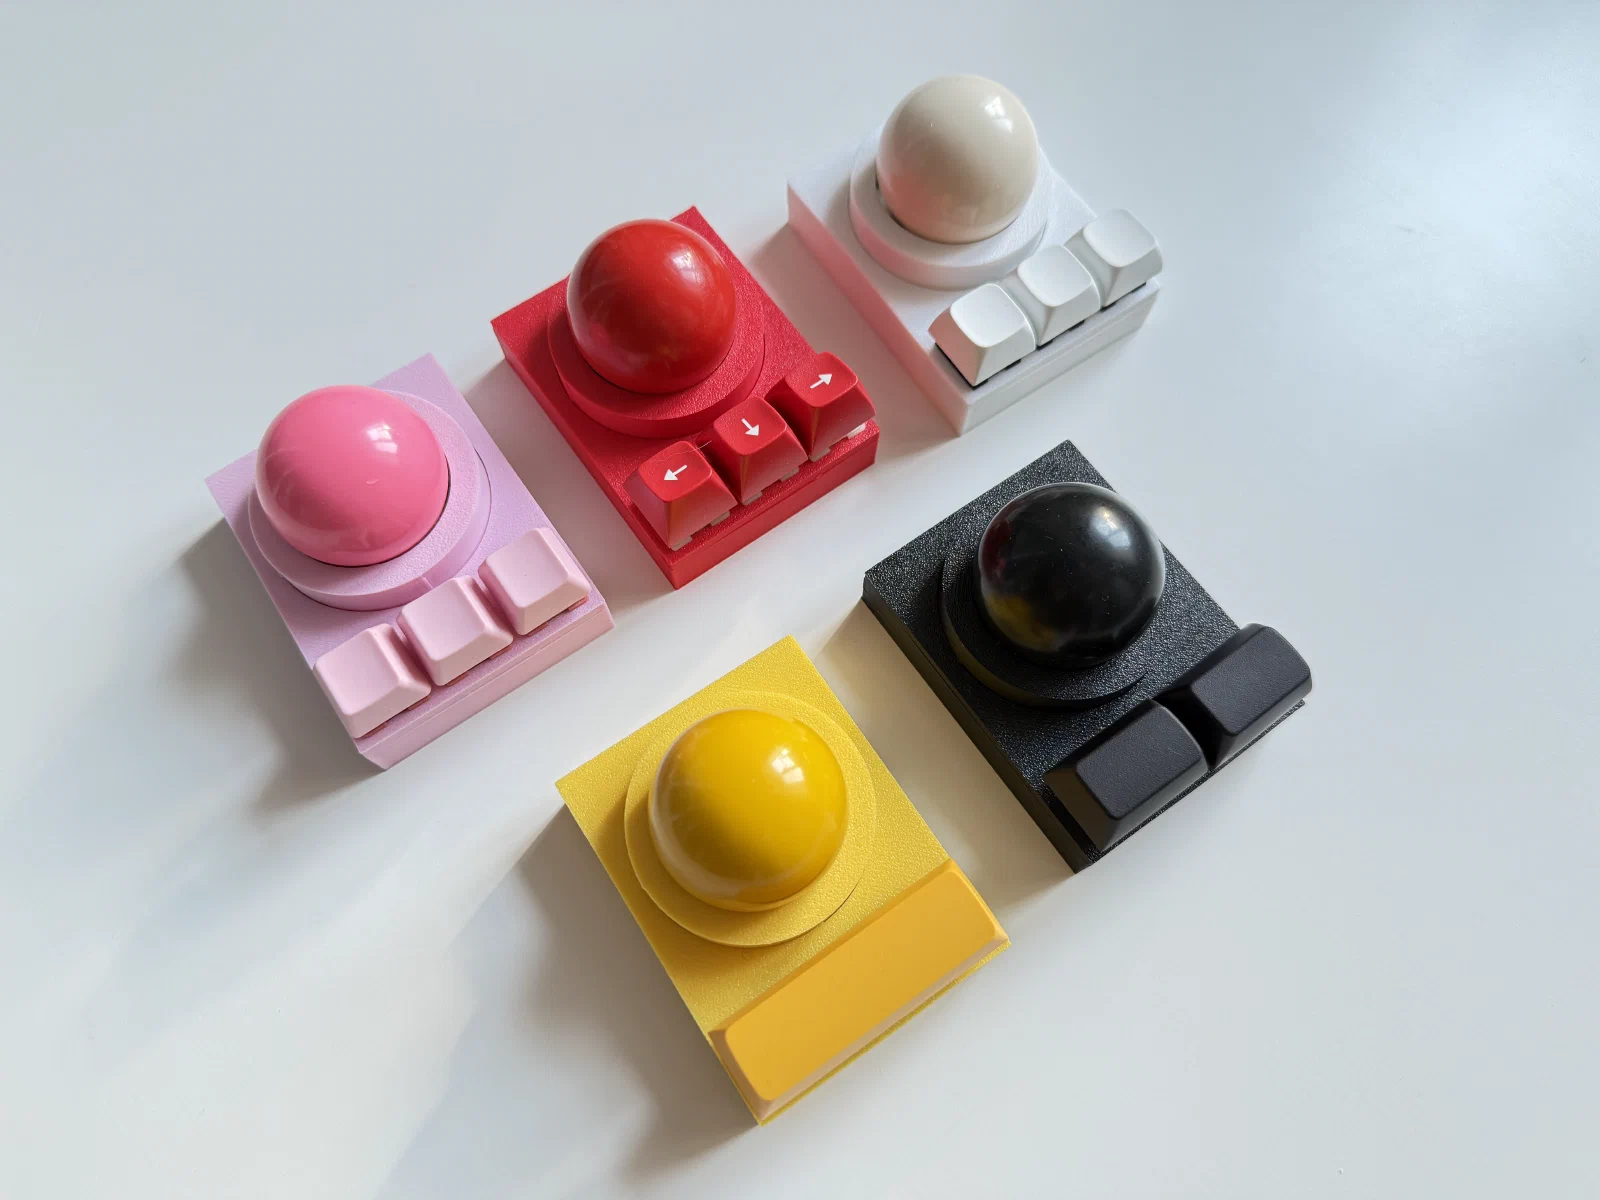
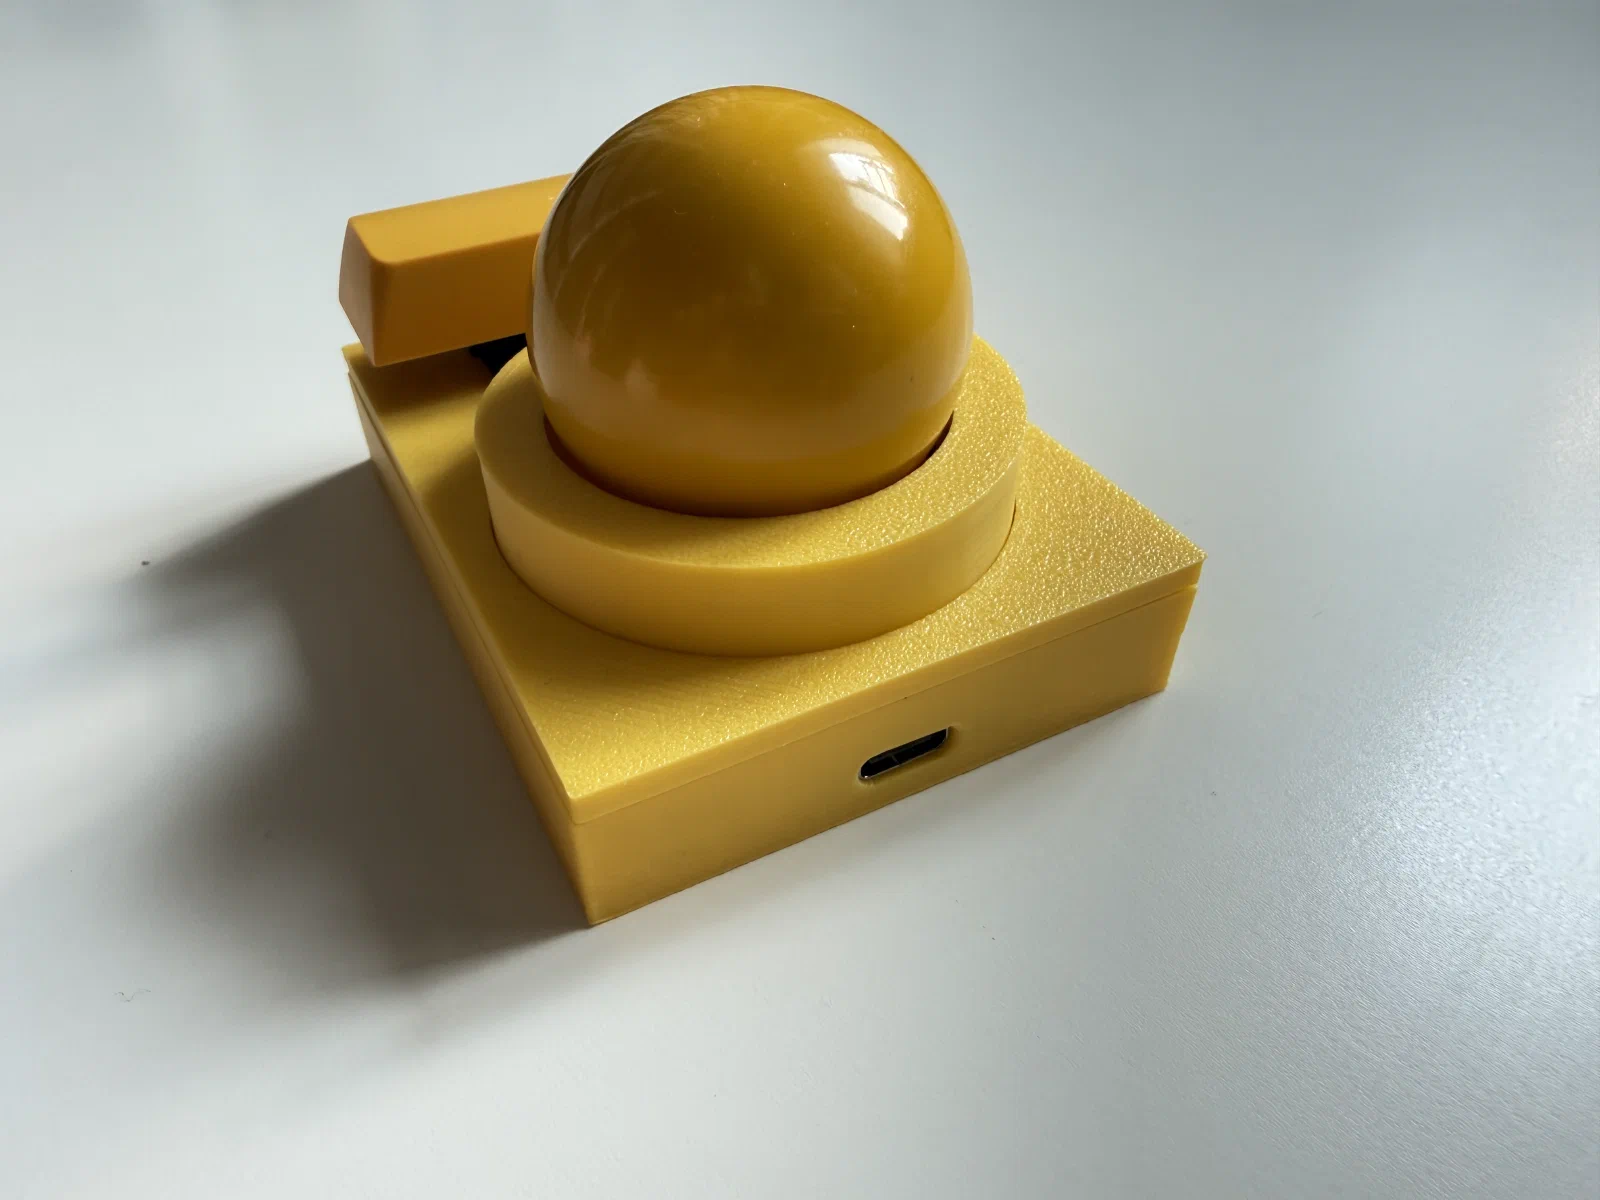
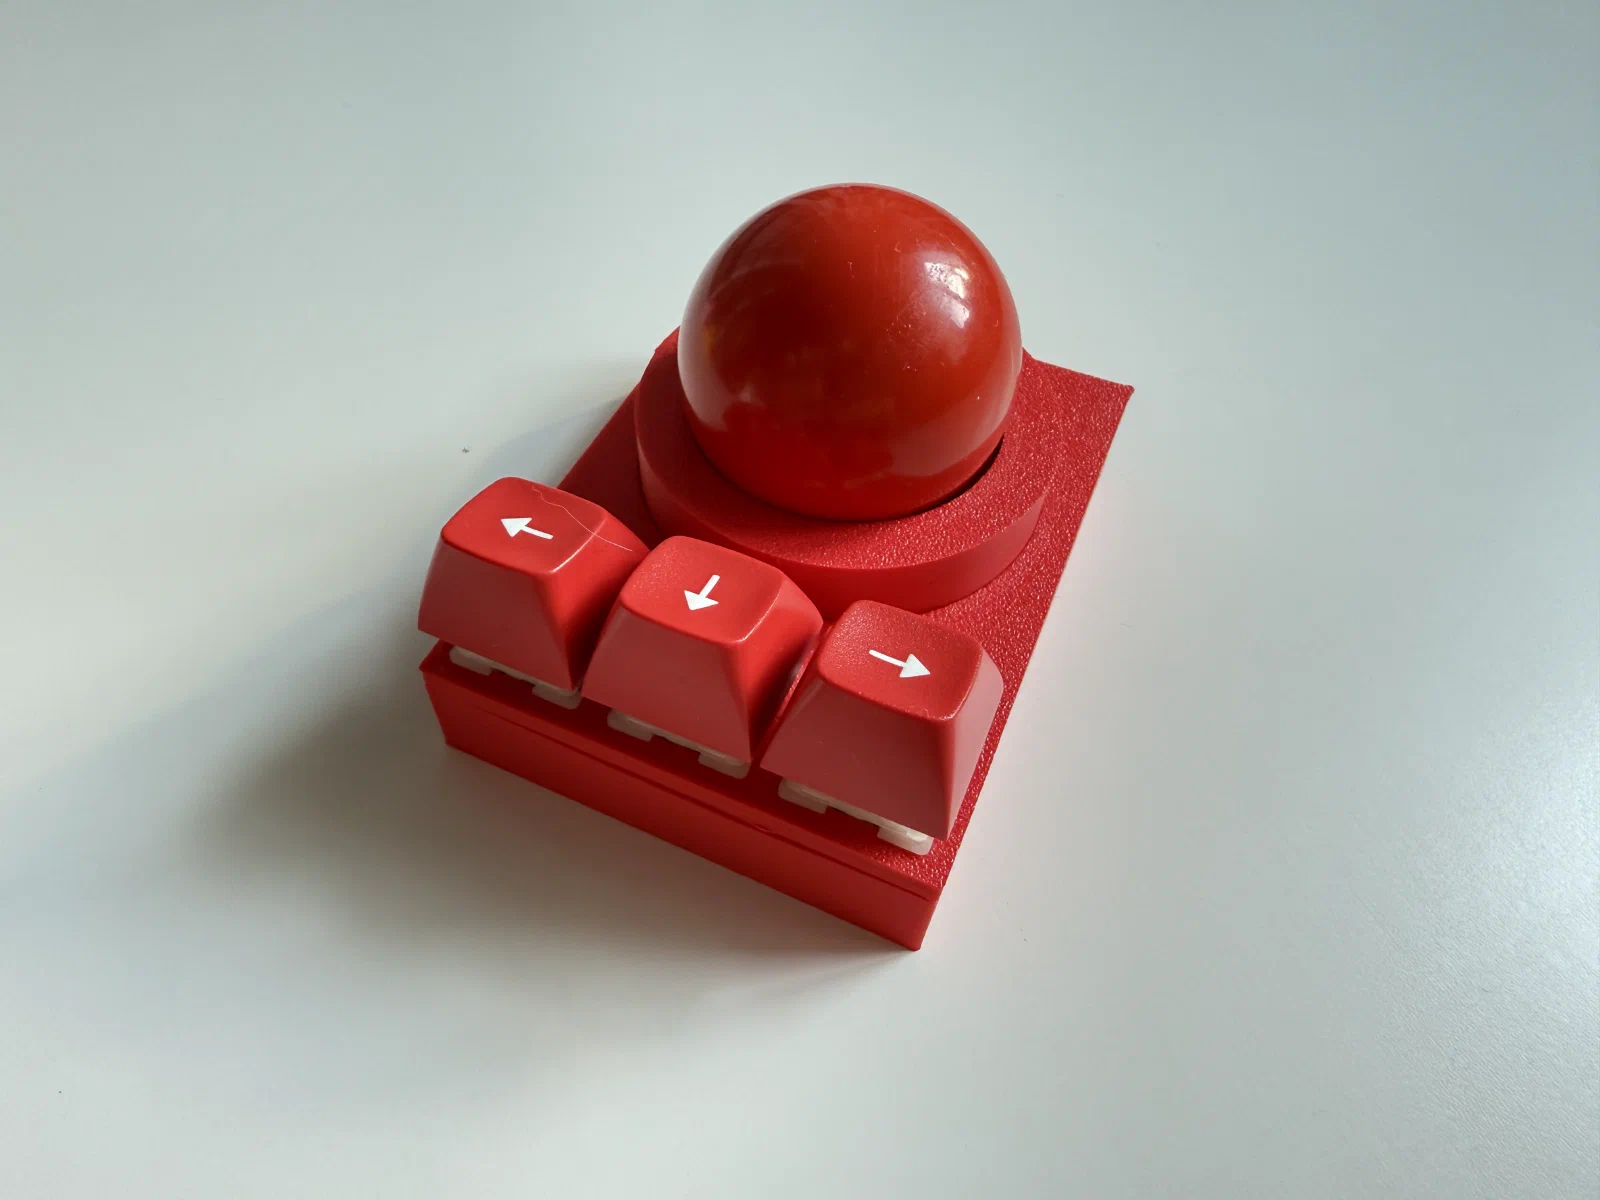
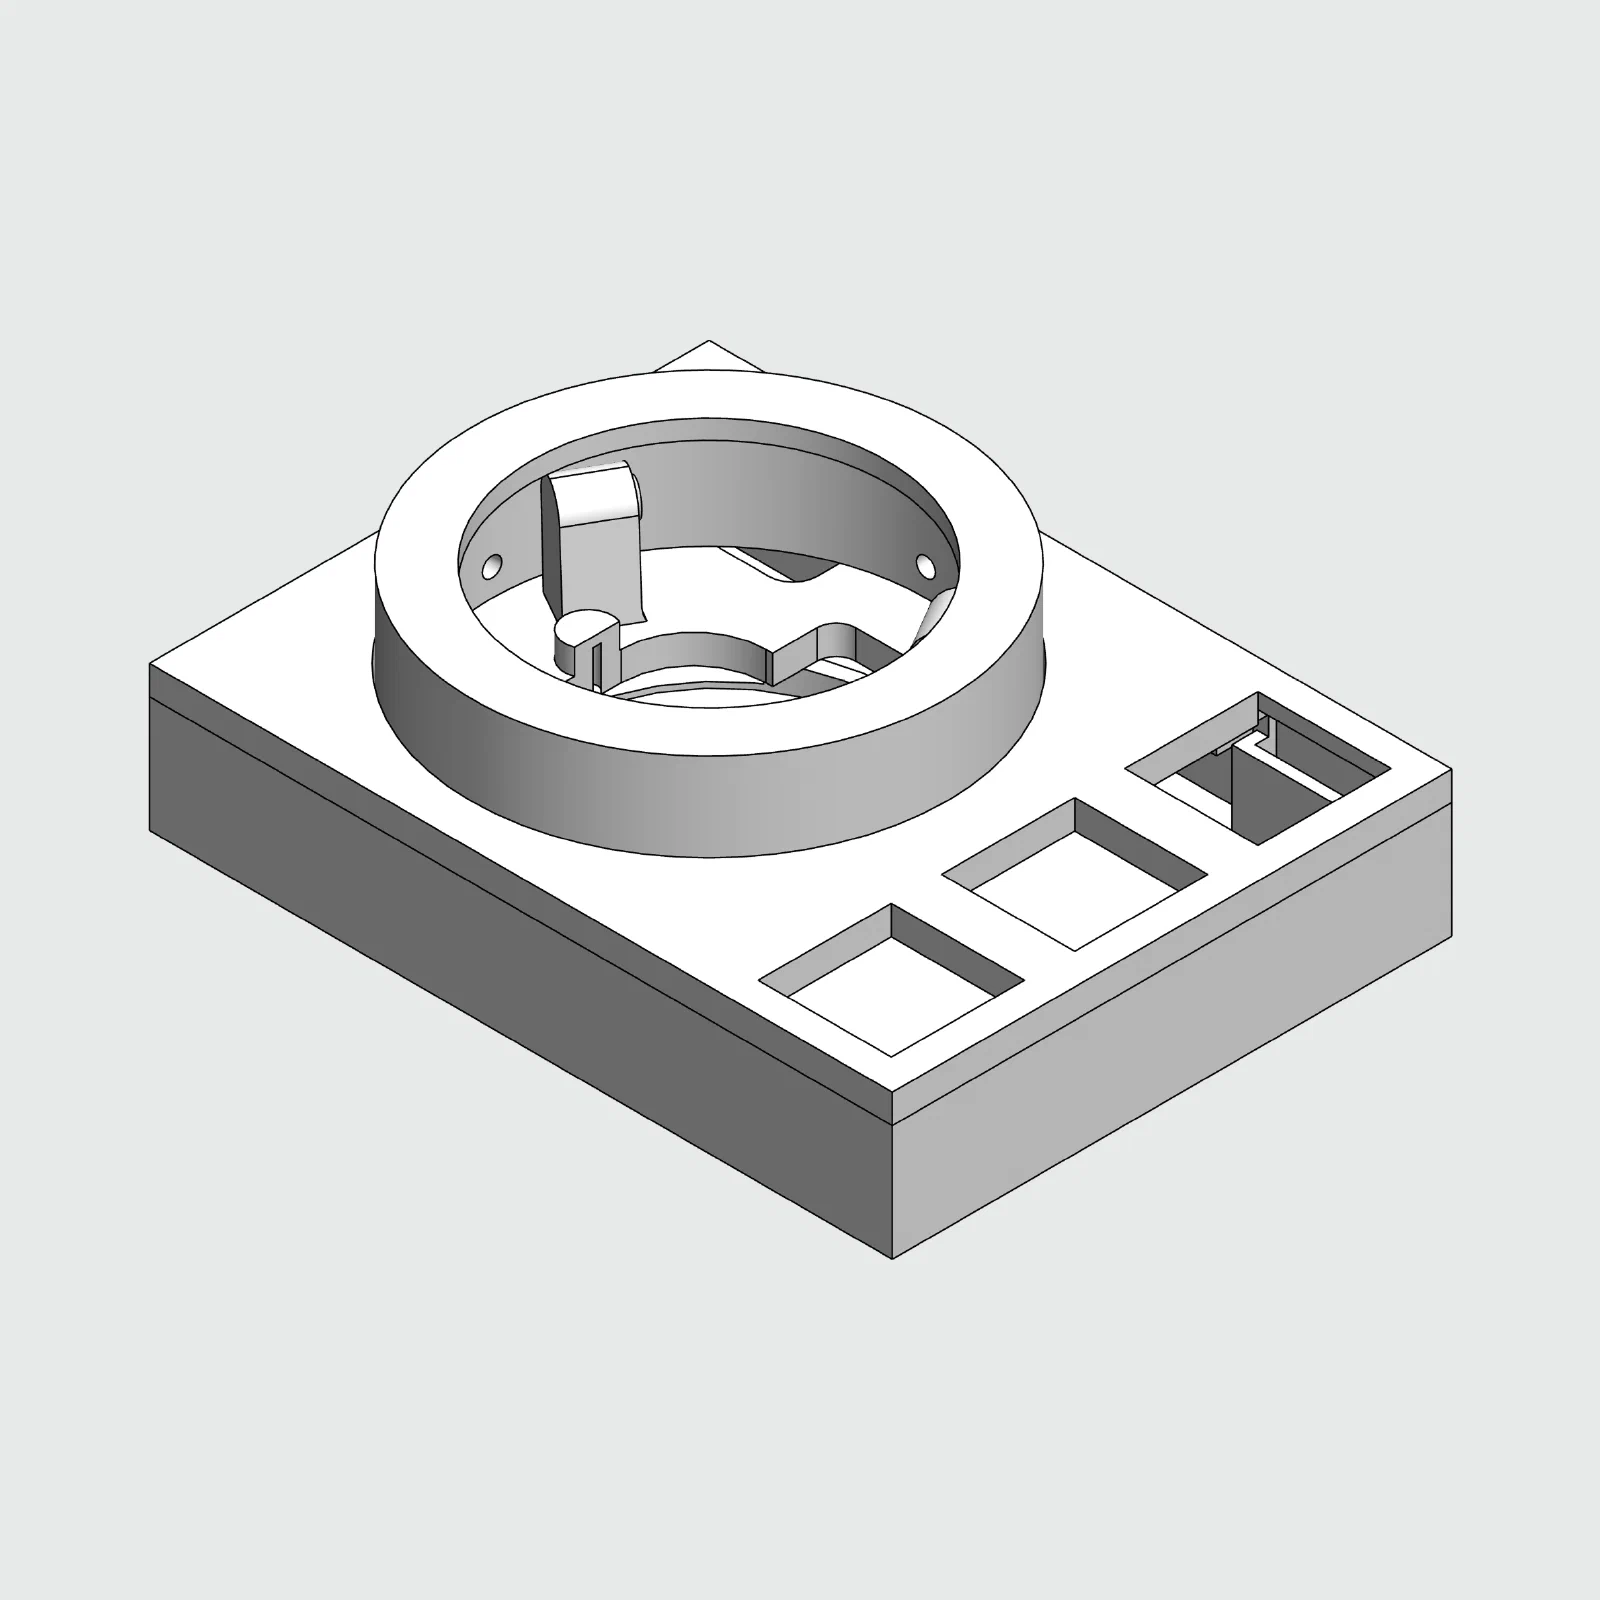
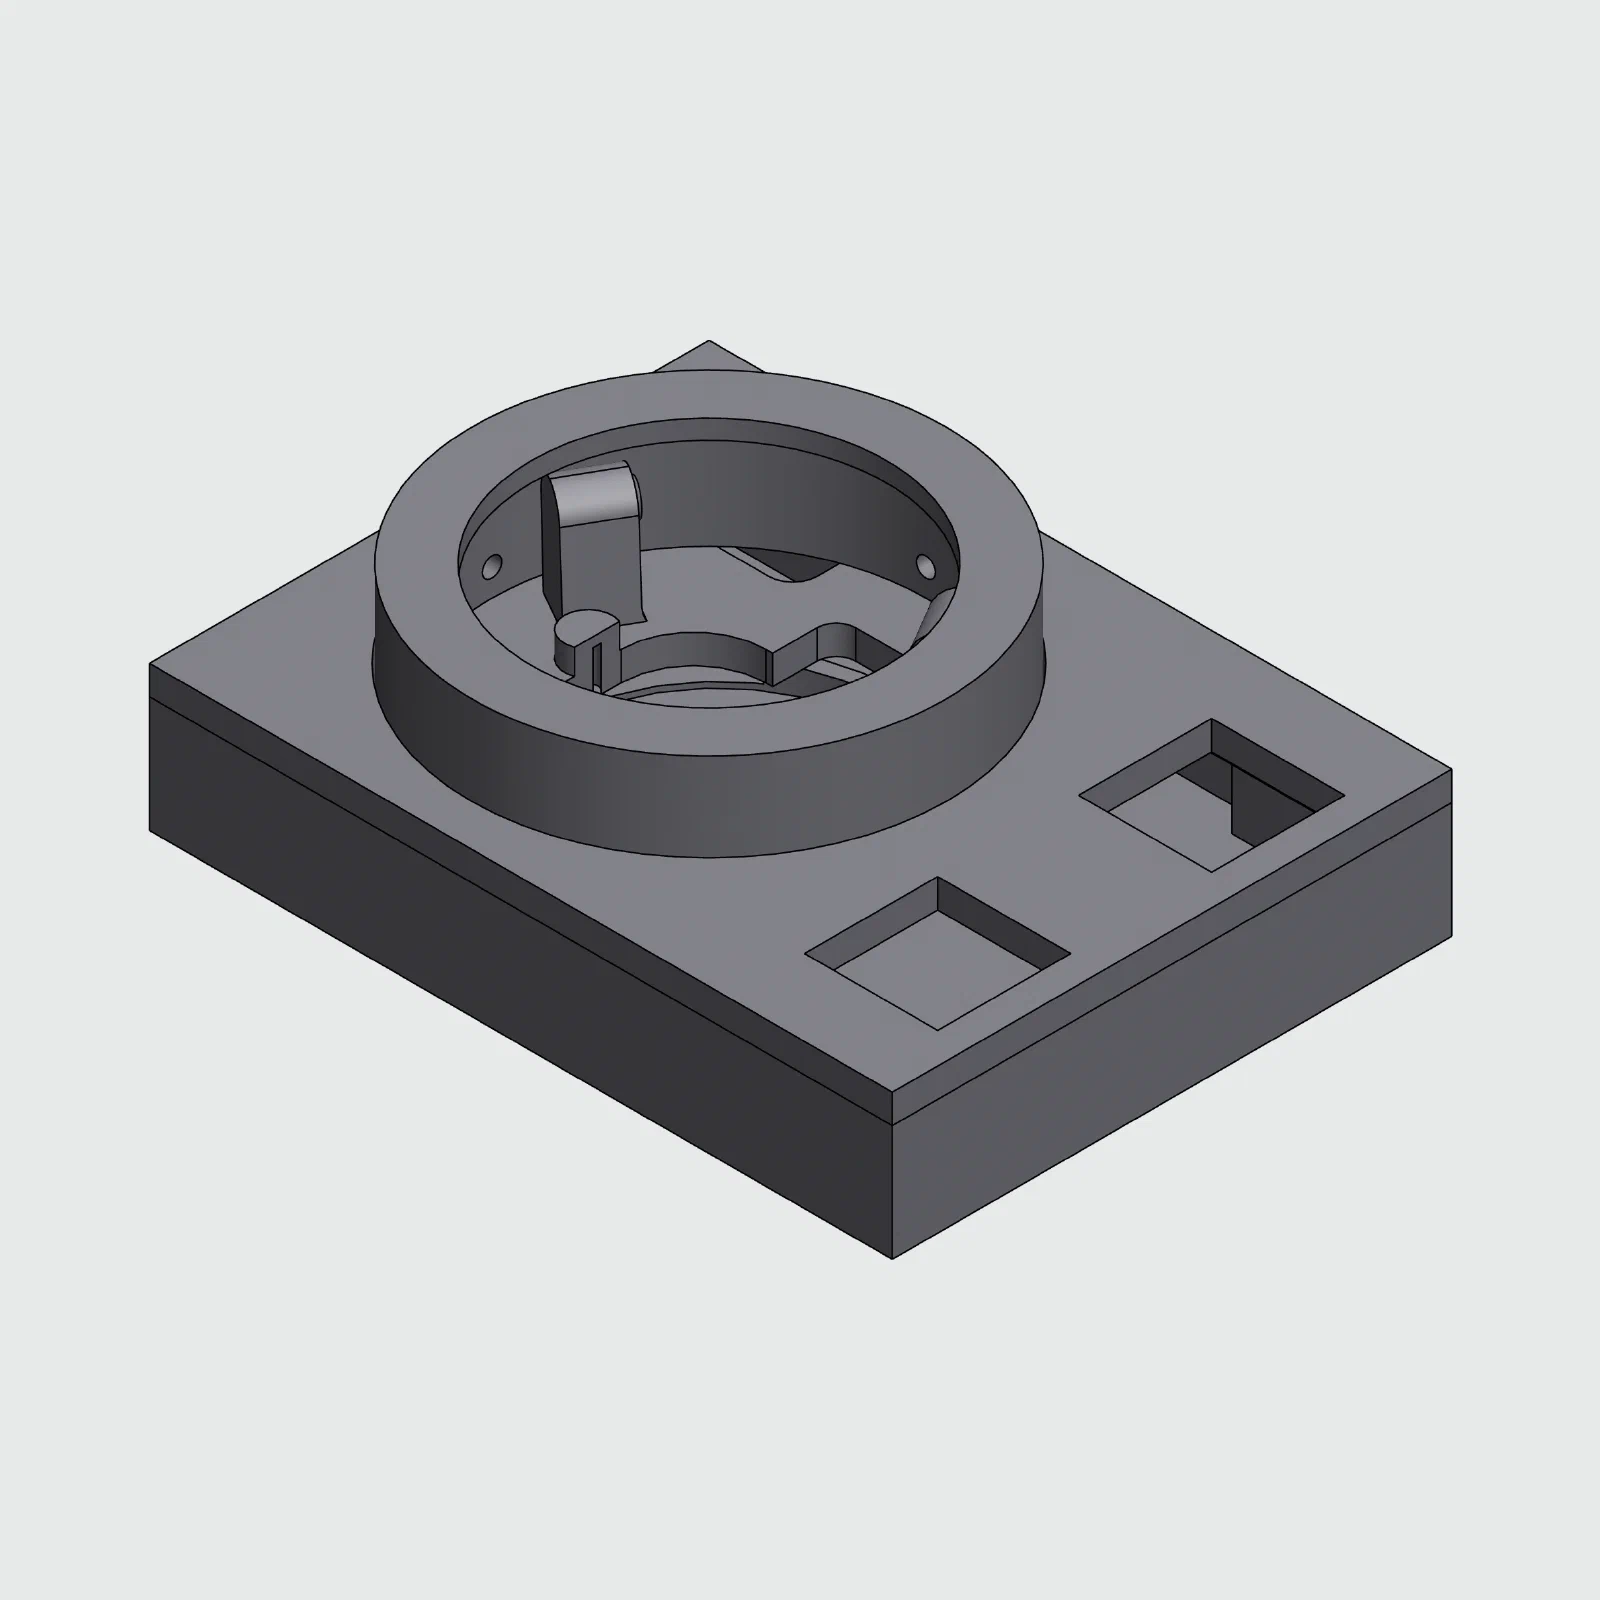
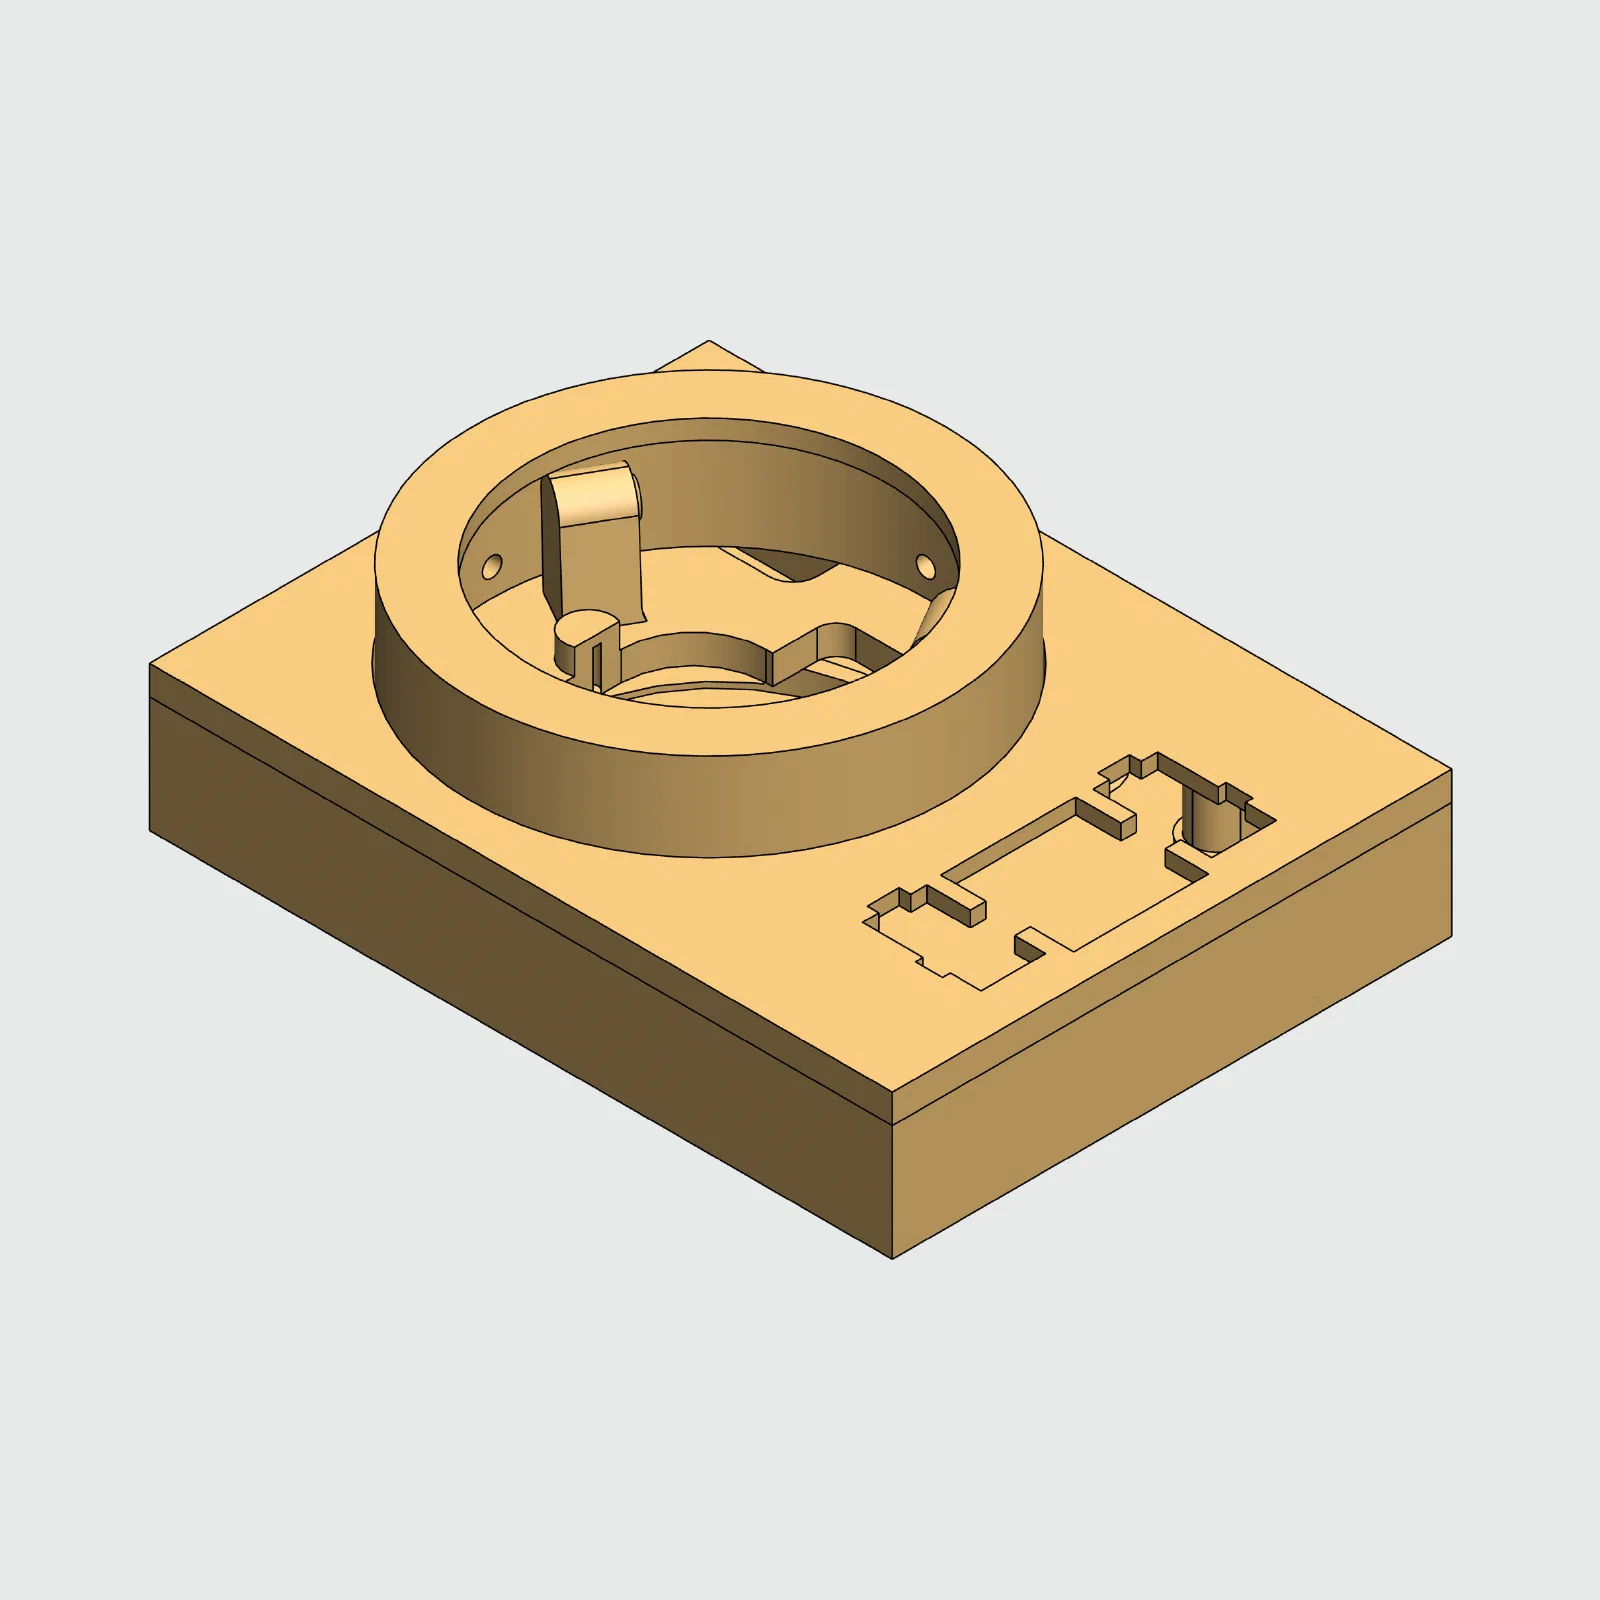
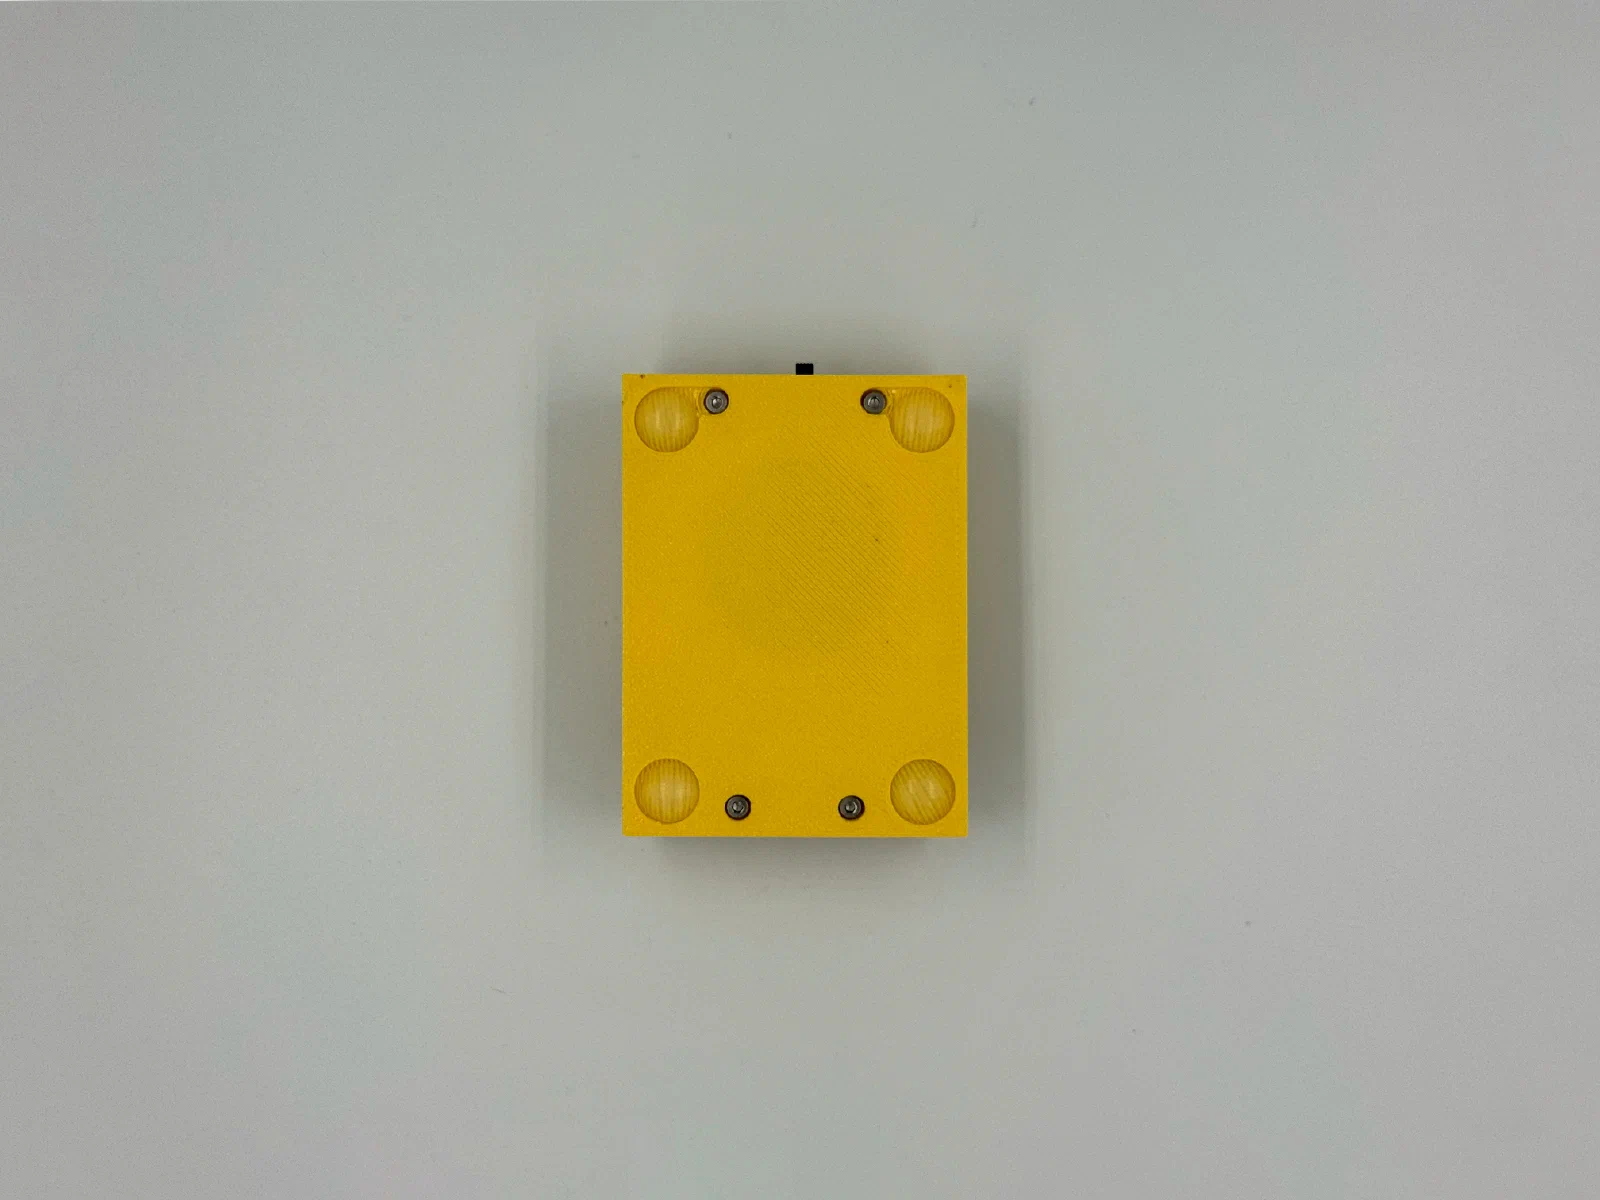
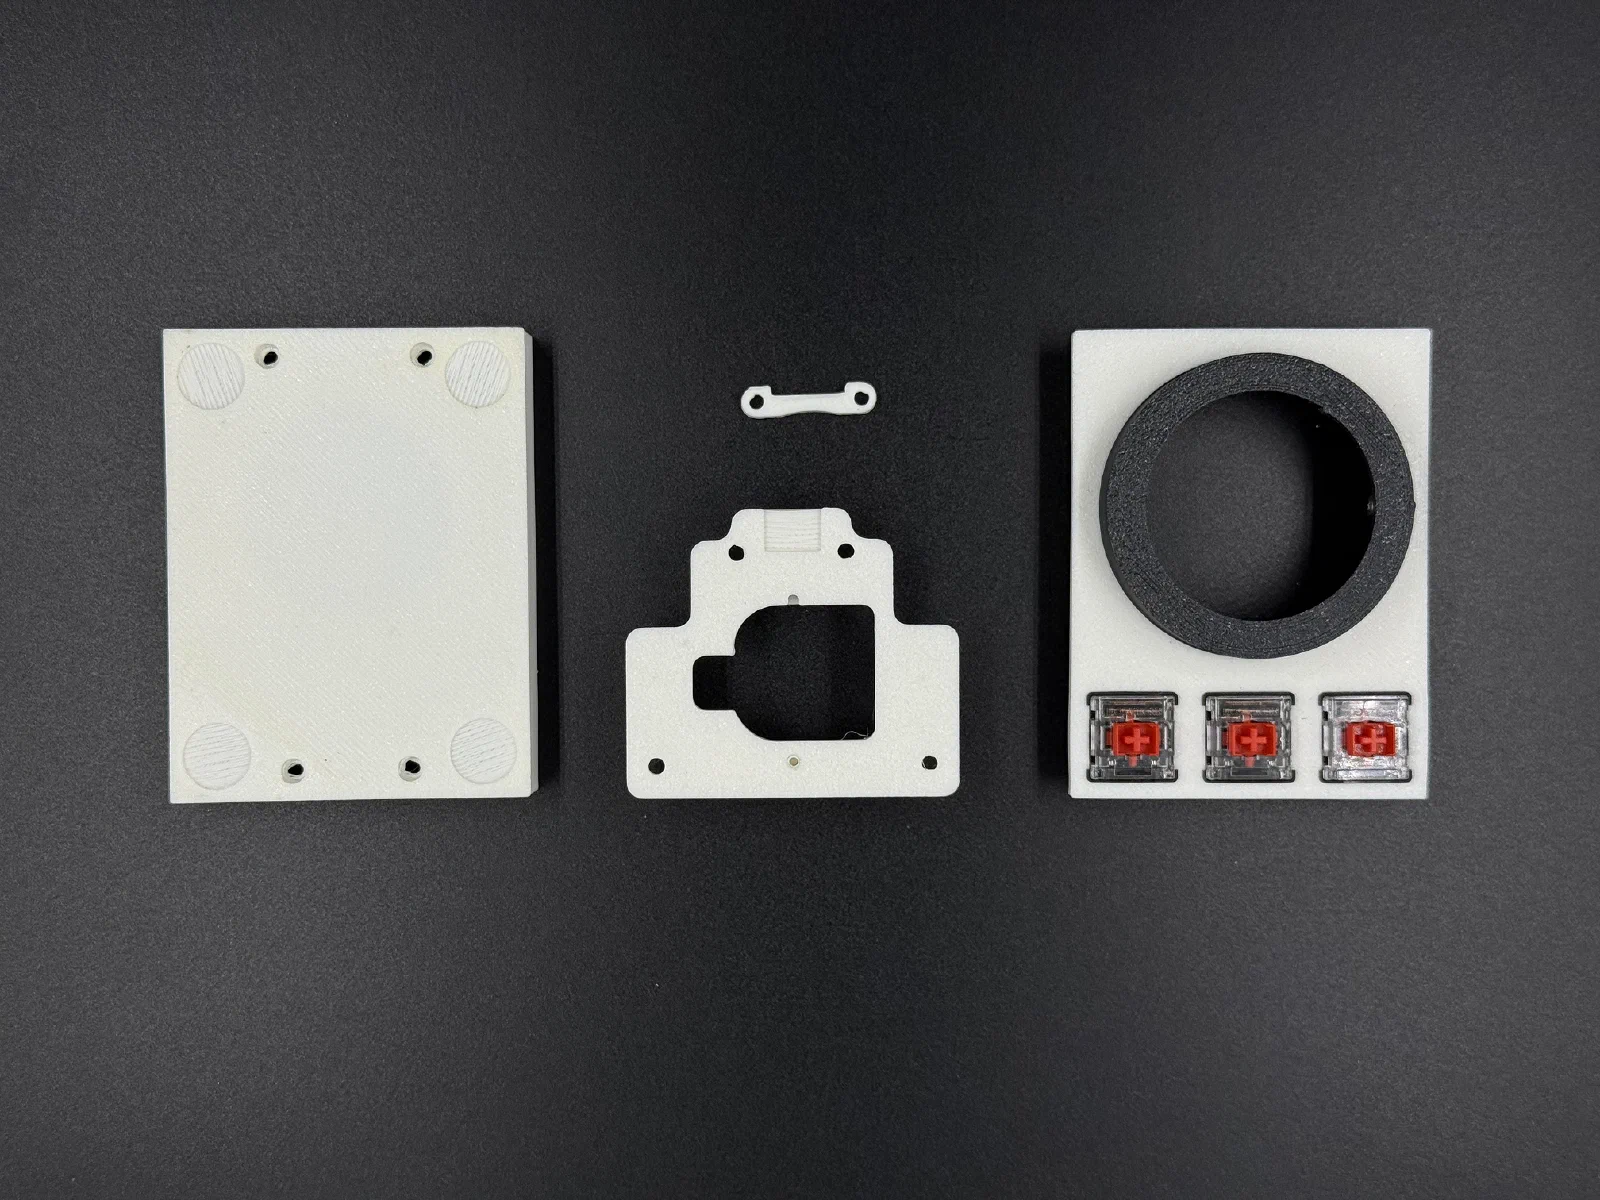
For the wired version I made three case variants: with one, two or three buttons. The wireless version only comes with three buttons. The wired case also has holes for magnets. I added them for the future, right now they are not used for anything.
Bill of materials
Wireless Version
| Part | Count |
|---|---|
| nice!nano (clone) | 1 |
| 3D printed case | 1 |
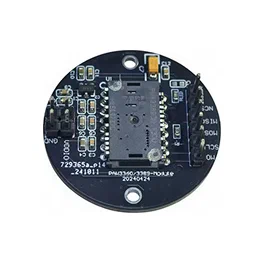
| PMW3389 module (pic) | 1 |
| 38mm billiard ball | 1 |
| Bearings MR63ZZ (3×6×2.5mm) | 3 |
| Adhesive Bumper Pads (10mm) | 4 |
| Wire | |
| M3 screws (8mm) | 3 |
| M2 screws | 16 |
| Switches | 3 |
| 1u Keycaps | 3 |
| 301230 110mAh 3.7v battery | 1 |
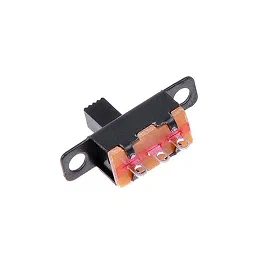
| Mini Toggle Switch SS12F15 (pic) | 1 |
| M2 heat set inserts (OD 3.2mm) | 4 |
Wired Version
| Part | Count |
|---|---|
| RP2040-Zero | 1 |
| 3D printed case | 1 |
| PMW3389 module (pic) | 1 |
| 38mm billiard ball | 1 |
| Bearings MR63ZZ (3×6×2.5mm) | 3 |
| Adhesive Bumper Pads (10mm) | 4 |
| Wire | |
| M3 screws (8mm) | 3 |
| M2 screws | 14 |
| Switches | 3, 2 or 1 |
| 1u Keycaps (for 3 buttons) | 3 |
| 1.5u Keycaps (for 2 buttons) | 2 |
| 3u Keycap (for 1 button) | 1 |
| 2u plate mount stabilizer (for 1 button) | 1 |
Build Log
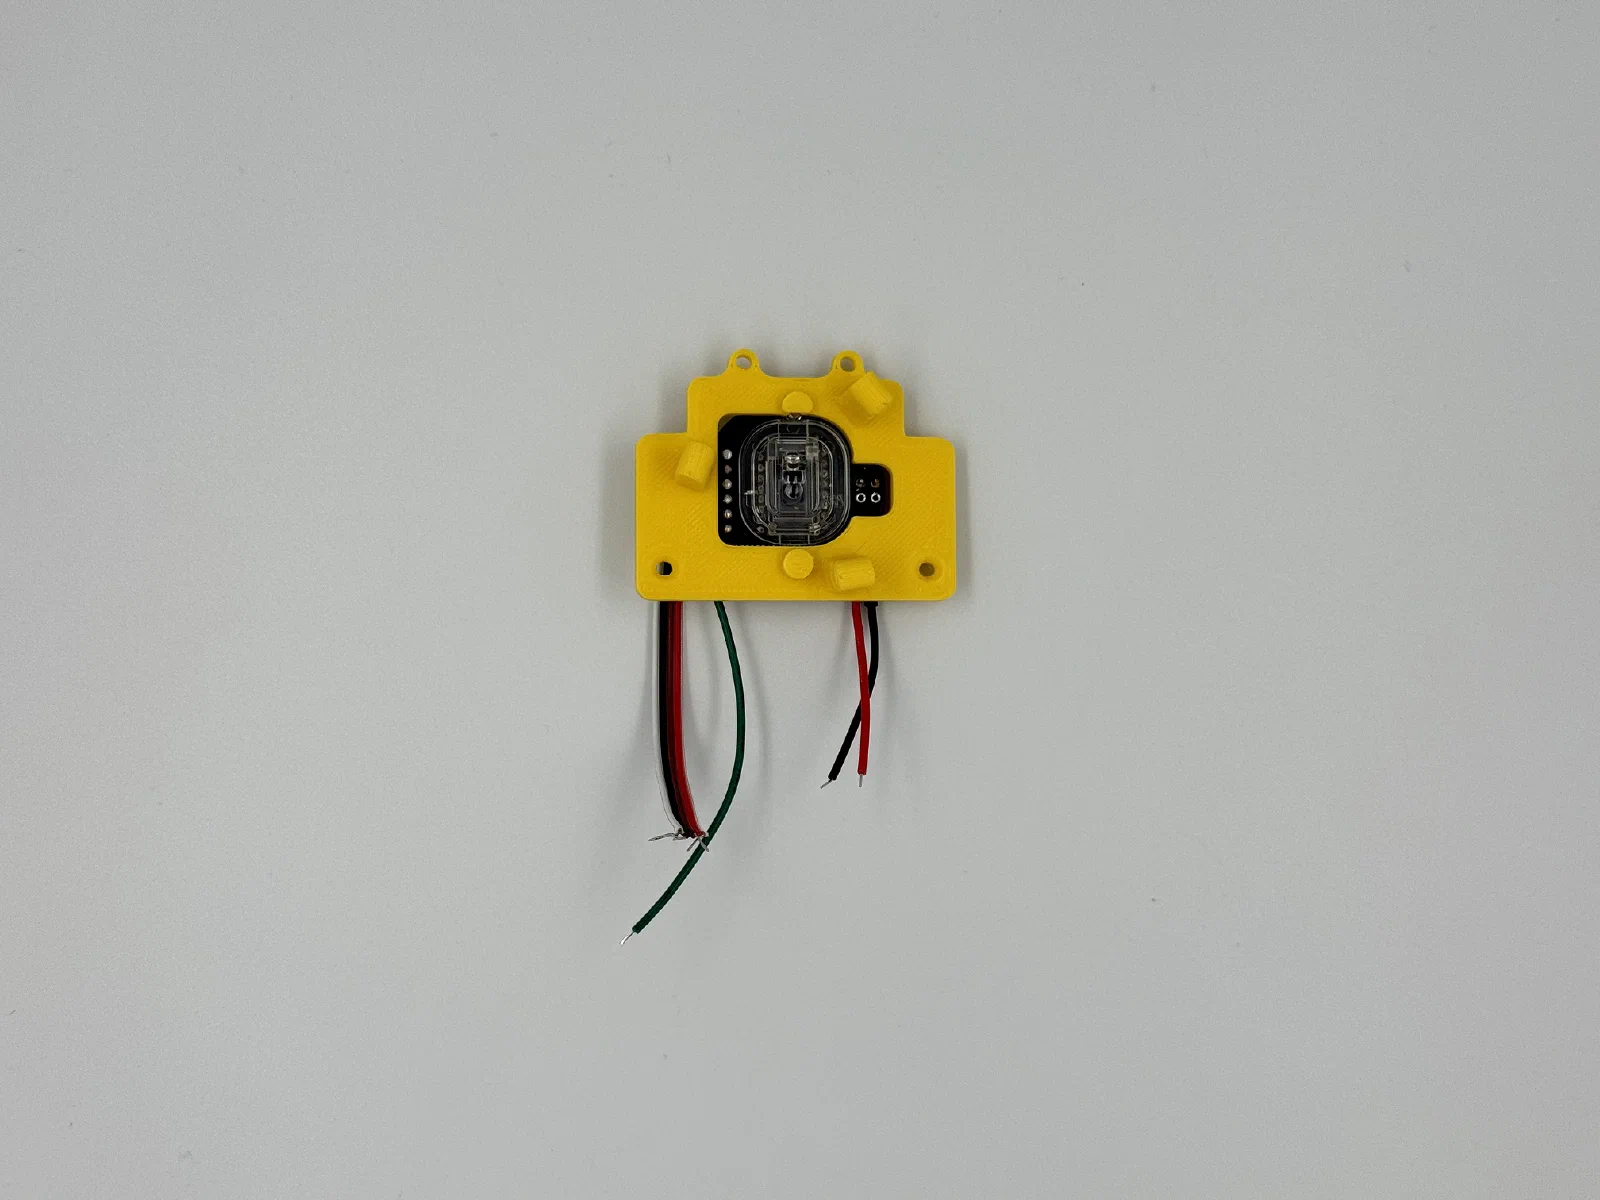
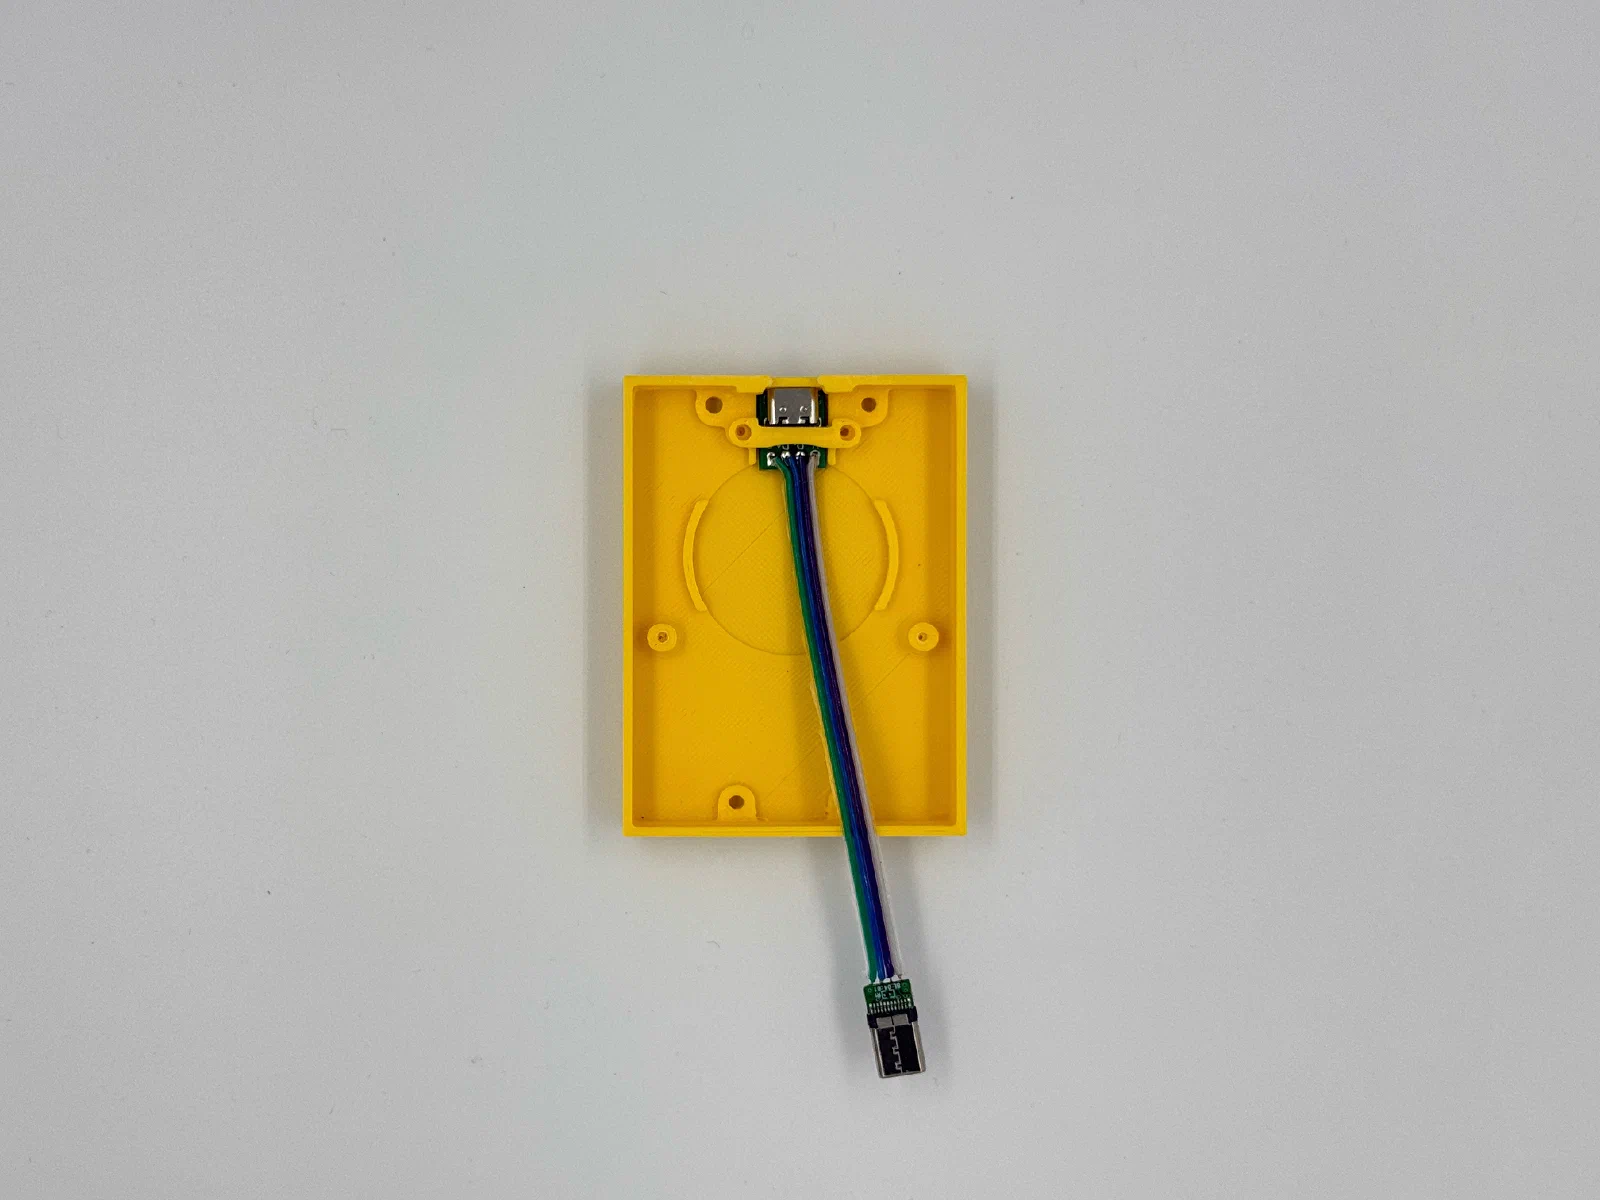
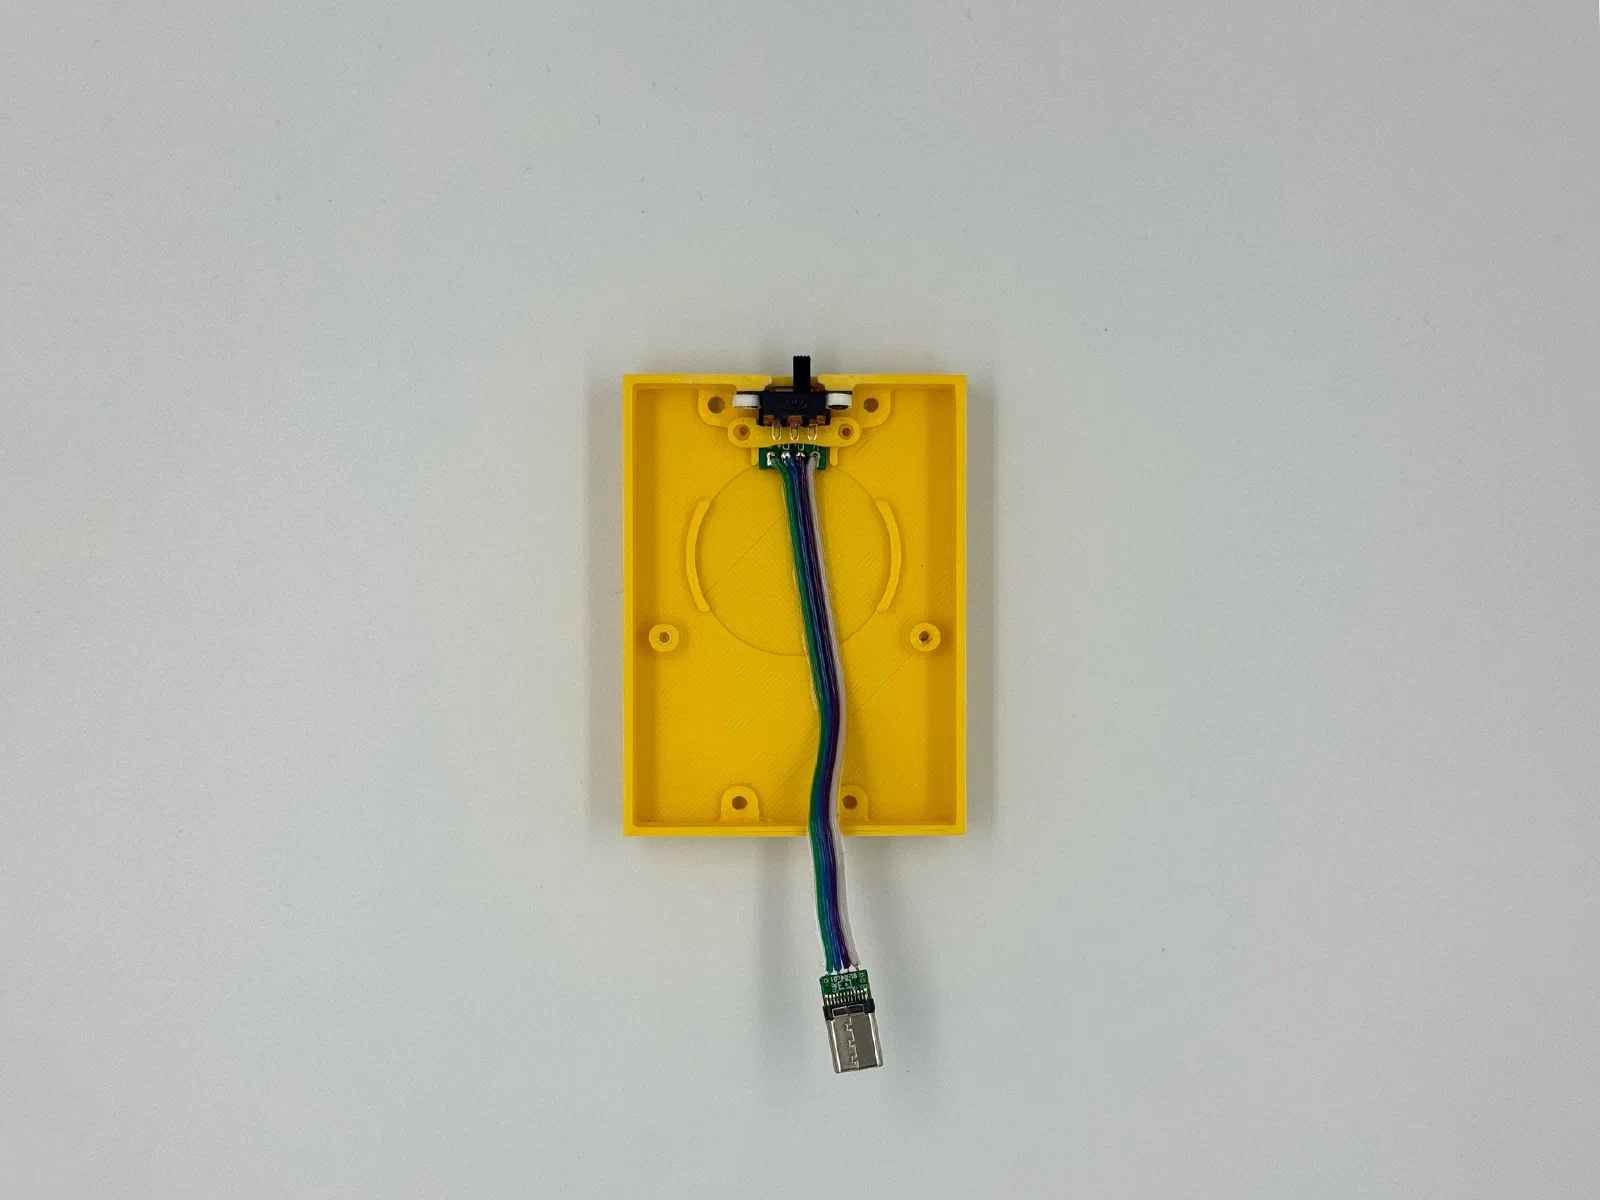
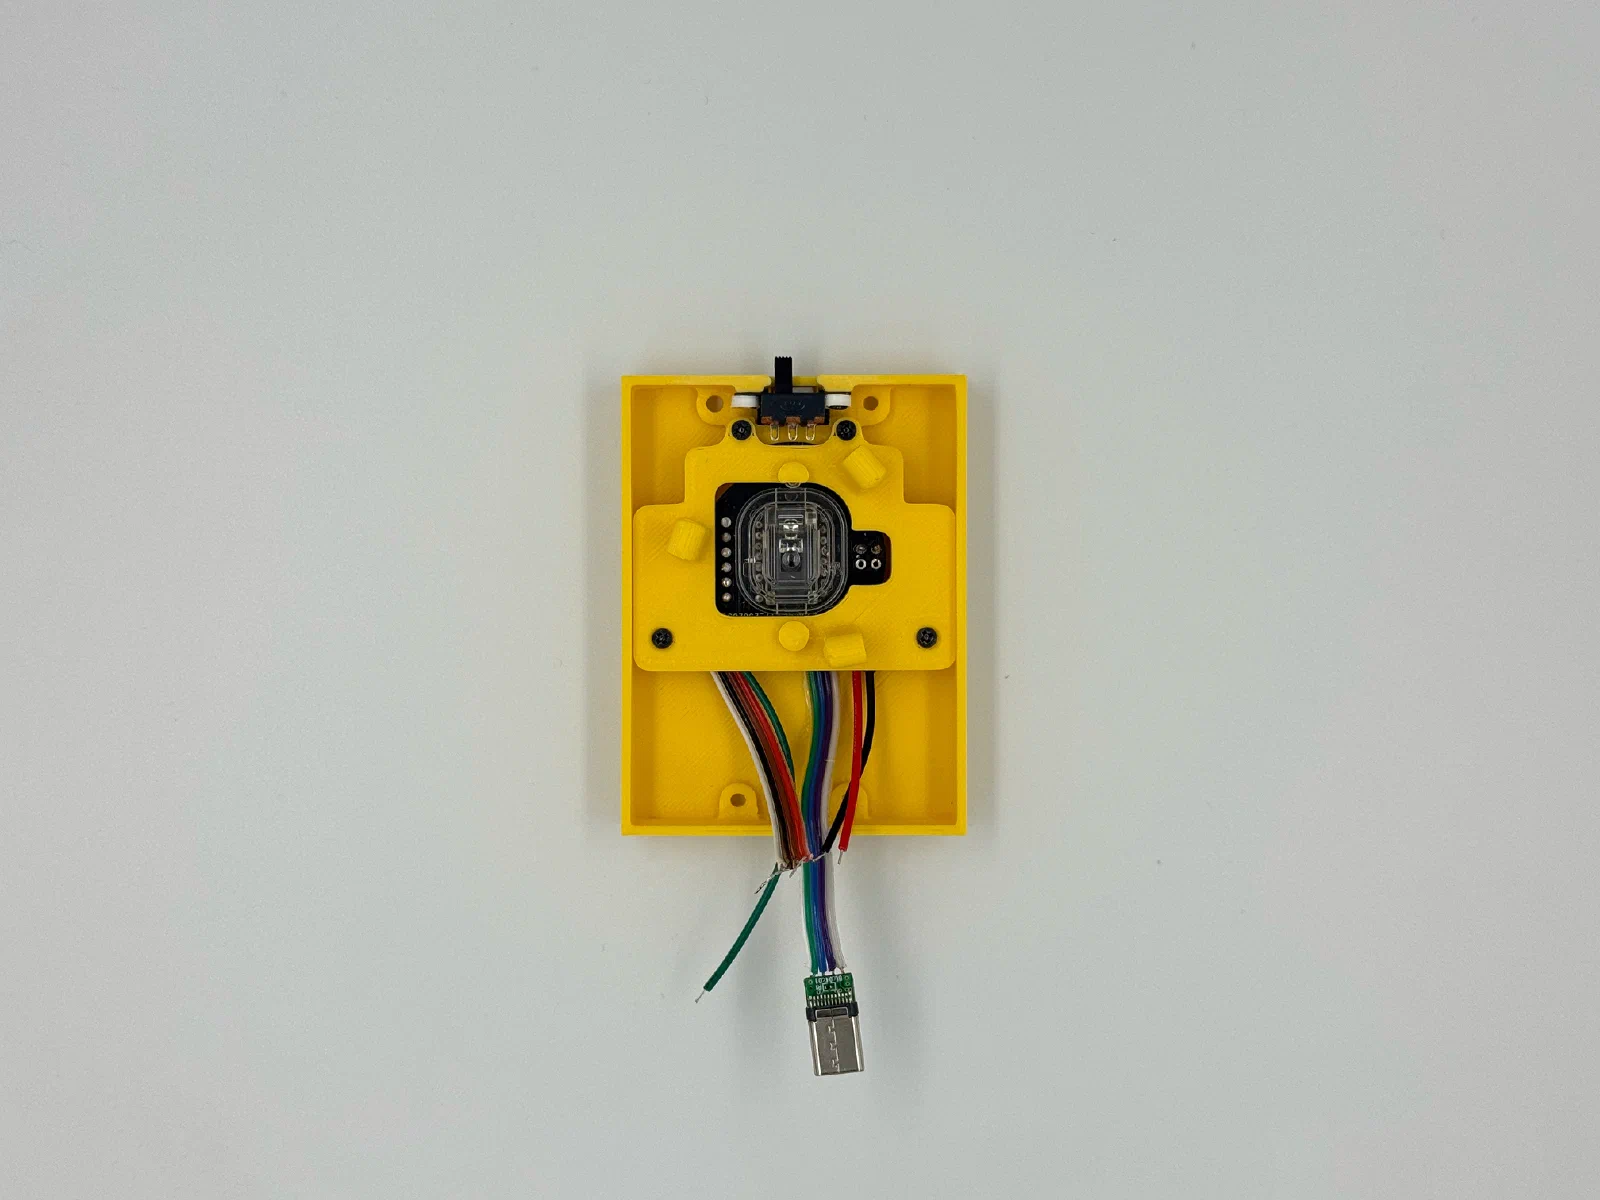
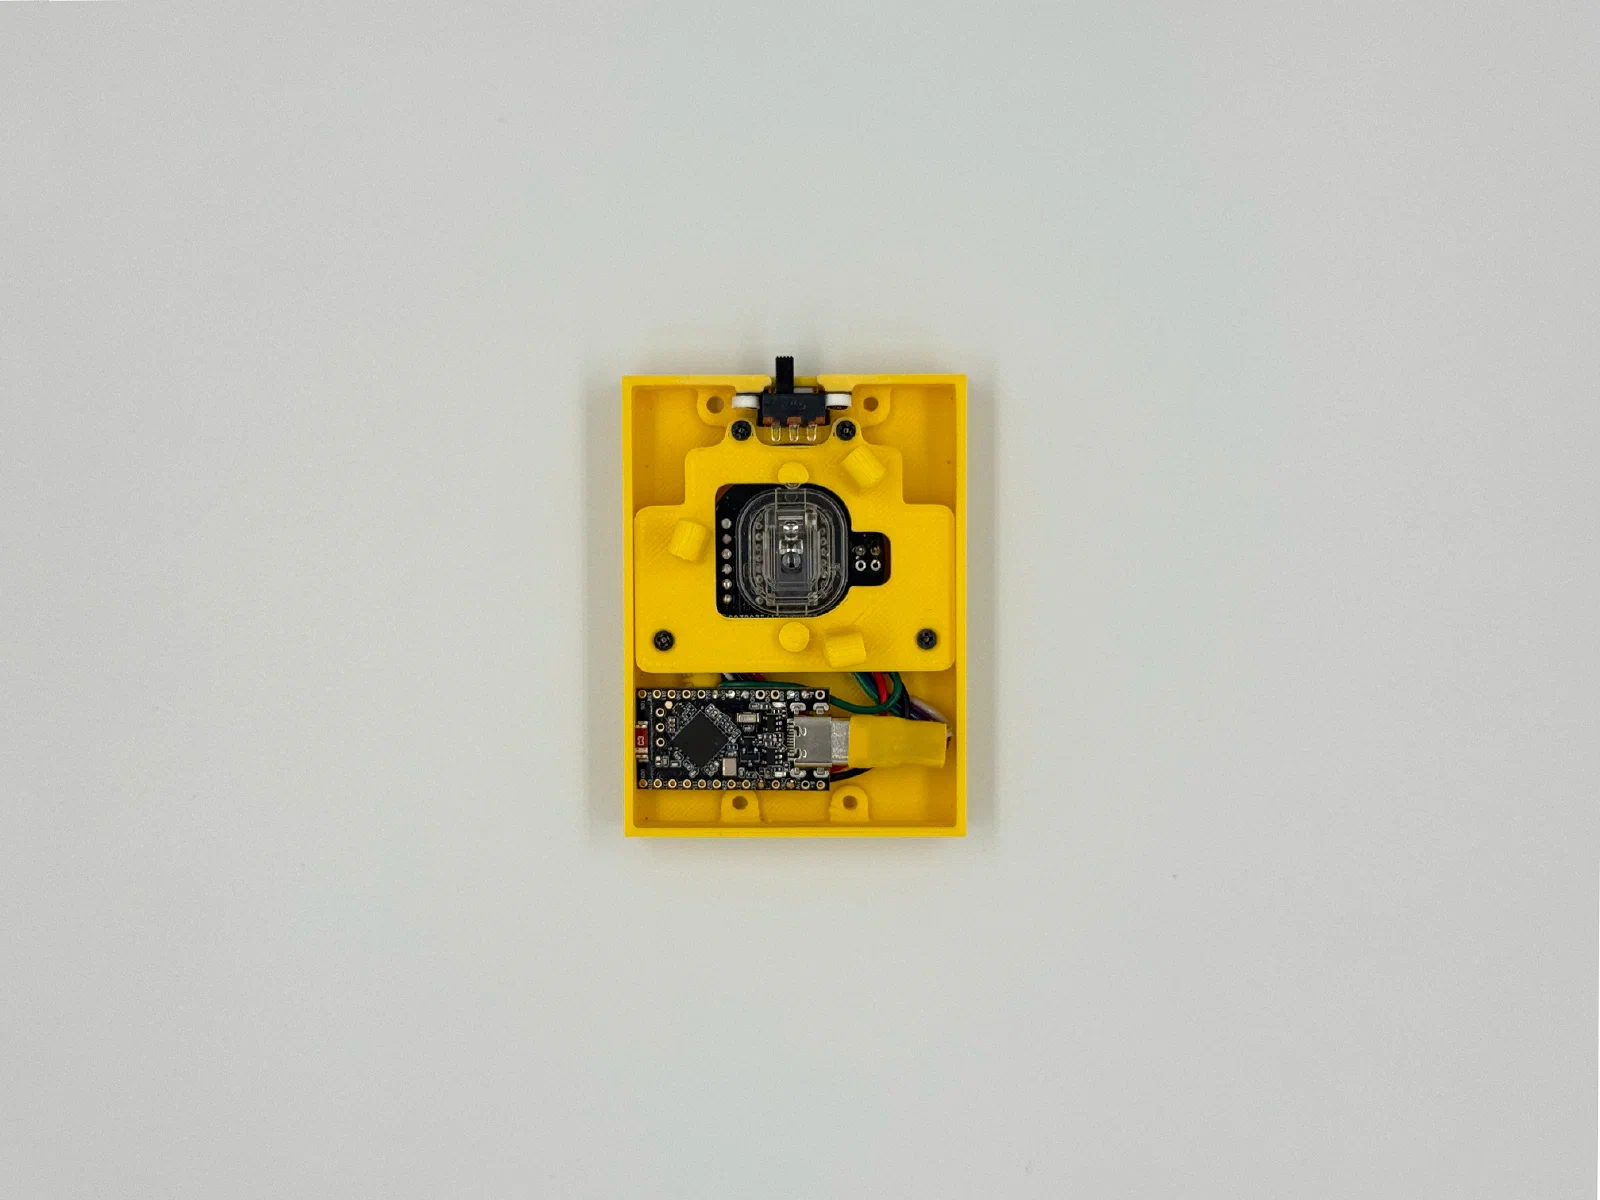
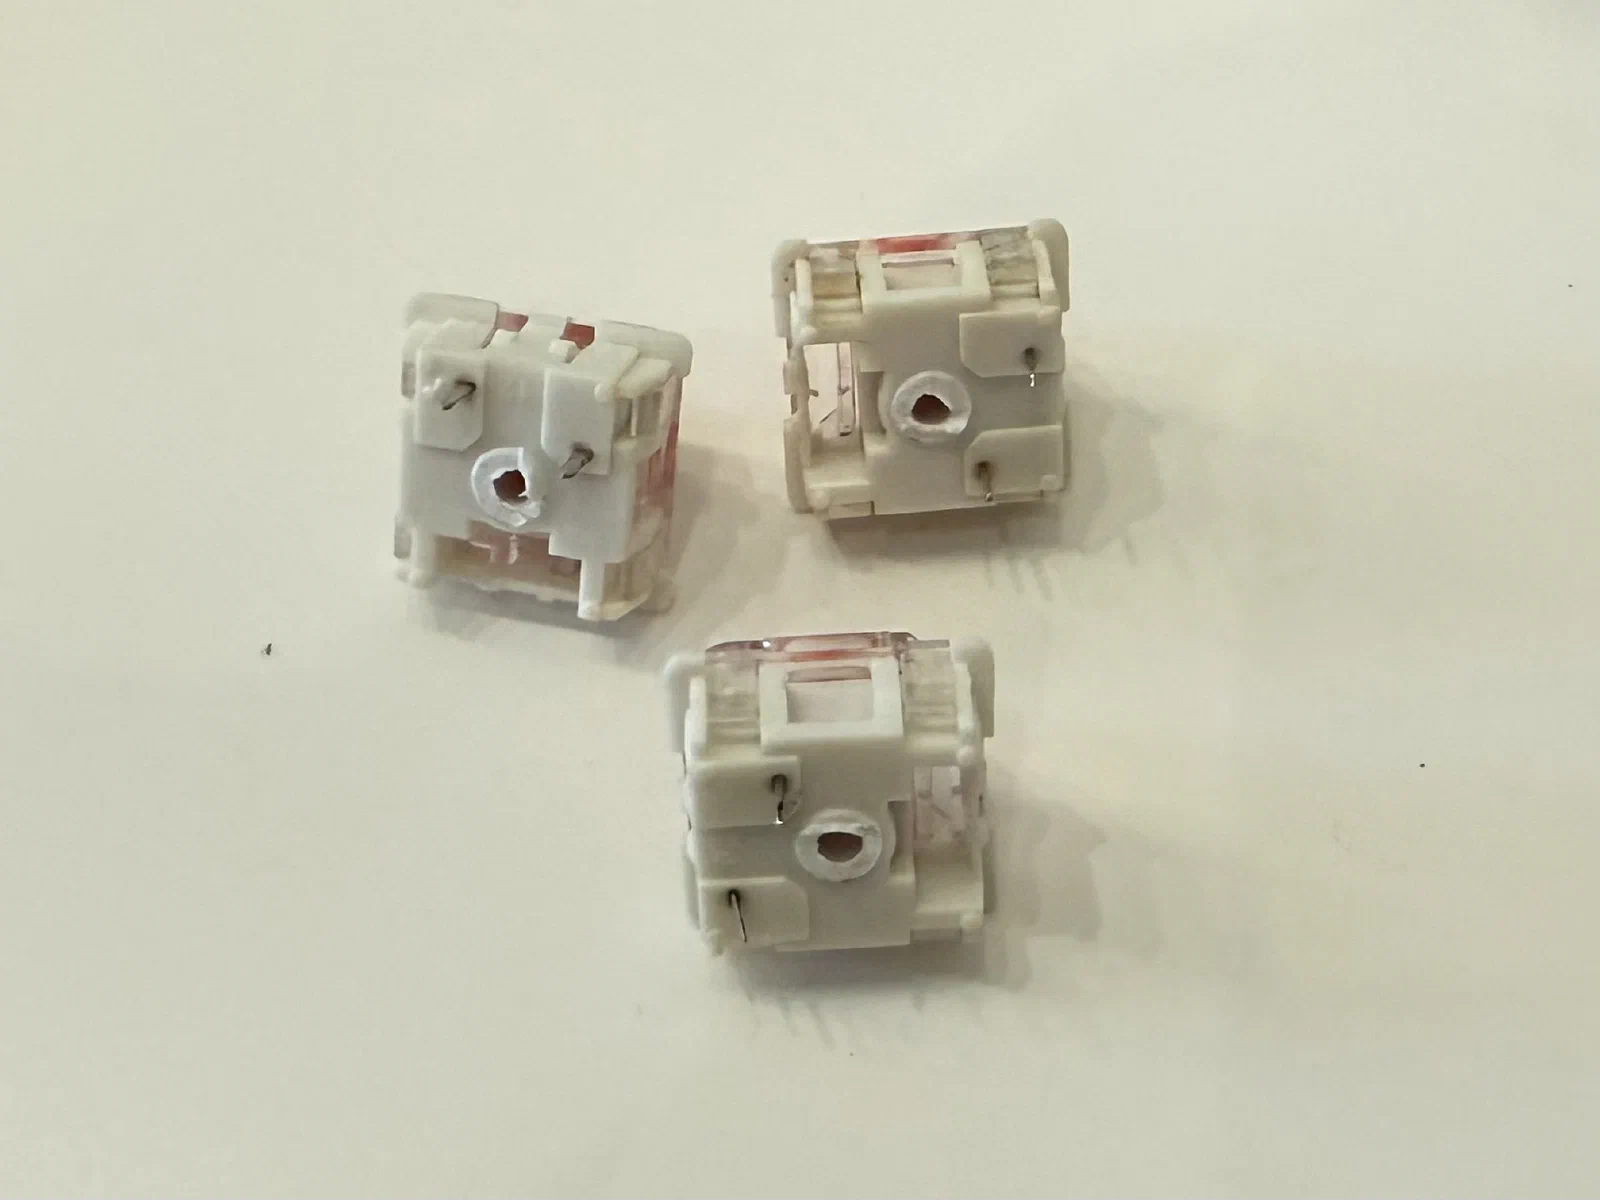
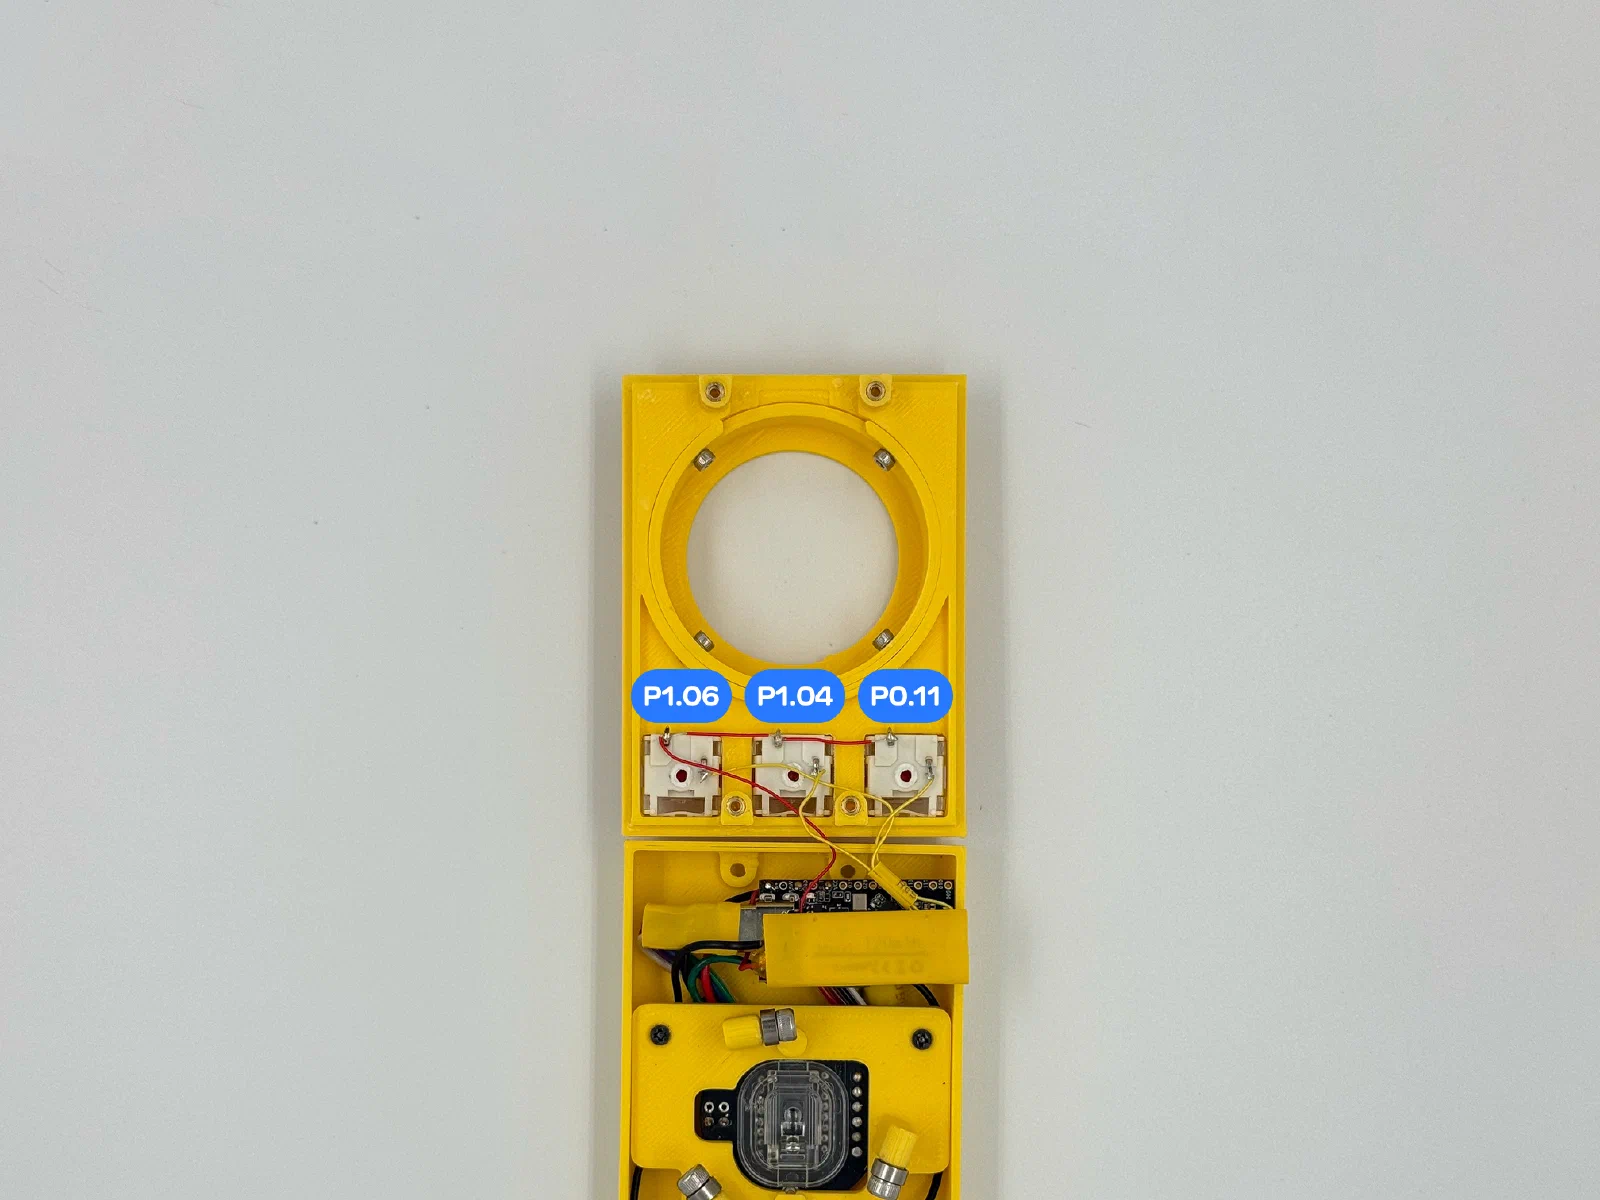
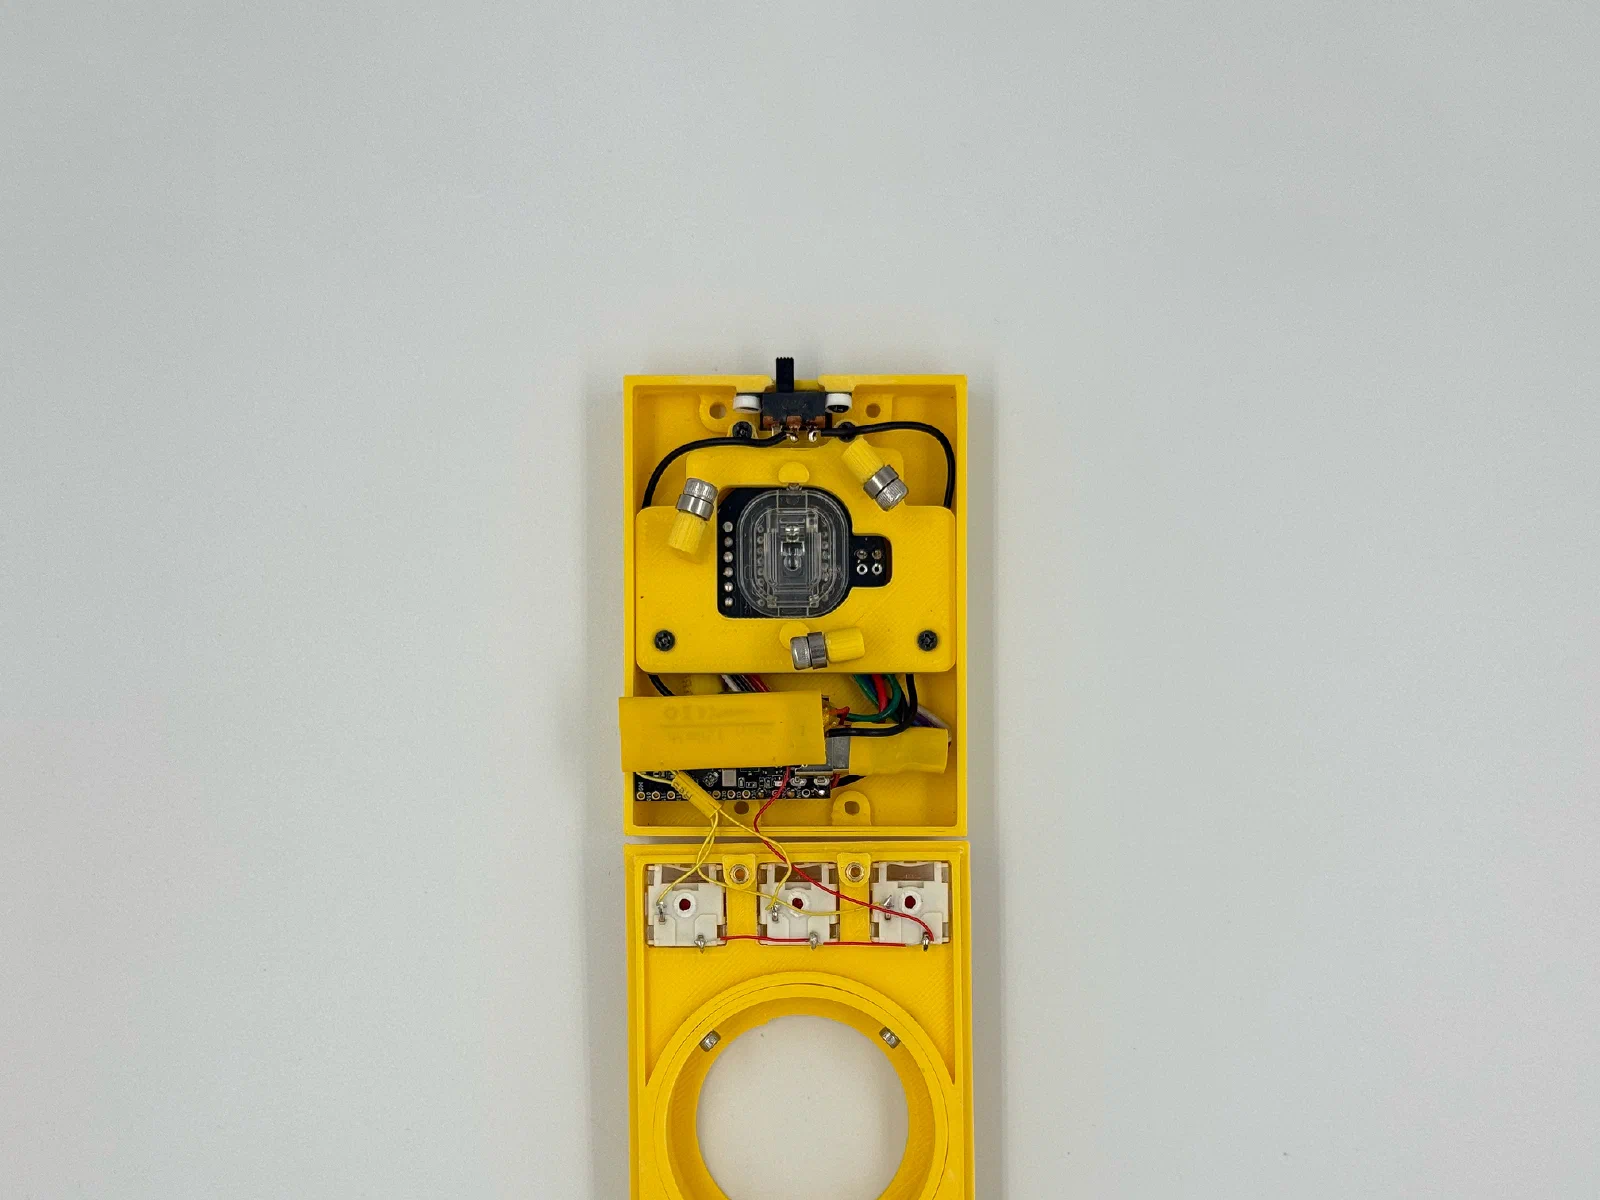
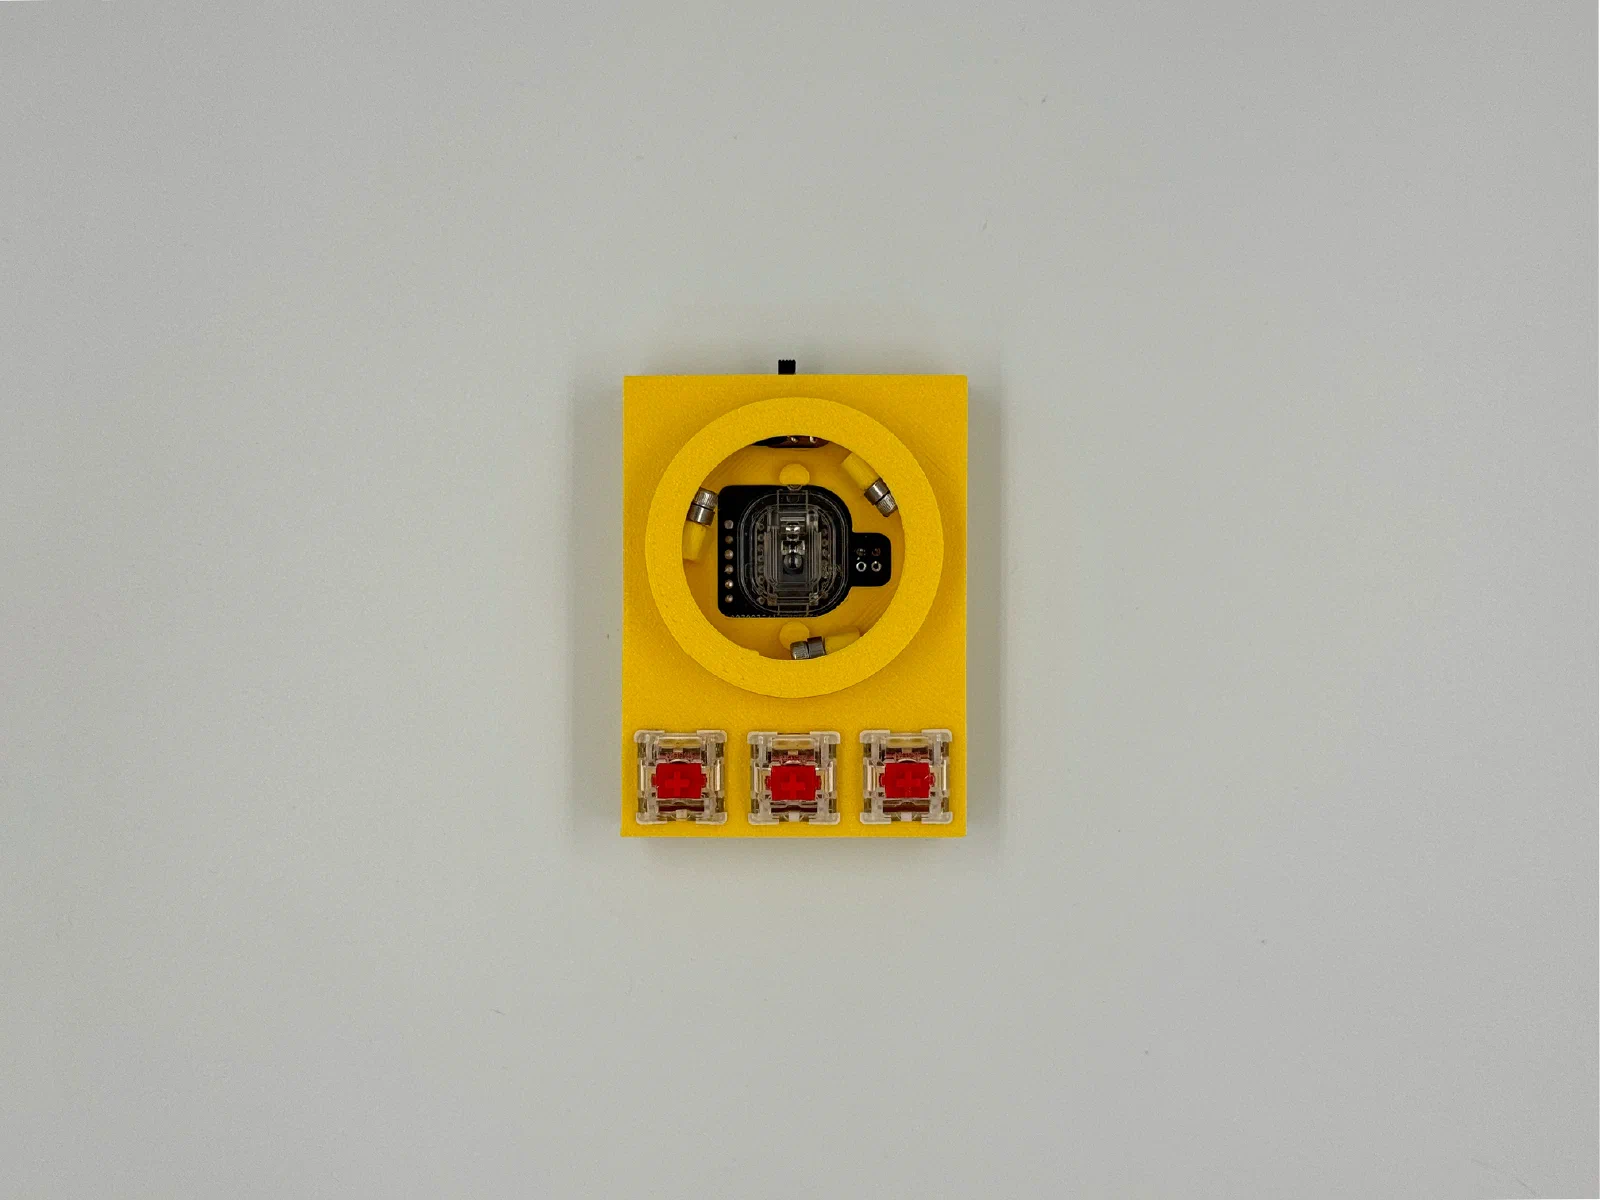
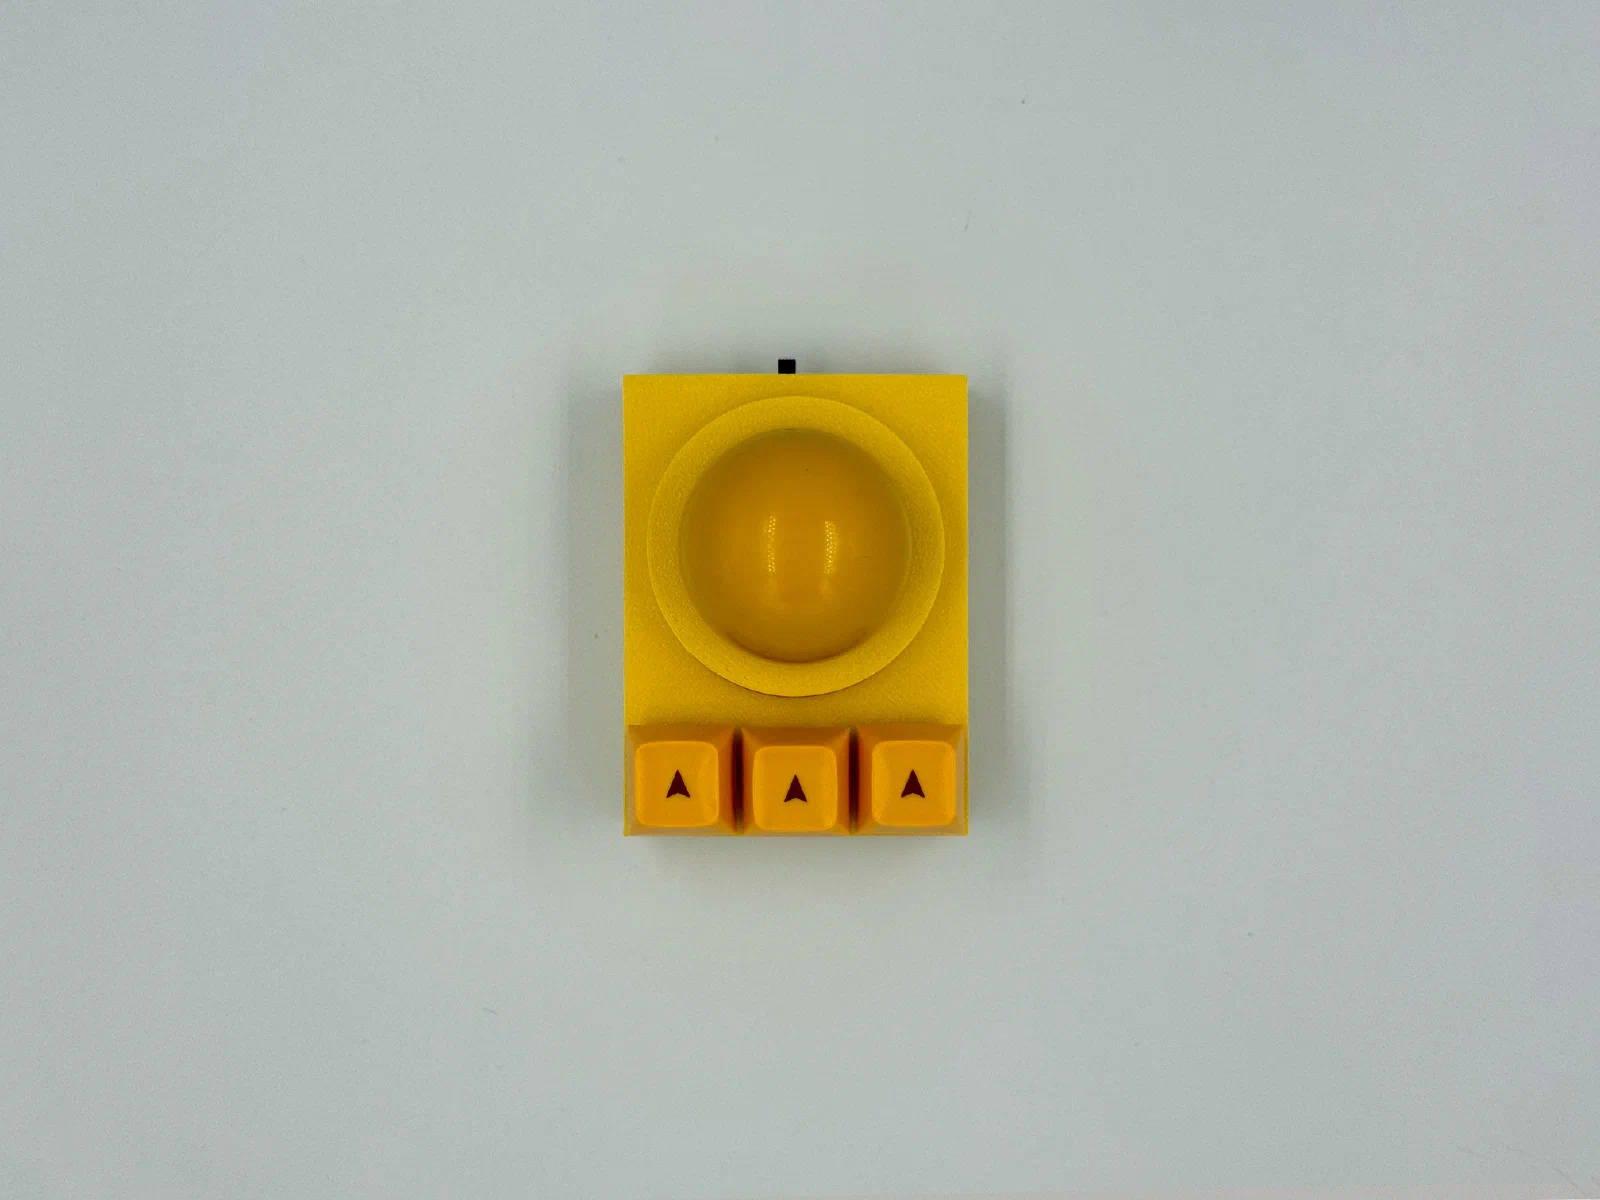
If you decide to build this trackball, build the wired version. The wireless one has problems with the PMW3389 sensor I used: the battery drains quickly, the cursor moves less smoothly in wireless mode, and it is very hard to fit all the components inside the case (I even had to cut the legs off the switches). For the wireless version you should pick a more power efficient sensor.
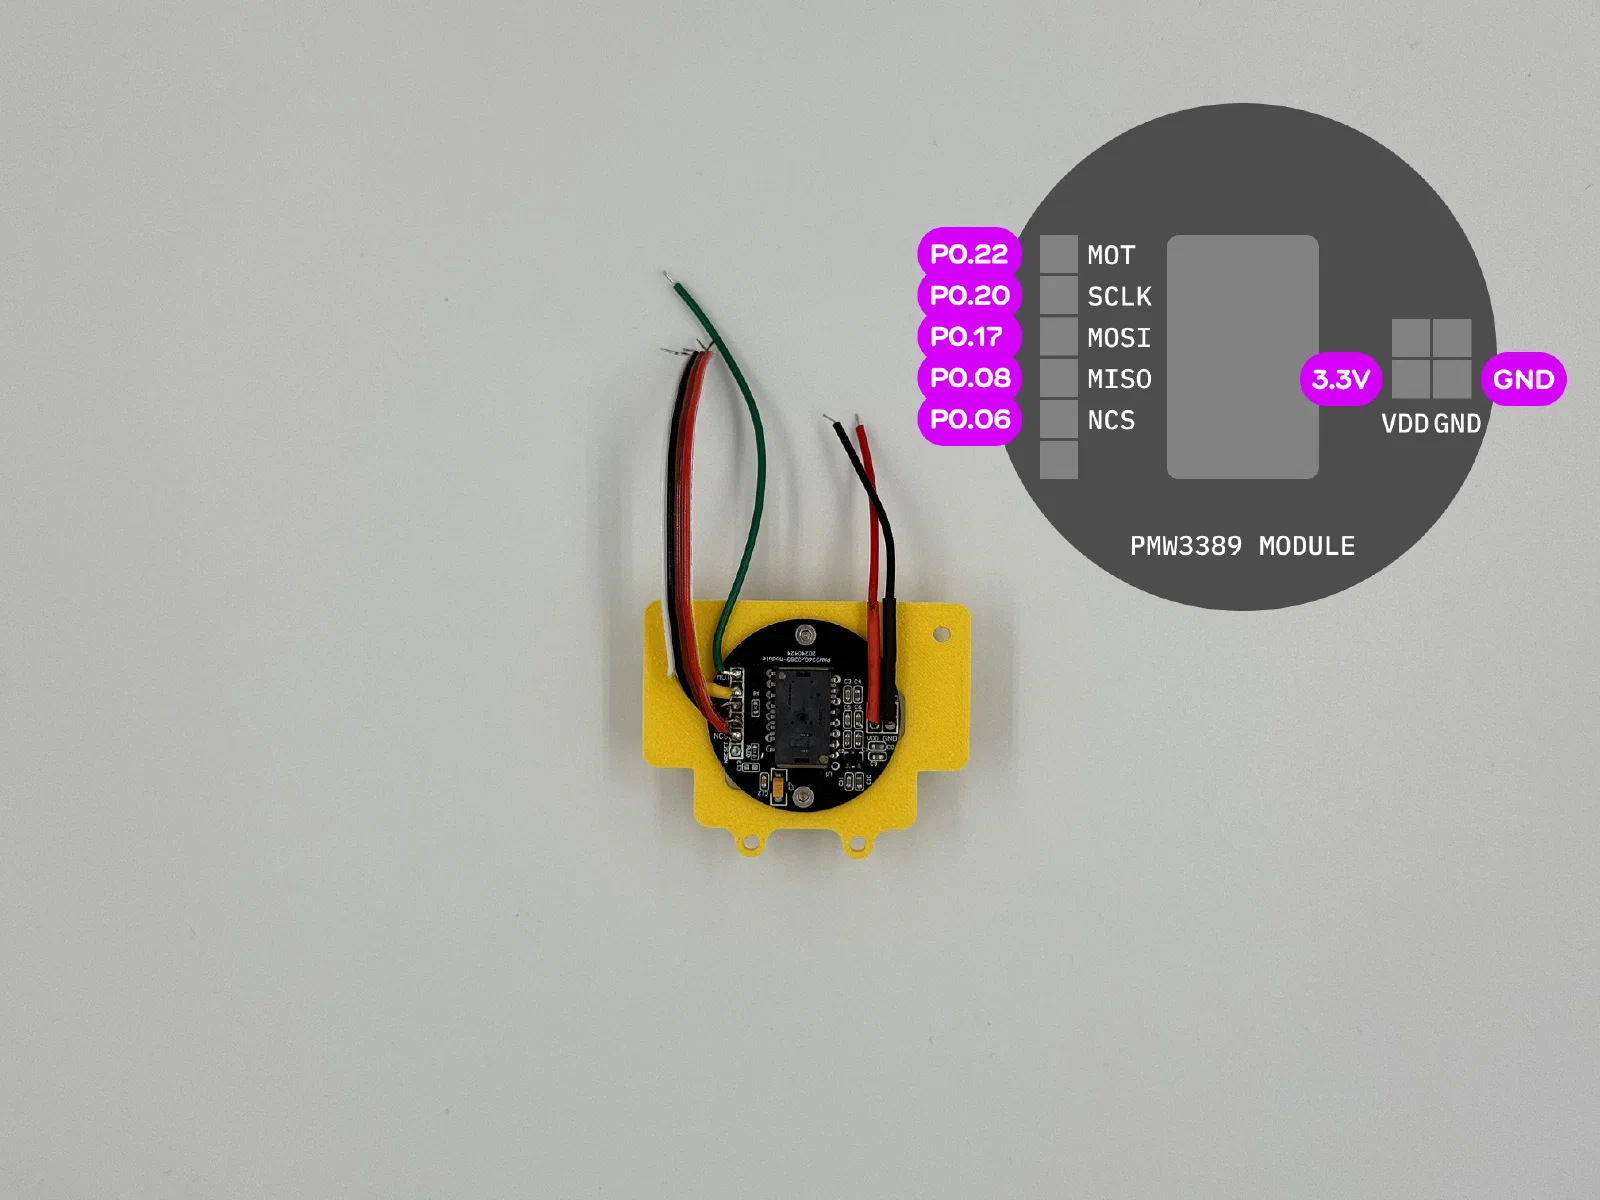
The wired version is also a bit tight, even though there is no battery. So use soft, short wires (not long and stiff ones like mine). The wired version is also easy to configure with Vial.
Wireless Version
Wired Version
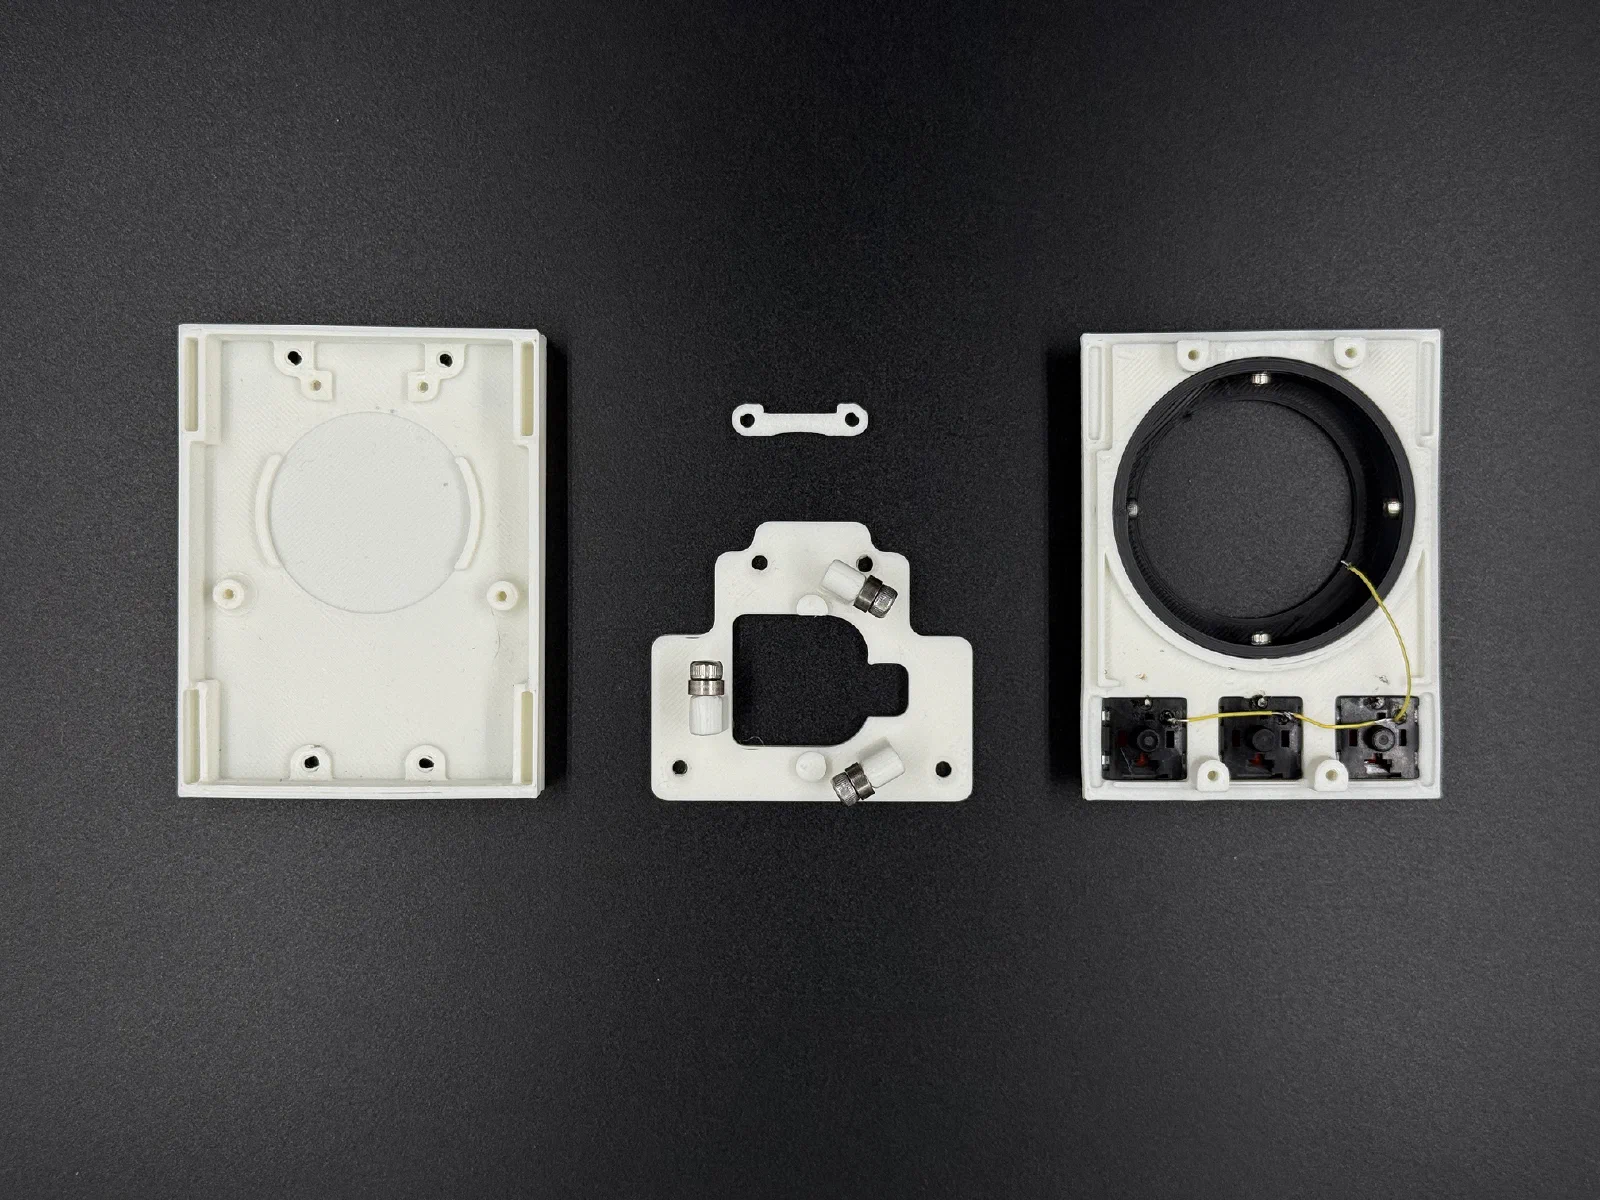
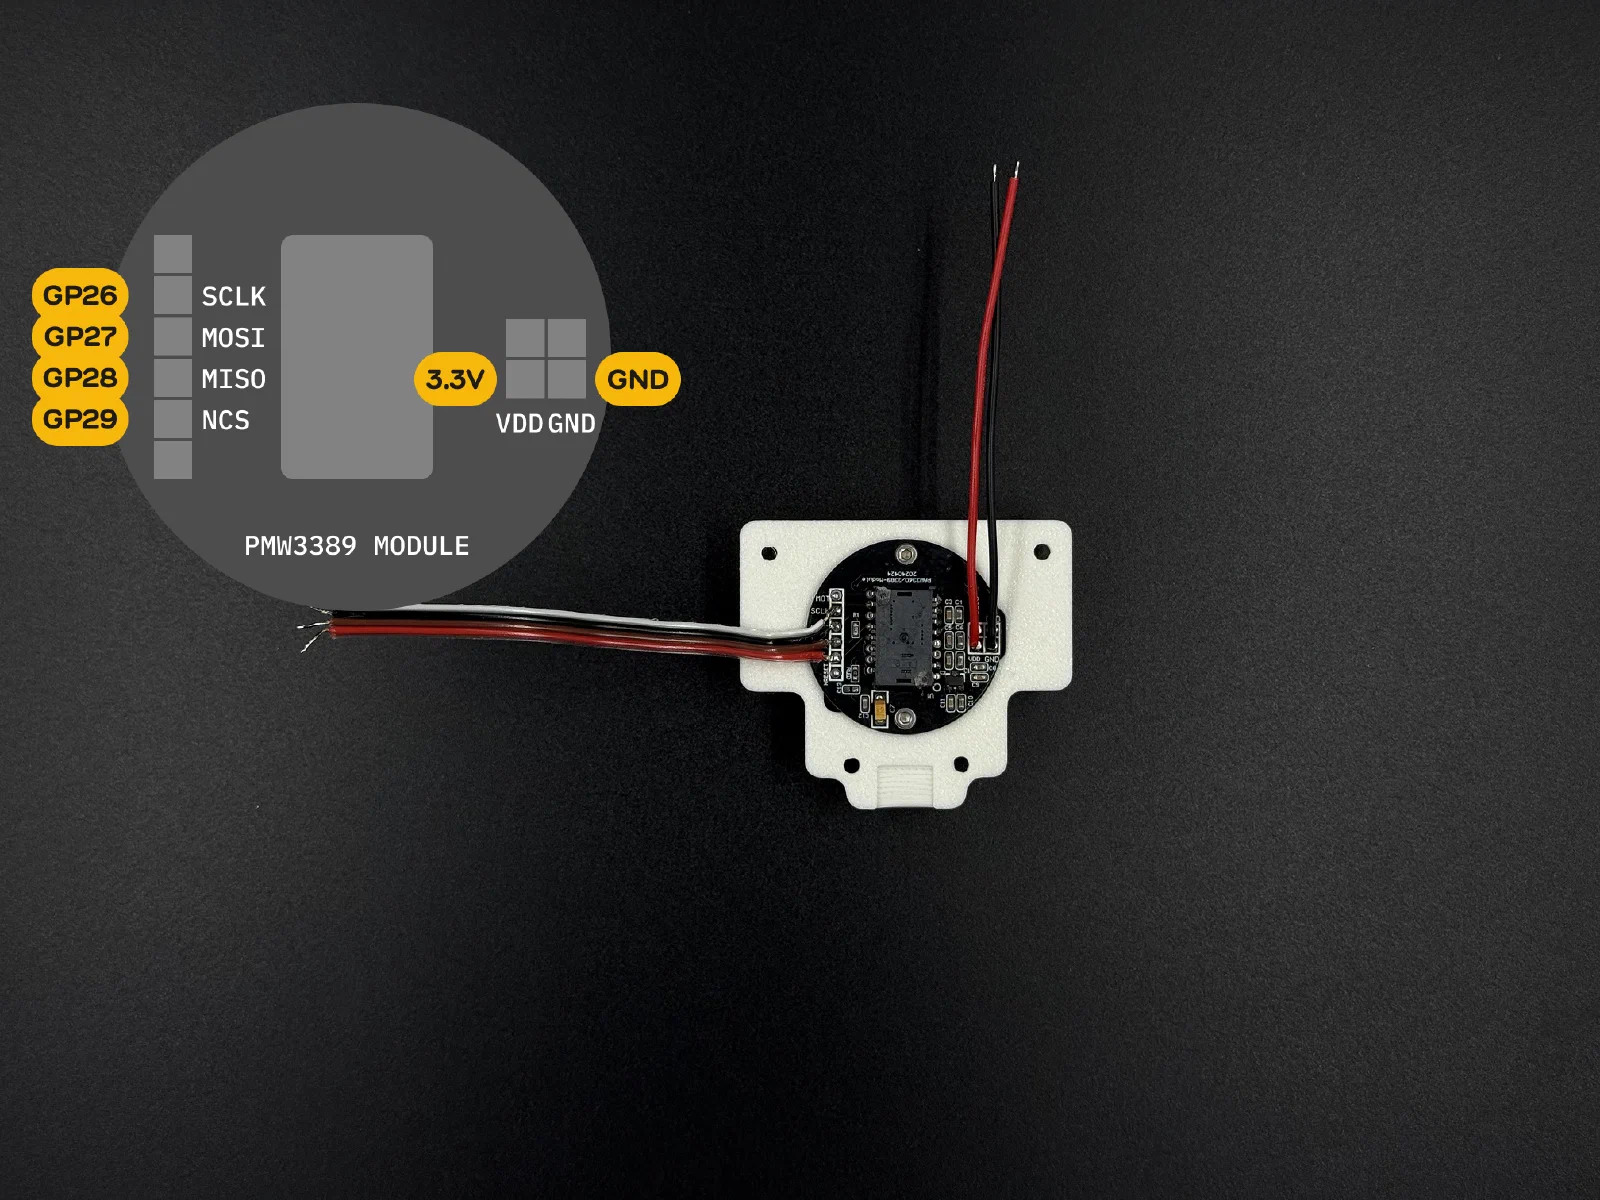
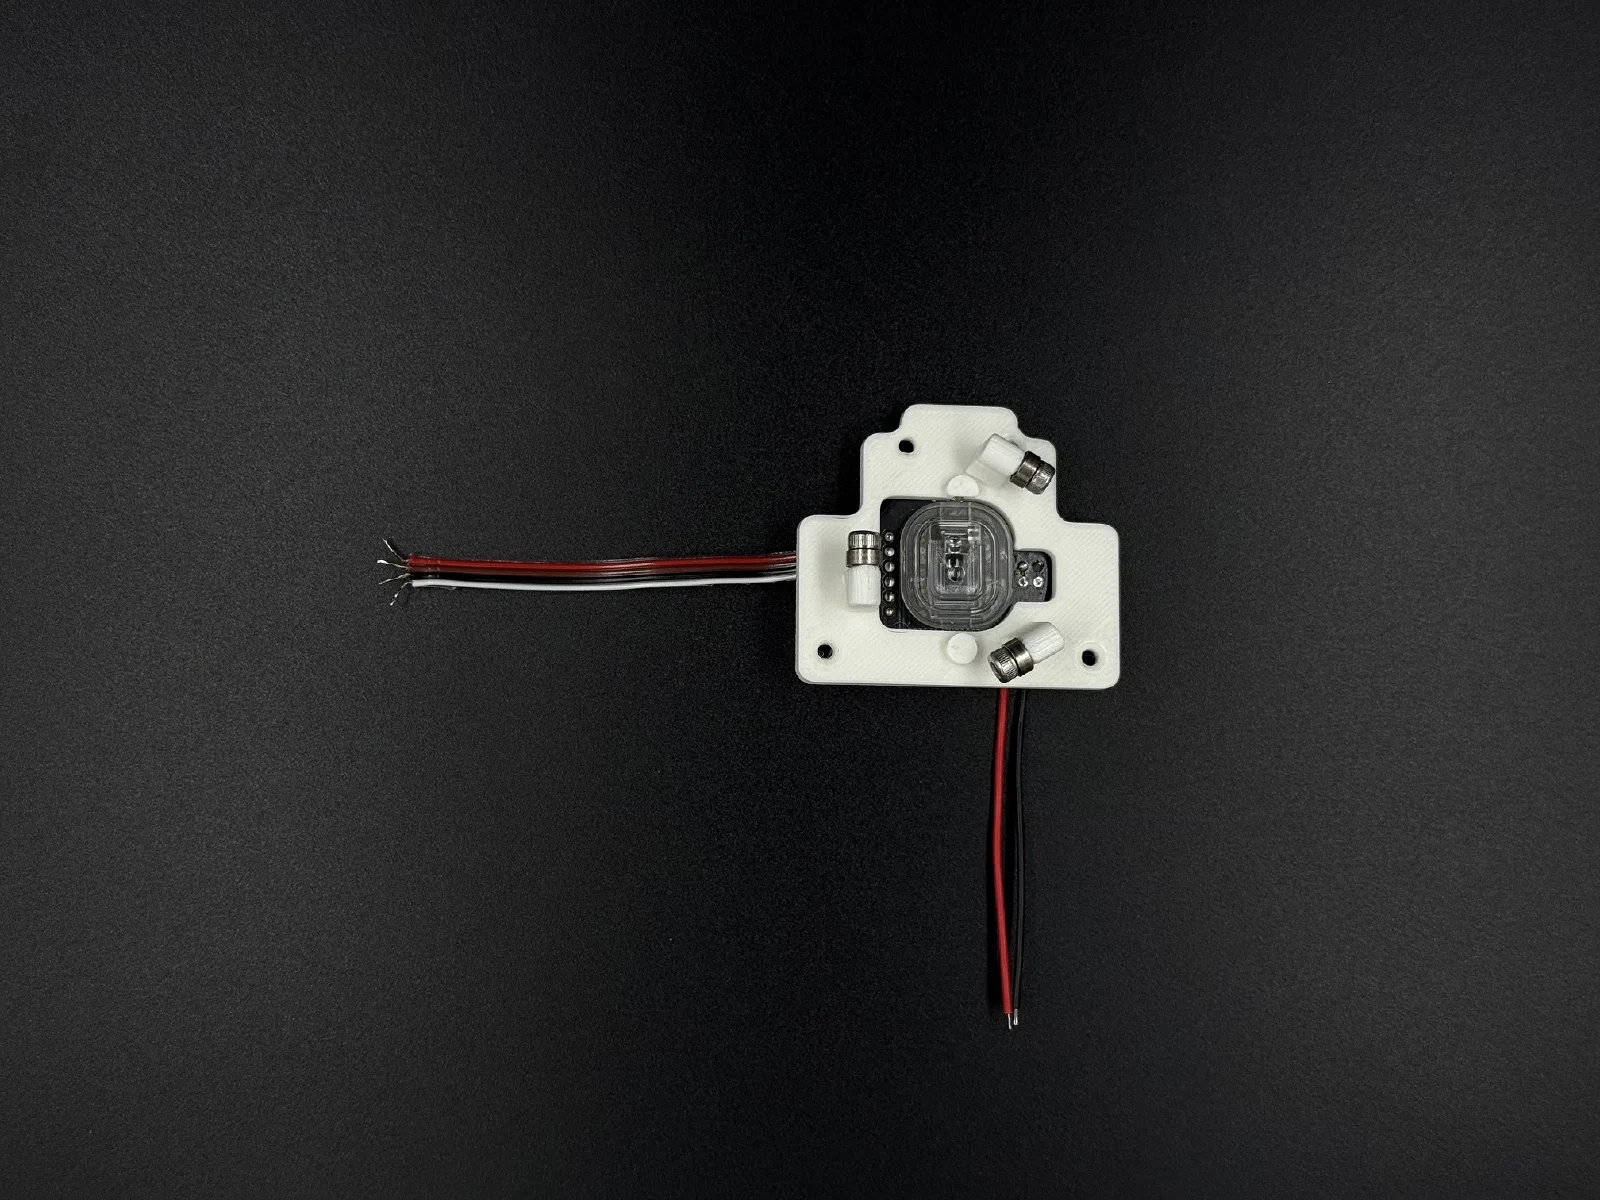
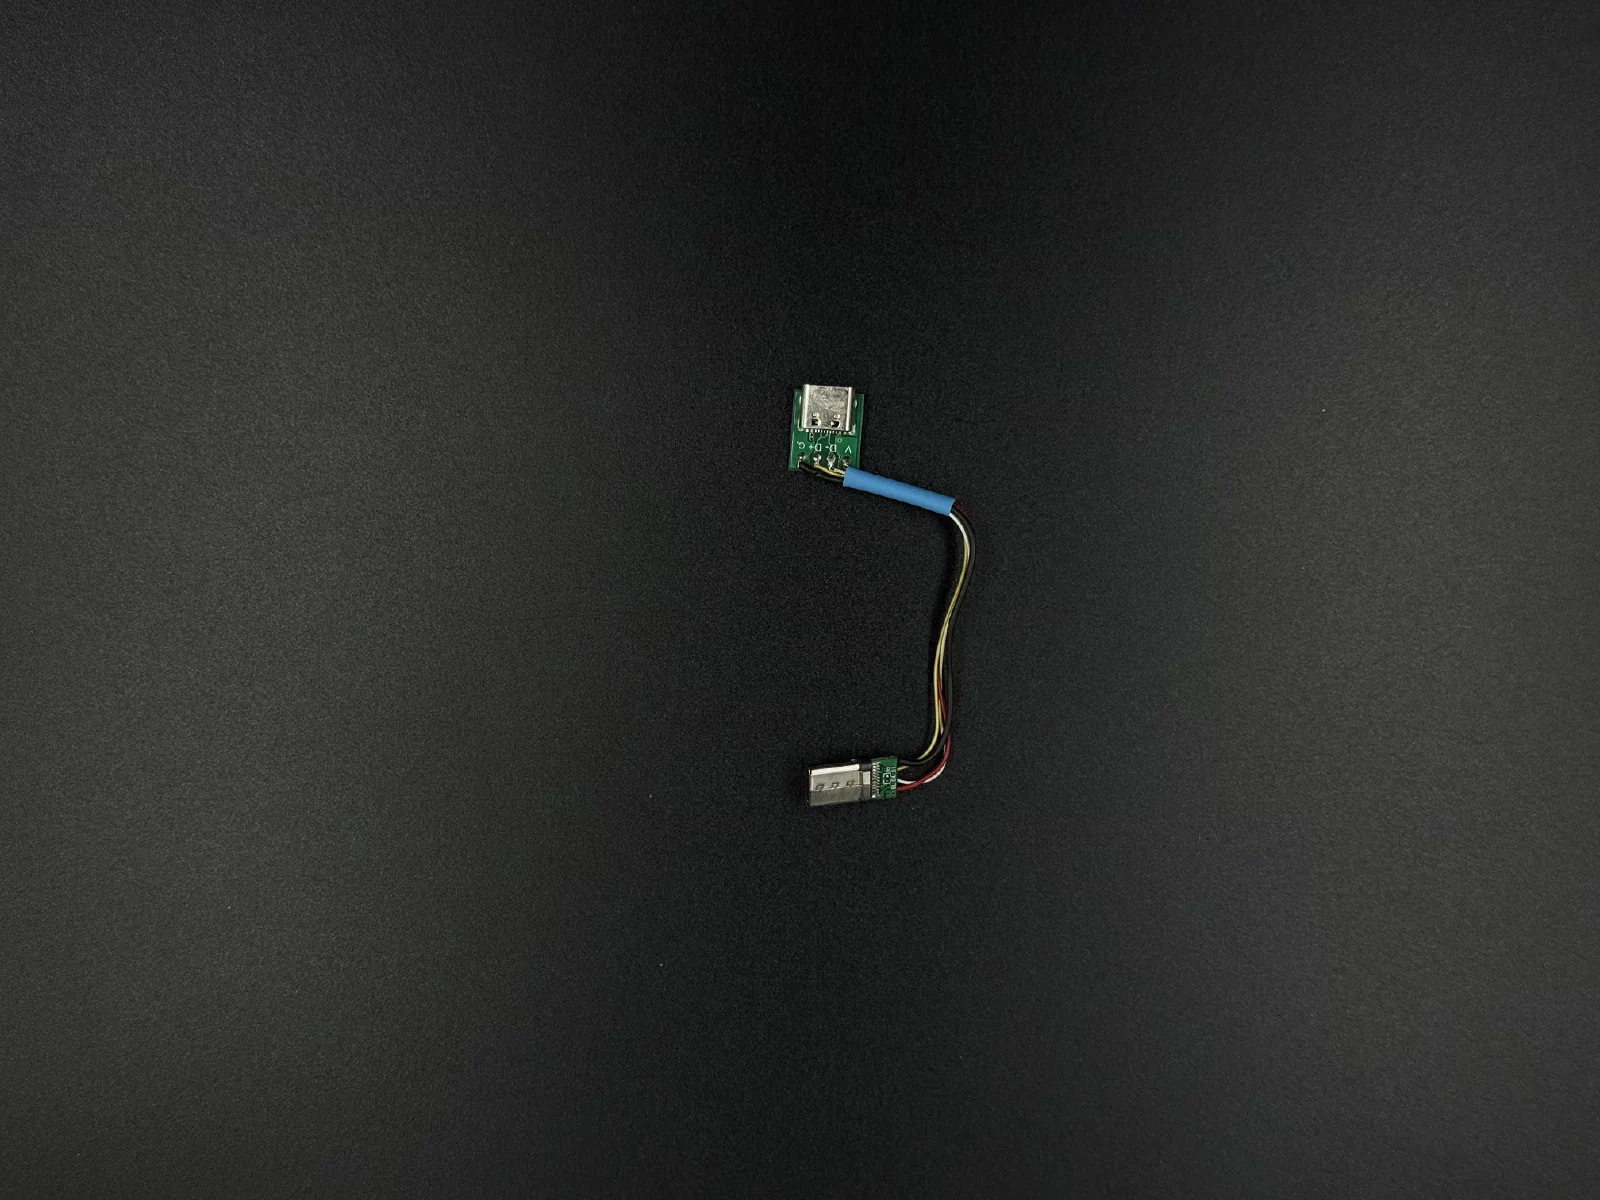
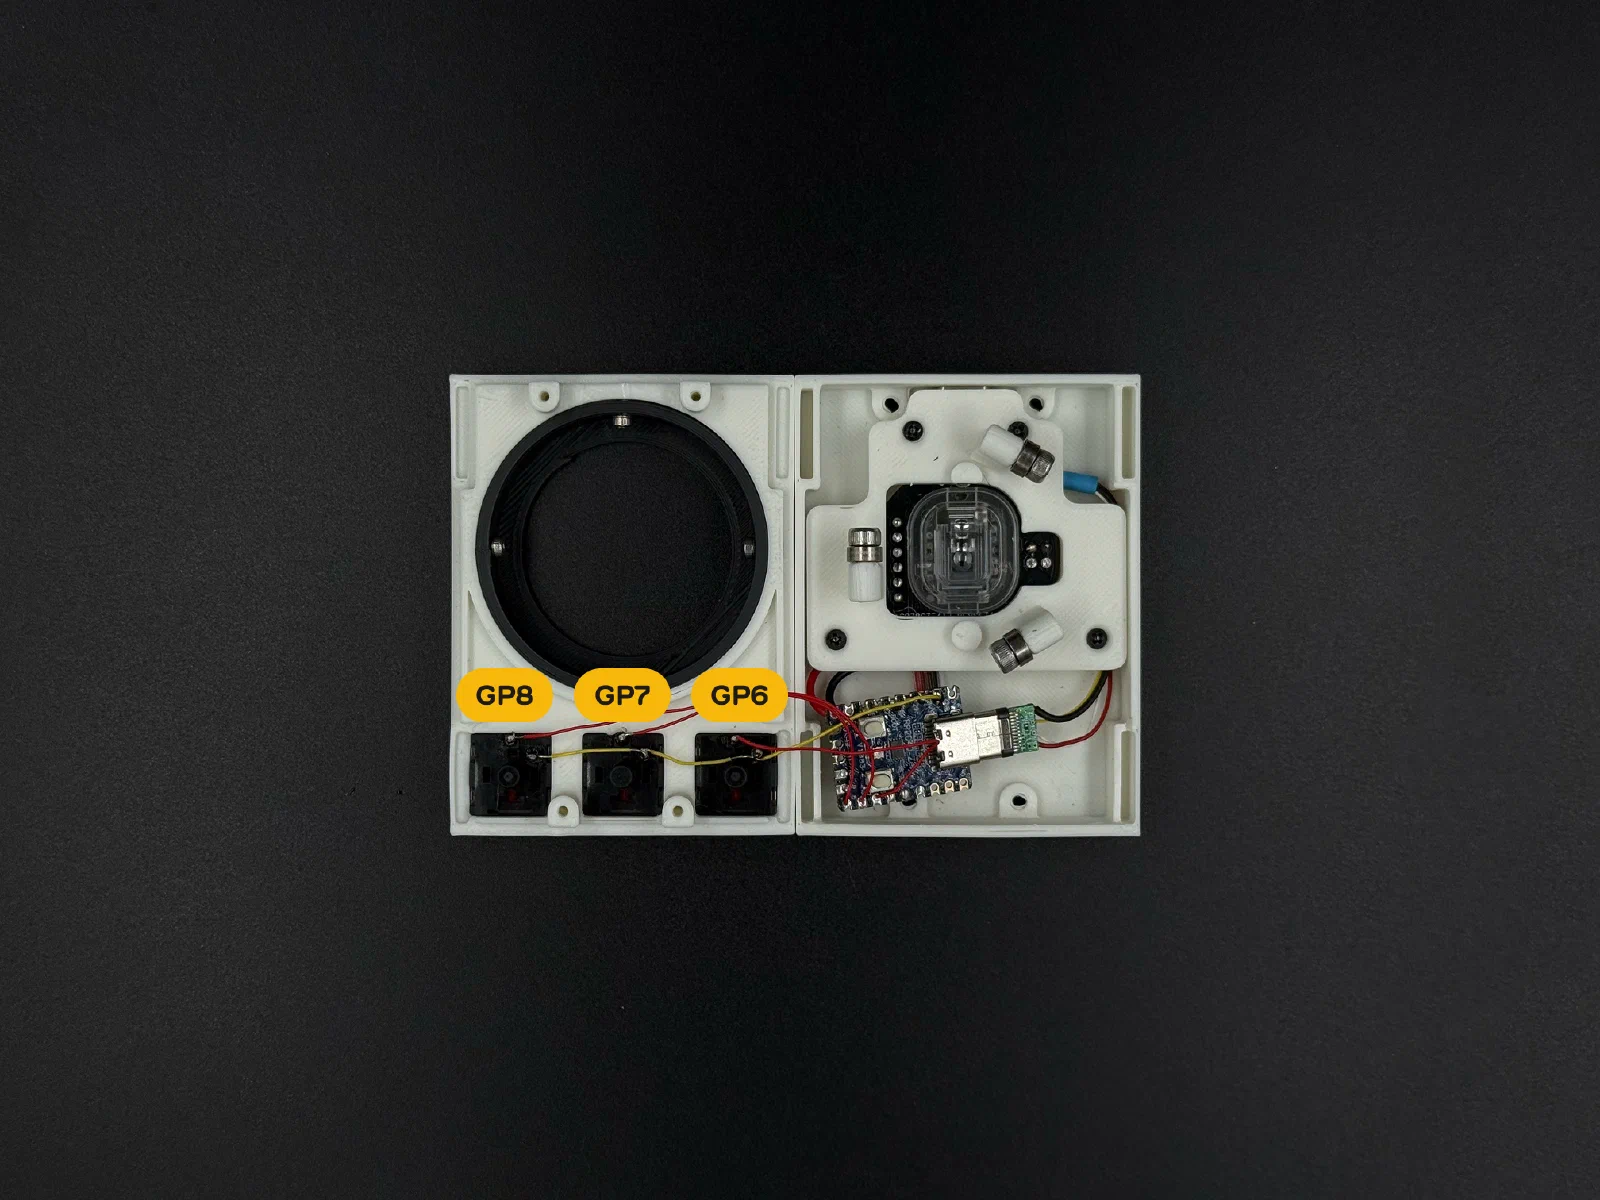
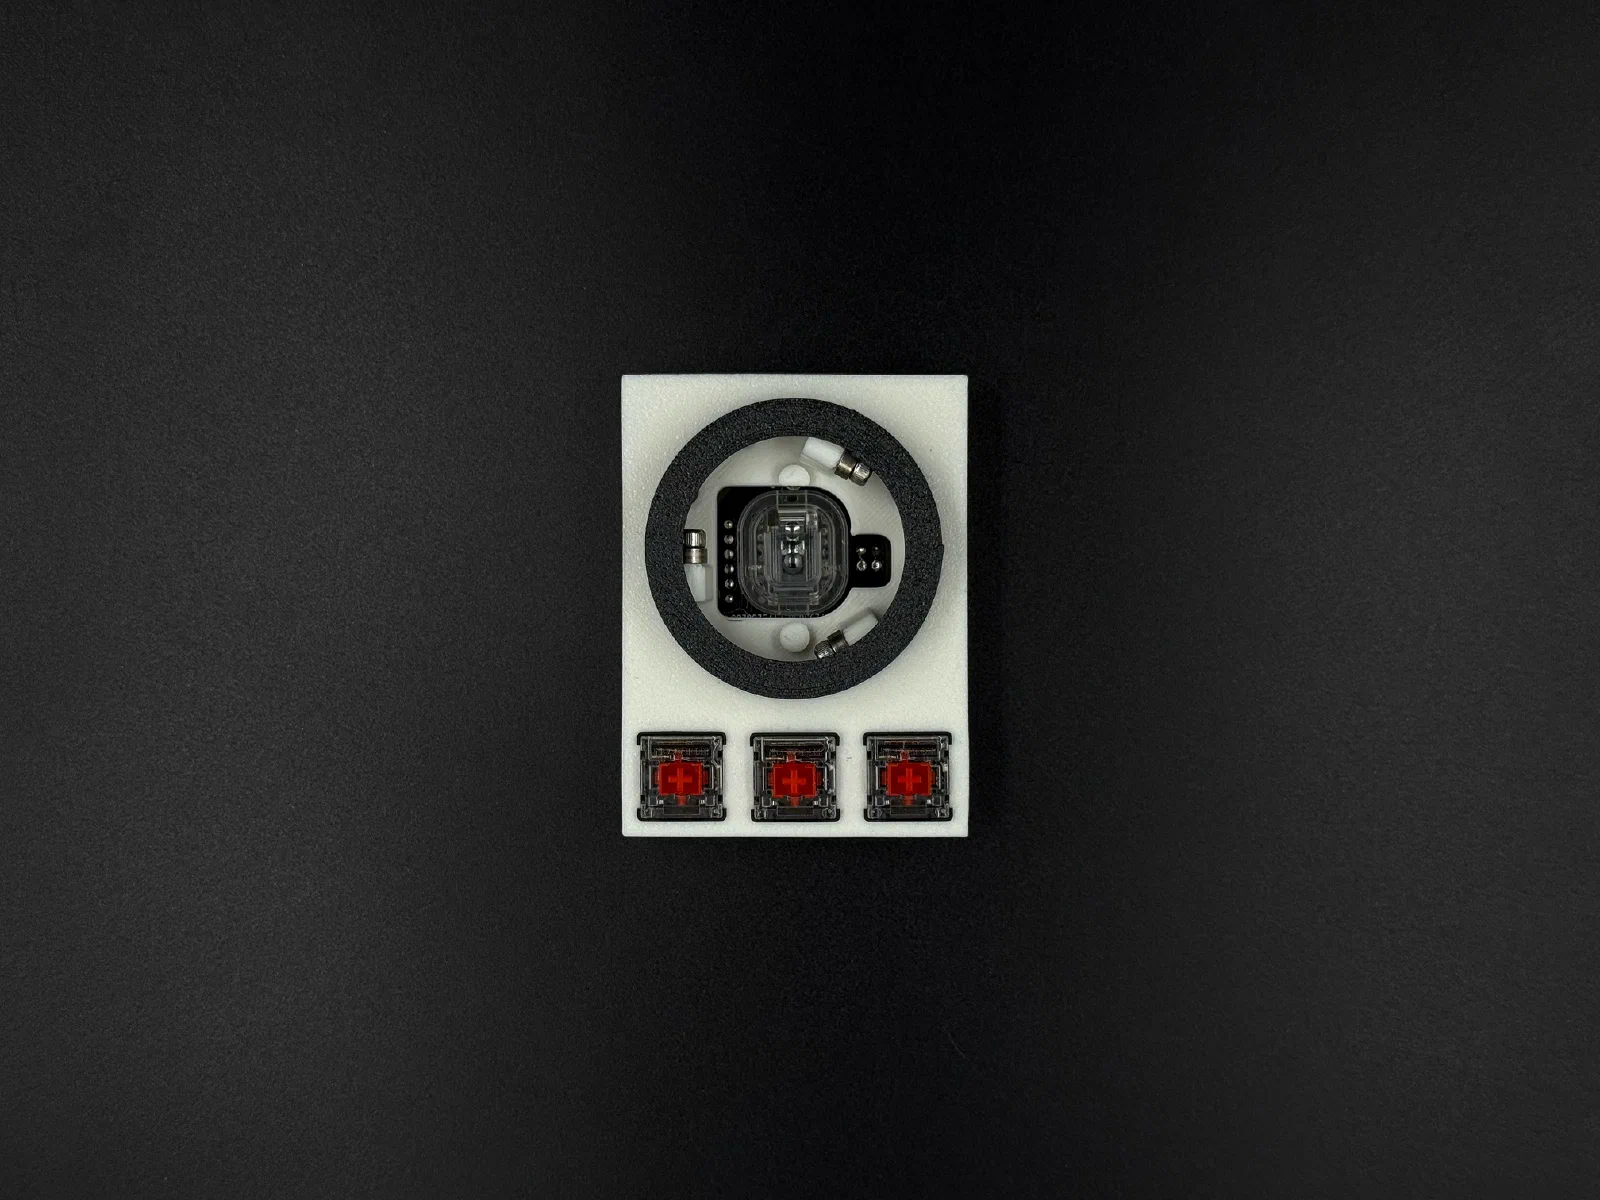
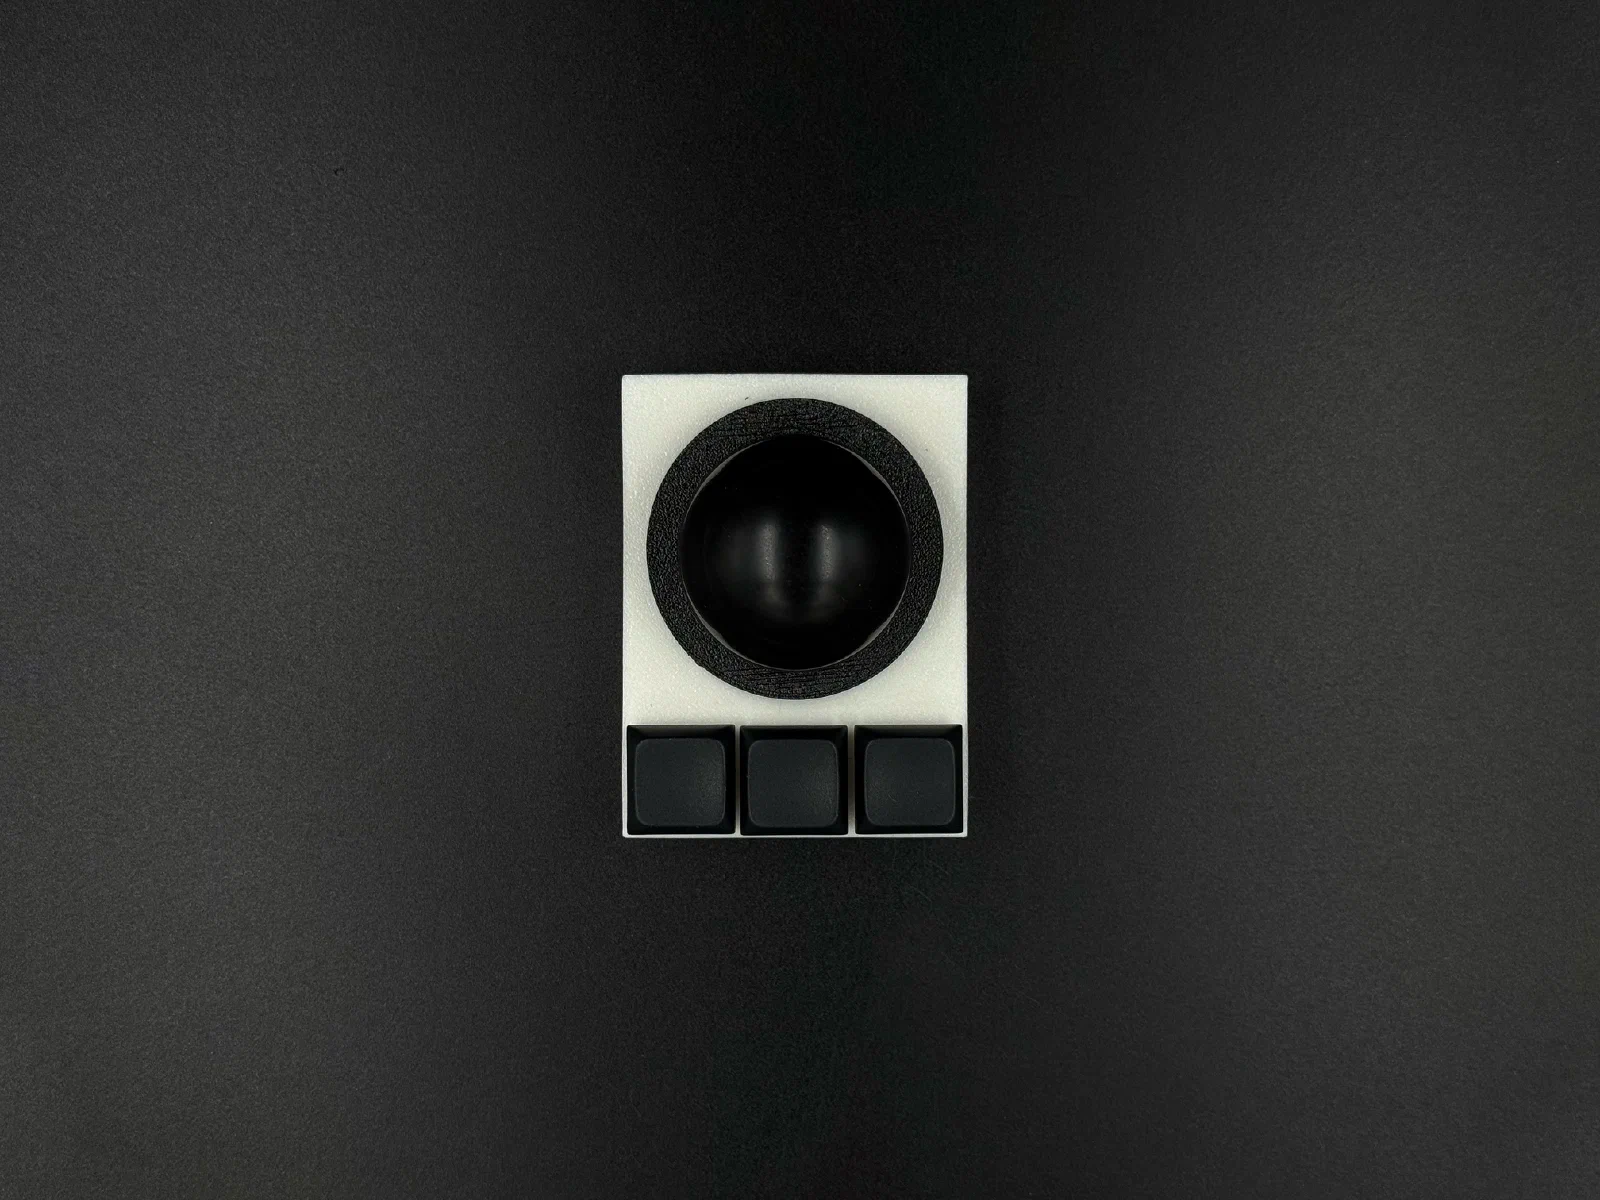
Firmware
The wired version runs QMK with Vial, the wireless one runs ZMK. The repo is on GitHub, and pre-compiled firmware is available too: QMK for the wired version and ZMK for the wireless one.
Vial (wired)
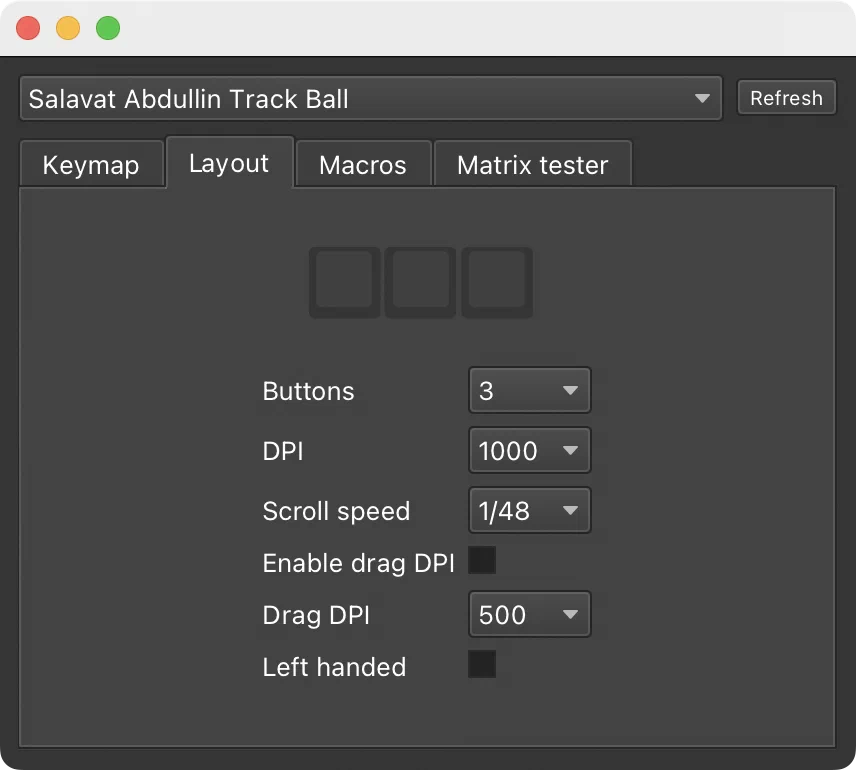
With Vial you can configure it in the Vial app without building anything. Open the Layout tab:
- Buttons: 1, 2 or 3, pick the number of buttons you soldered. The keys on the screen change their size to match
- DPI: 100 to 5000
- Scroll speed
- Enable drag DPI and Drag DPI: a lower DPI while the left button is held, for precise selecting
- Left handed: swaps the left and right buttons
The settings are stored in the trackball itself.
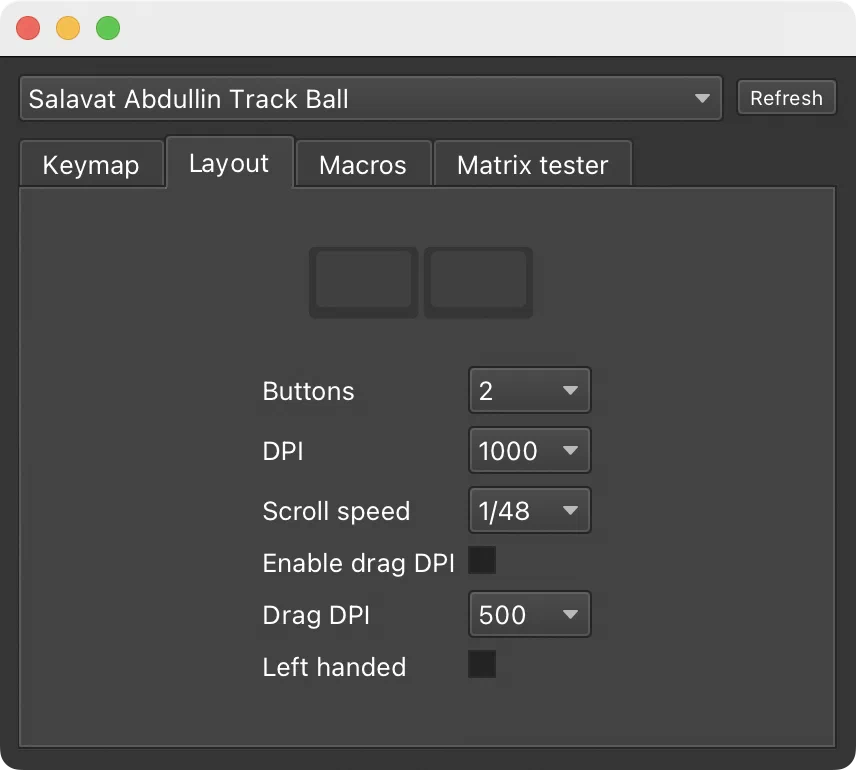
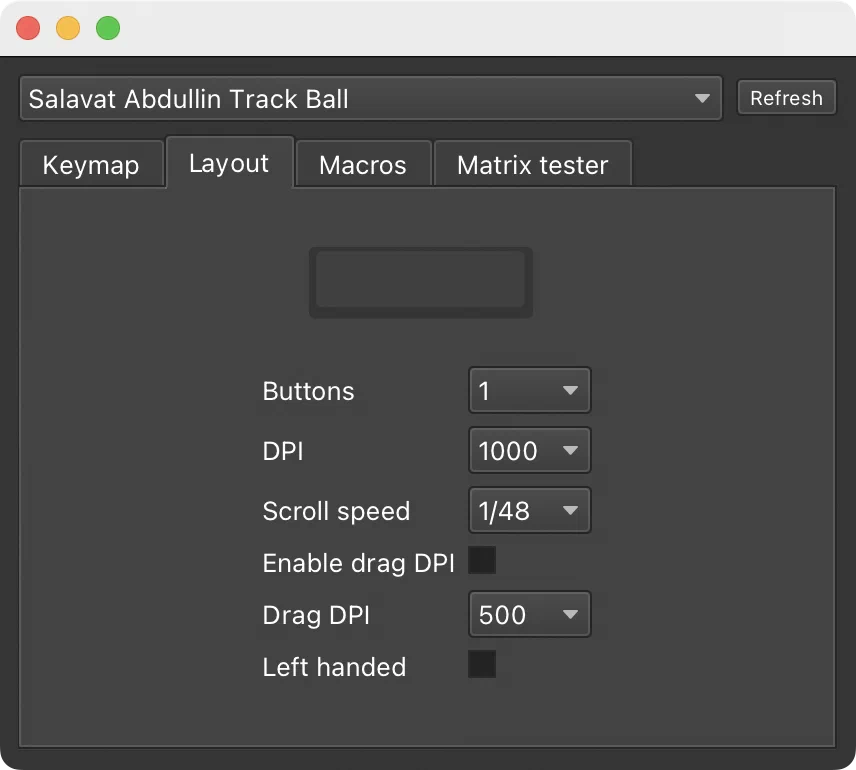
The repository also has a simpler default firmware without Vial. You can’t change its settings in an app: the number of buttons, scroll speed and handedness are set in the source code and need a rebuild. Only the DPI can be changed on the fly, see below.
How to use
Wireless Version (ZMK)
- Left button: left click
- Right button: right click
- Middle button: middle click
- Middle button hold: scroll mode for as long as you hold it, movement becomes vertical scroll
- Middle button hold, then left: DPI down one step
- Middle button hold, then right: DPI up one step
There are five DPI steps, 100 through 500, starting on 300. The DPI is saved 2 seconds after the last change, so the trackball comes back with the DPI you left it on after it is switched off. Flashing a new build resets it to 300.
Left handed: flash zmk-left-hand.uf2 instead of zmk-right-hand.uf2. It is the same hardware, only the left and right buttons are swapped.
Bootloader: switch the trackball off, hold the left button, plug the USB cable in. The NICENANO drive appears. A double tap on the reset button of the nice!nano does the same.
Wired Version (QMK)
Three buttons:
- Left button: left click
- Right button: right click
- Middle button tap: middle click
- Middle button hold: scroll mode
Two buttons:
- Left button: left click. Hold it and move the ball to select or drag, the drag DPI applies if it is enabled
- Right button tap: right click
- Right button hold: scroll mode, the ball movement is converted to vertical scrolling
One button (experimental):
- Tap: left click
- Hold while moving the ball: select or drag, the drag DPI applies if it is enabled
- No right click, no scroll and no middle click
With the Vial firmware the DPI and the other options are set in Vial. With the default firmware, hold the middle button and press the right button on the case for the next DPI step or the left one for the previous step. The step is saved, and flashing a new build resets it to 1000. To make it left handed, swap the first and last key of layer 0 in keymaps/default/keymap.c and build it yourself.
Bootloader: hold the left button and plug the board in. The RPI-RP2 drive appears.
Resources
- Case print files on Printables
- Repo: GitHub
- Pre-compiled firmware
- QMK readme / ZMK readme
Credits
This trackball housing and firmware were inspired by and initially prototyped from the HPD keyboard. Thanks to Ergohaven for publishing their work as open source.