Introduction
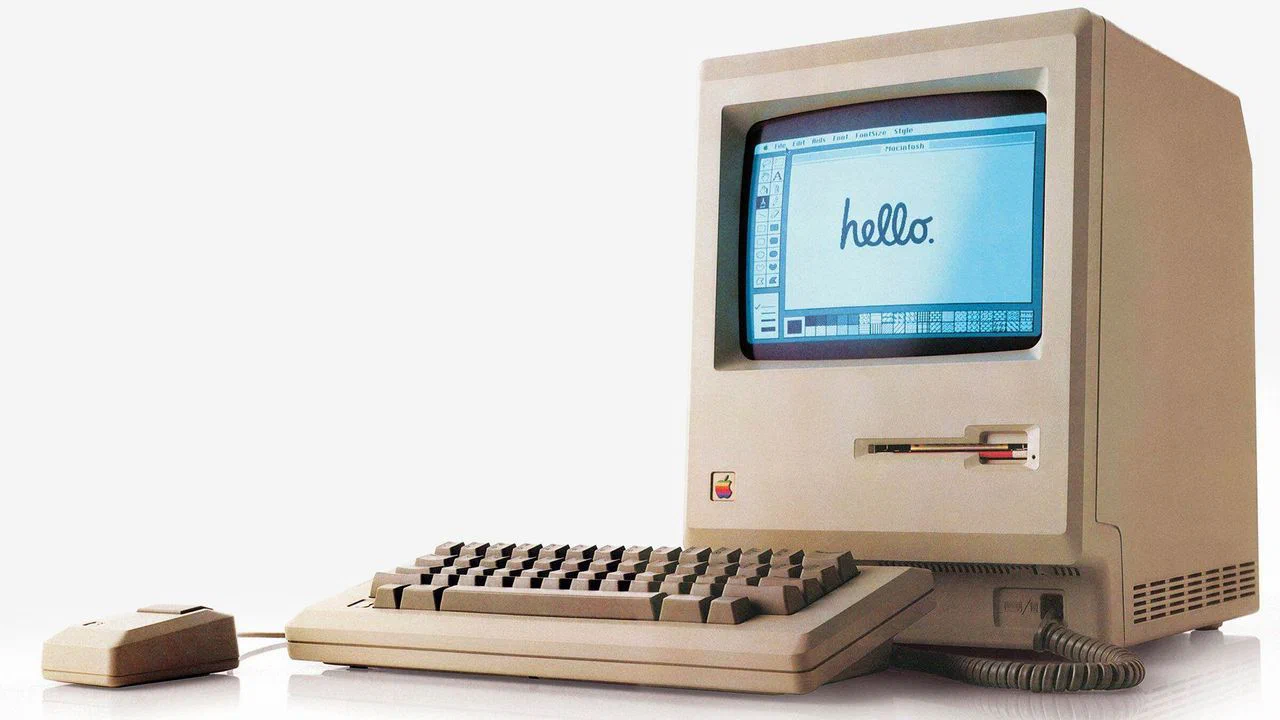
There’s one computer that has always stuck with me: the Canon Cat, a 1987 machine designed by Jef Raskin. He also started and led Apple’s Macintosh project in 1979, naming it after his favorite apple variety, McIntosh. He later left the company after disagreements with Steve Jobs.
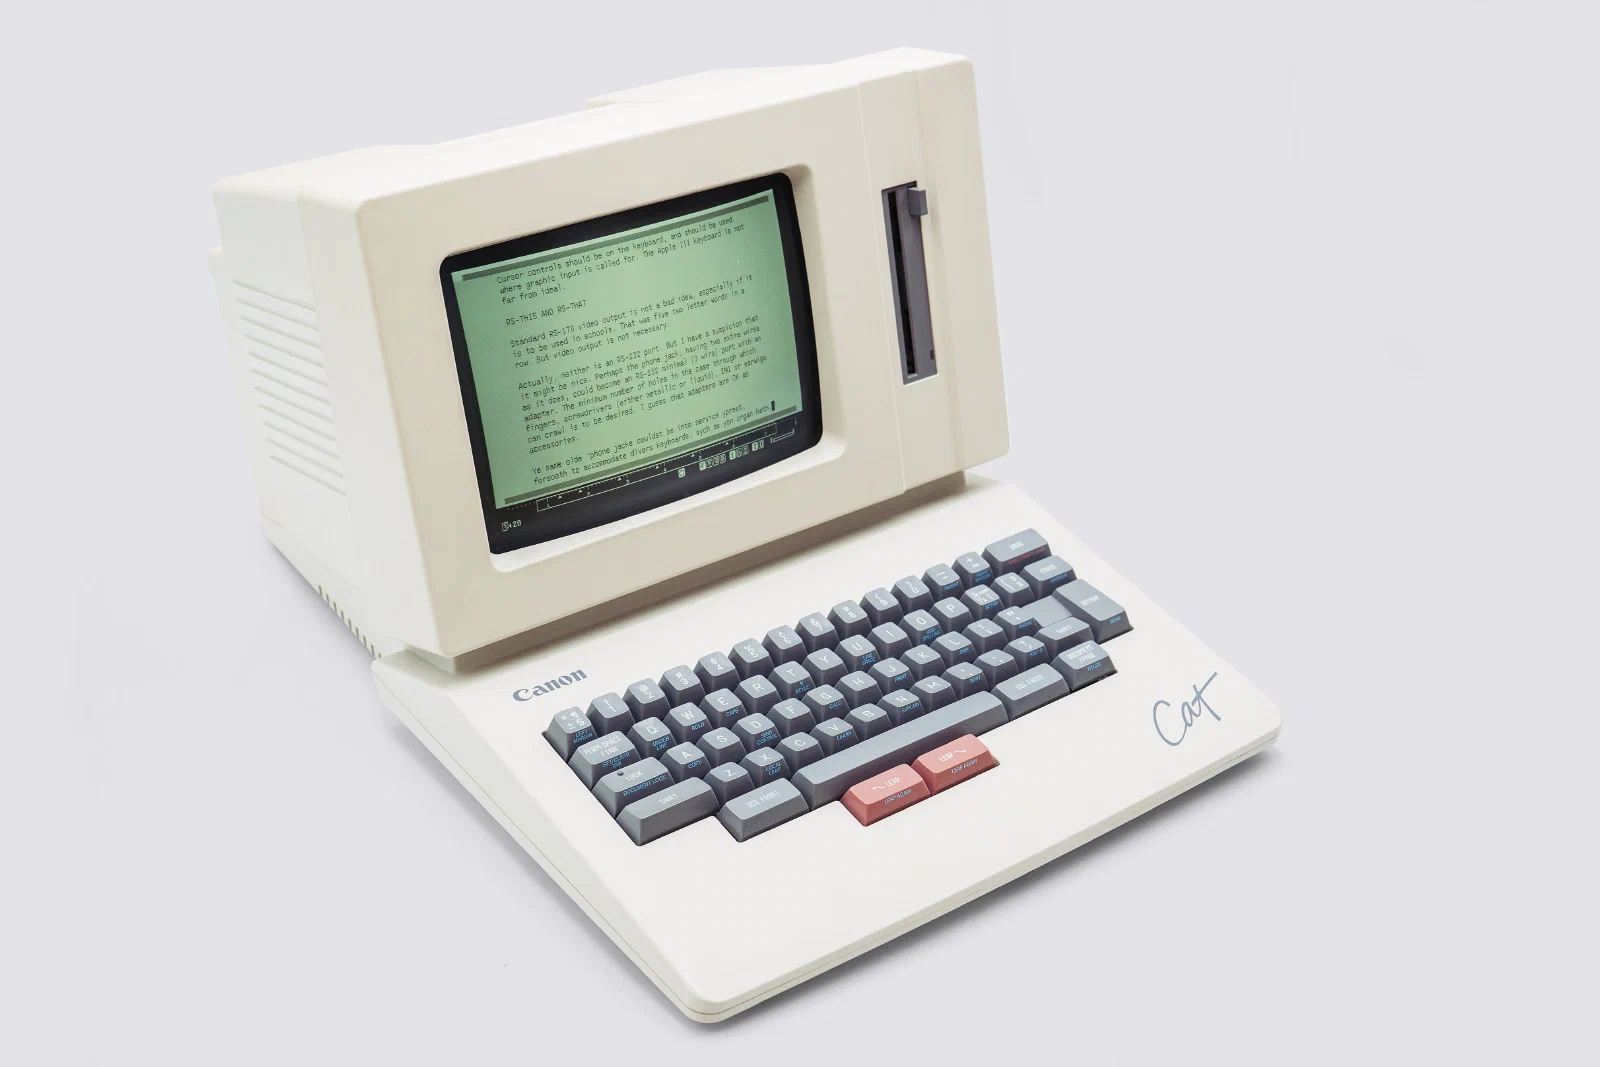
Raskin gave the computer a unique text-navigation system that replaced the mouse. Moving your hand from the keyboard to the mouse and back may only take a moment, but it interrupts the flow of typing. The two LEAP keys under the spacebar let you work with text without that interruption.
Here’s how it worked. To jump to a word further down the text, you held the right LEAP key and typed its first letters. The cursor immediately moved to the nearest match. To select a paragraph, you held the left LEAP key, jumped to its beginning, then held both LEAP keys at once. The computer automatically selected everything between the old and new cursor positions.
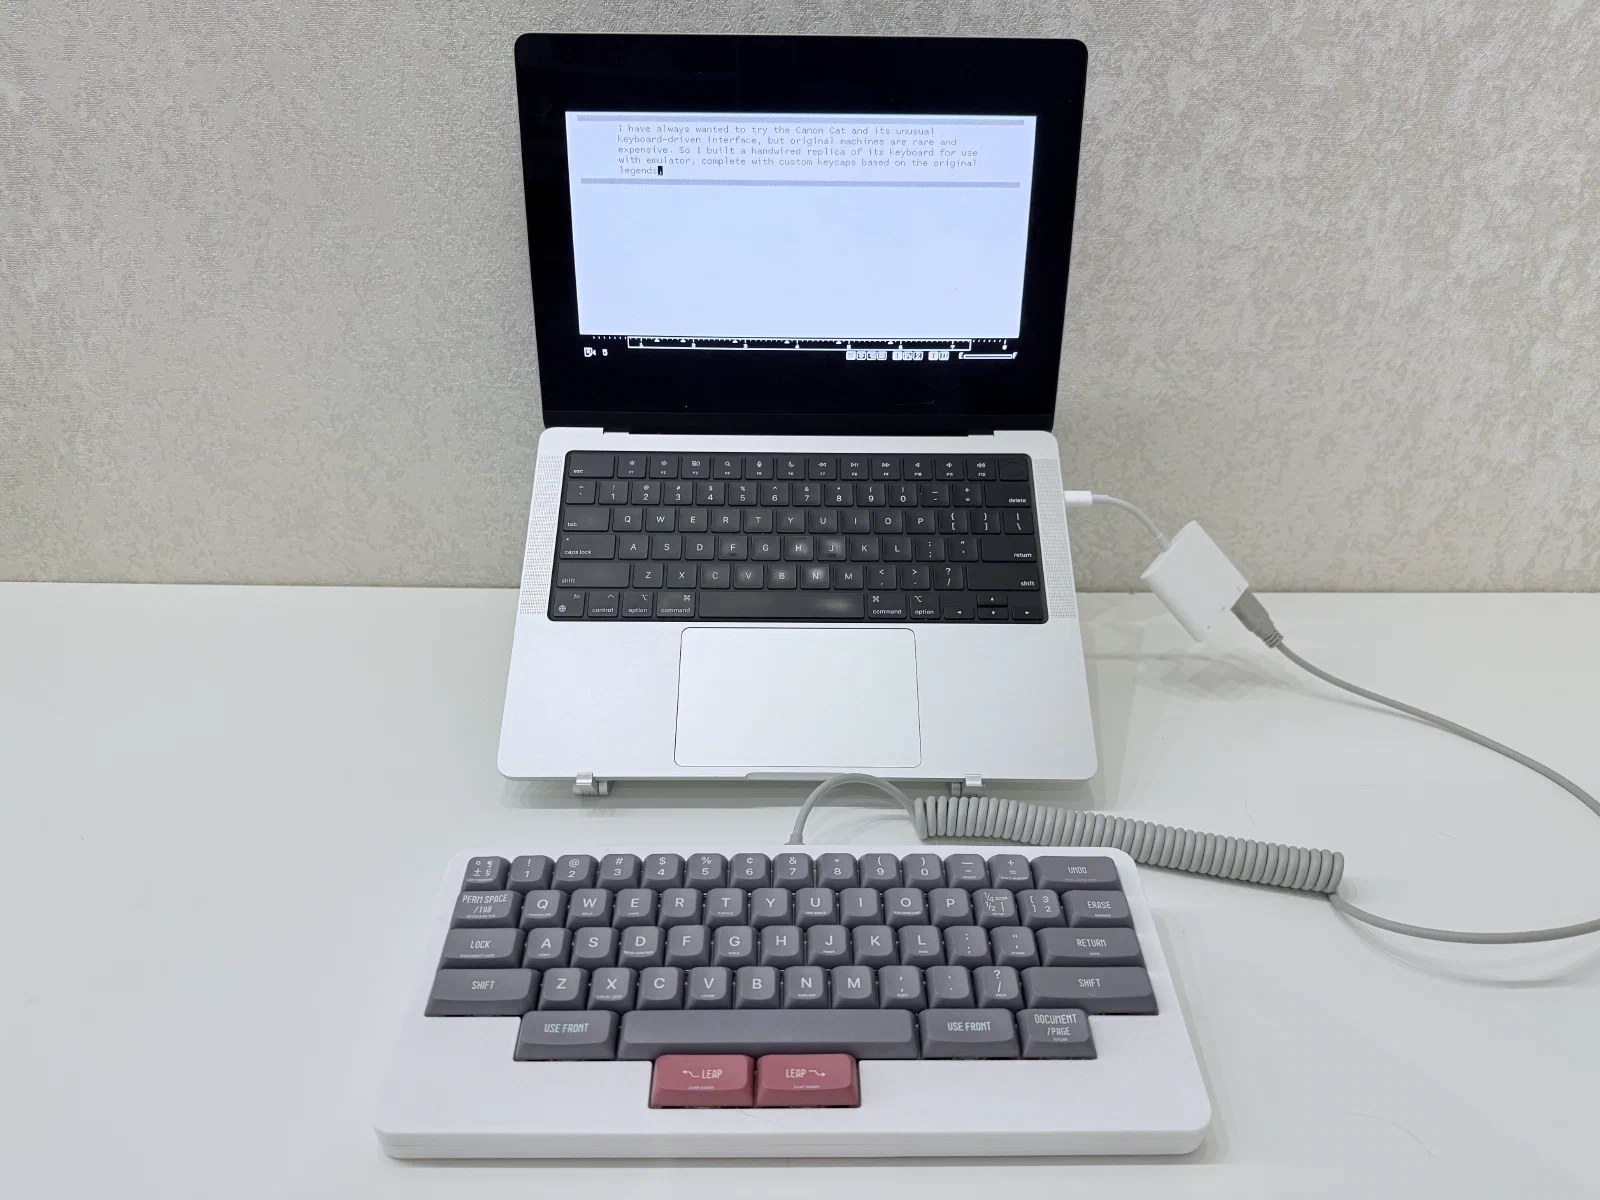
As someone who has been designing interfaces for years and is interested in keyboards, I really wanted to try this system for myself. I had two options: buy an original machine or use an emulator. Buying a real Canon Cat would have been ideal, but far from easy. Only around 20,000 were sold during its short commercial run, so originals are rare and expensive. The fact that an emulator exists at all already feels like a stroke of luck, so there wasn’t much of a choice to make.
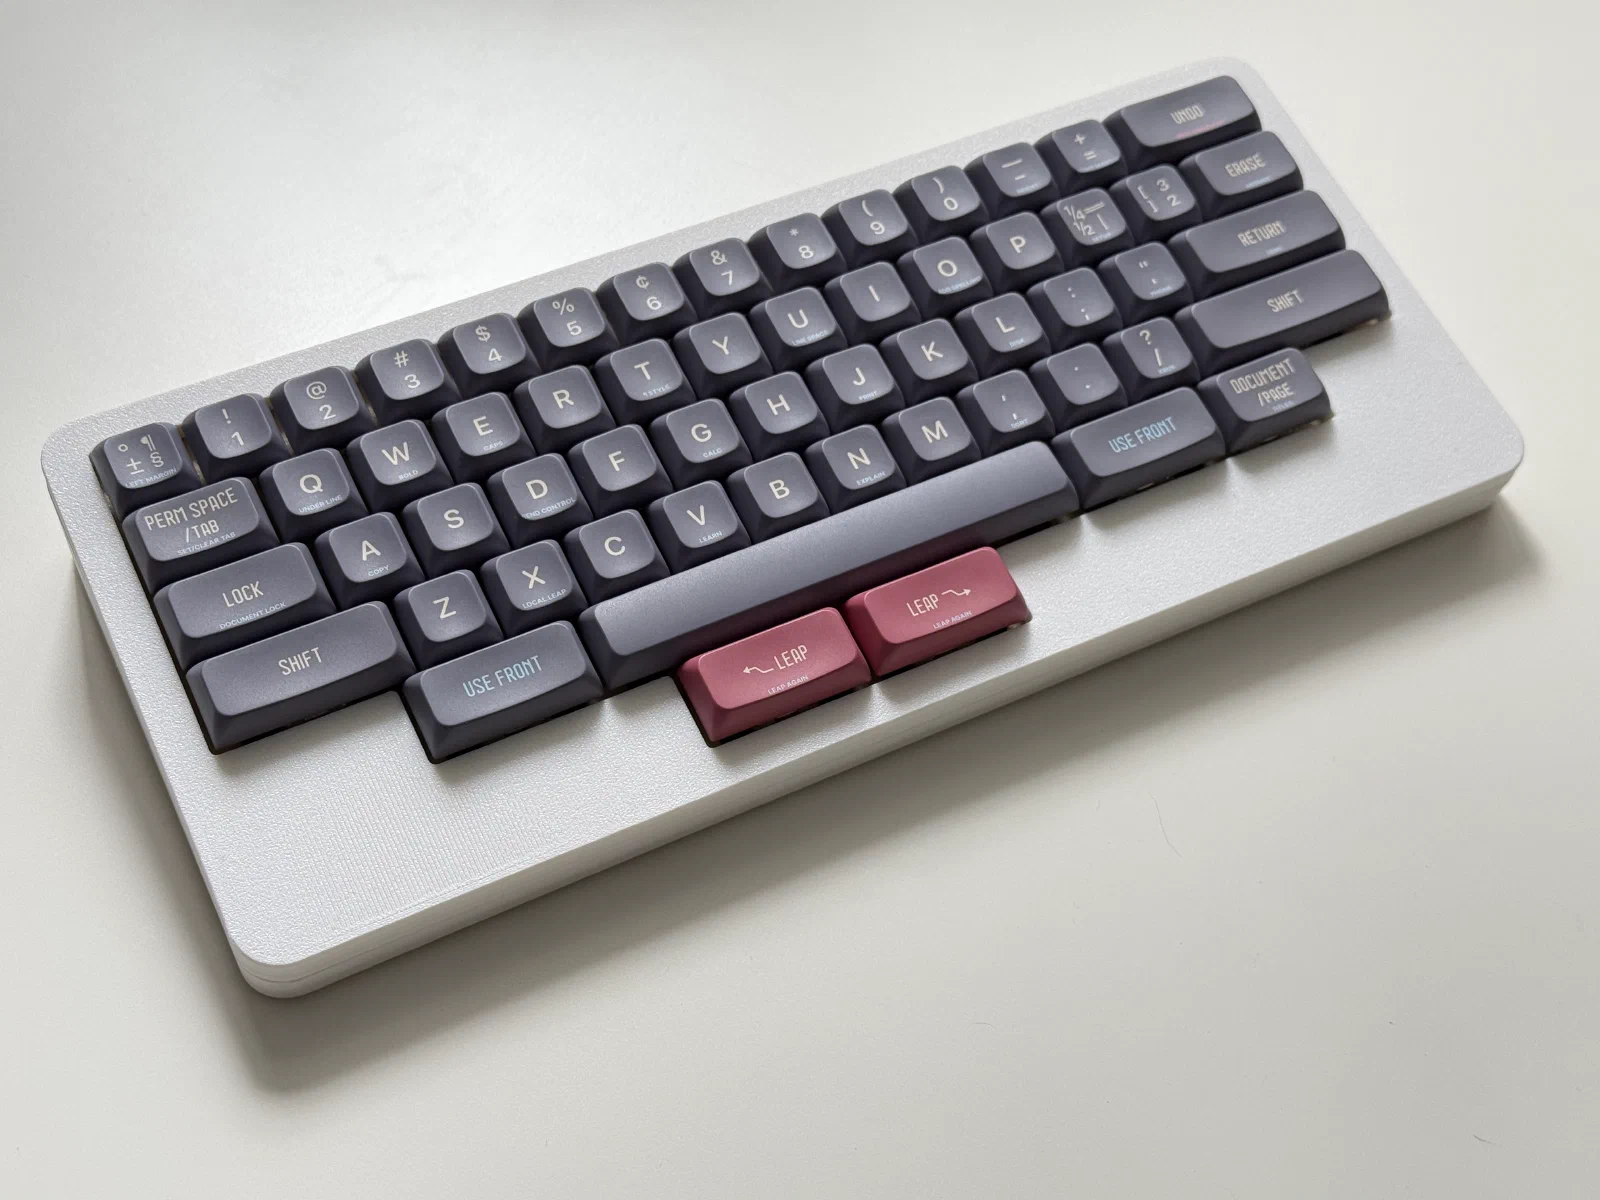
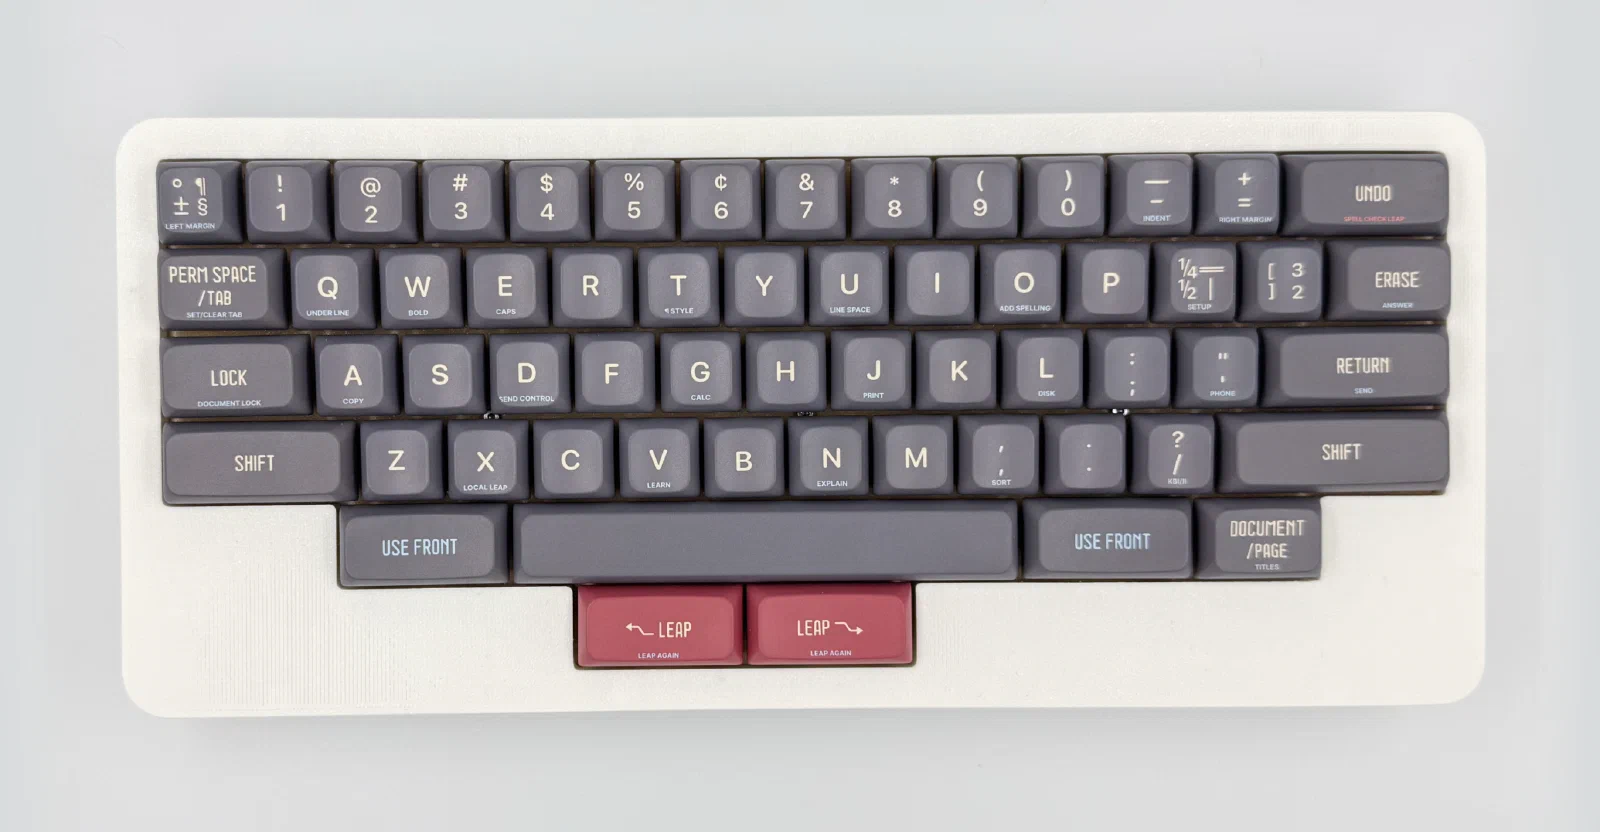
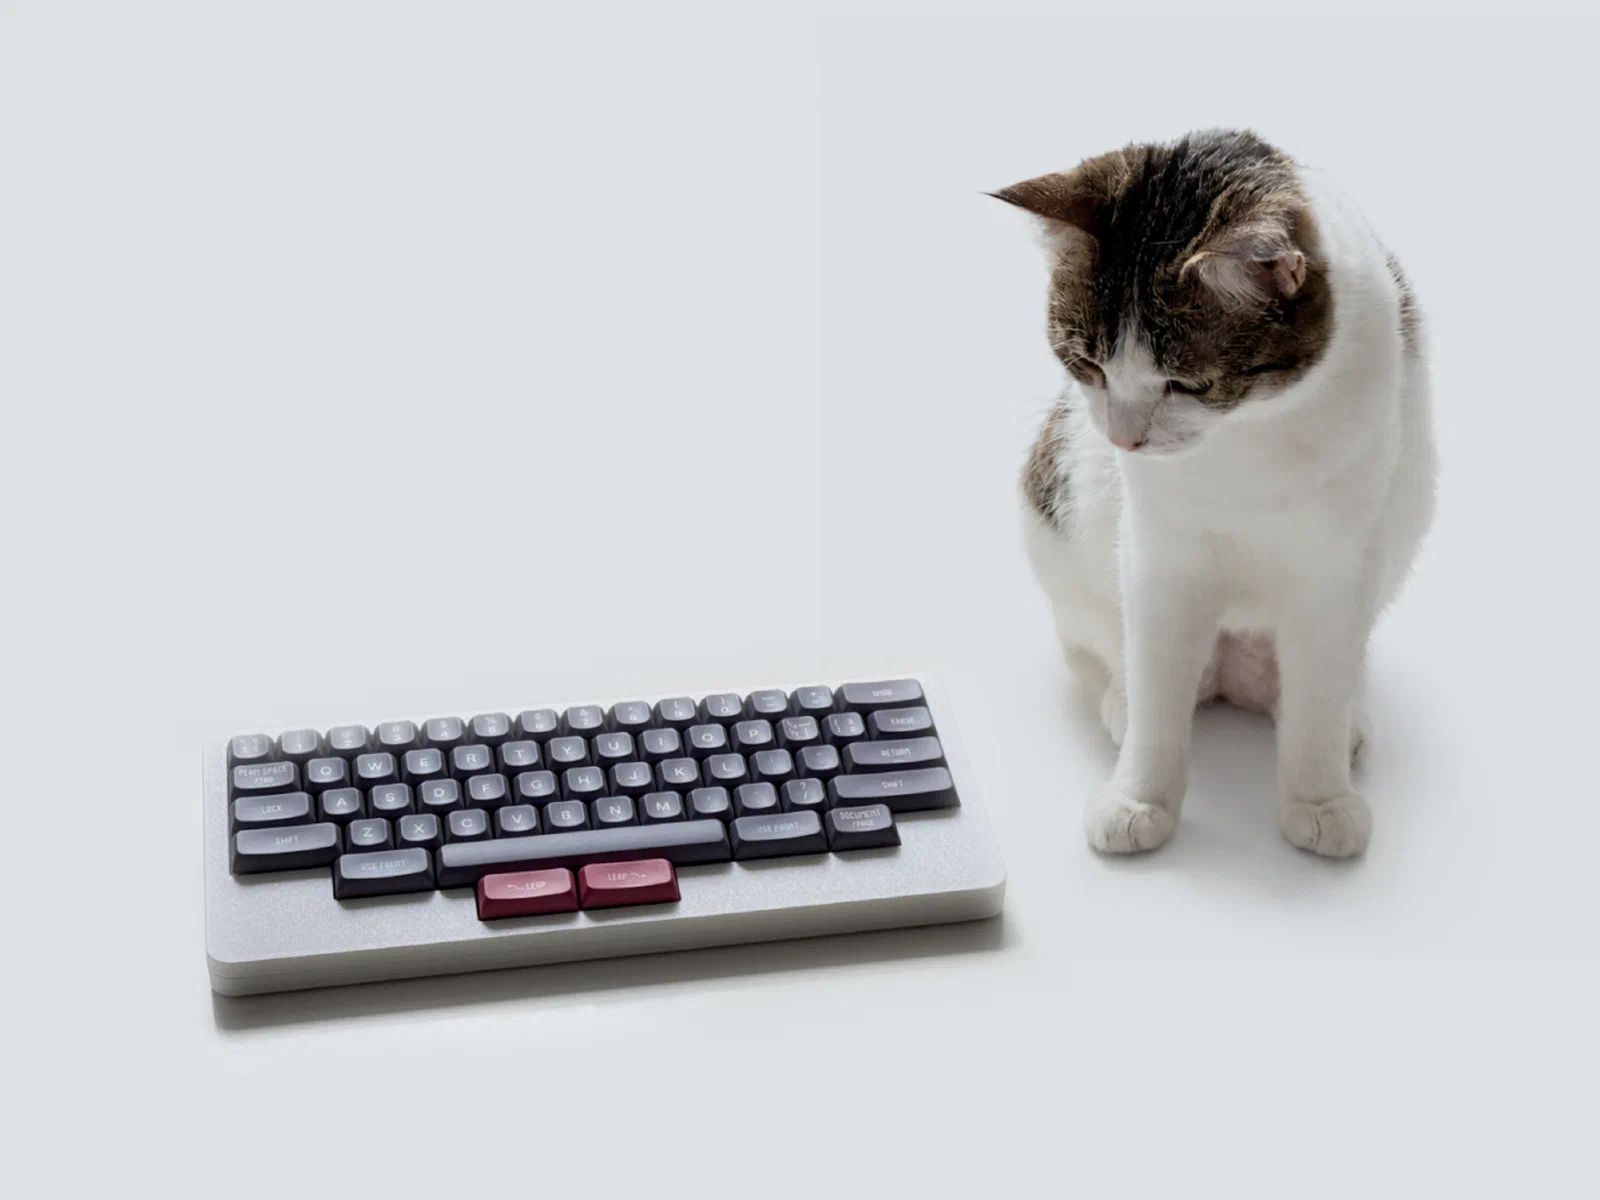
But emulation is still a compromise. Even if the software works perfectly, a modern keyboard layout is different from the Canon Cat’s, so you constantly have to remember which key does what. I wanted an experience as close to the original as possible. So, just like with Atari Boy, I decided to build a keyboard that replicated the Canon Cat’s layout and legends as faithfully as I could, with a few compromises forced by the available keycap options.
Keycaps
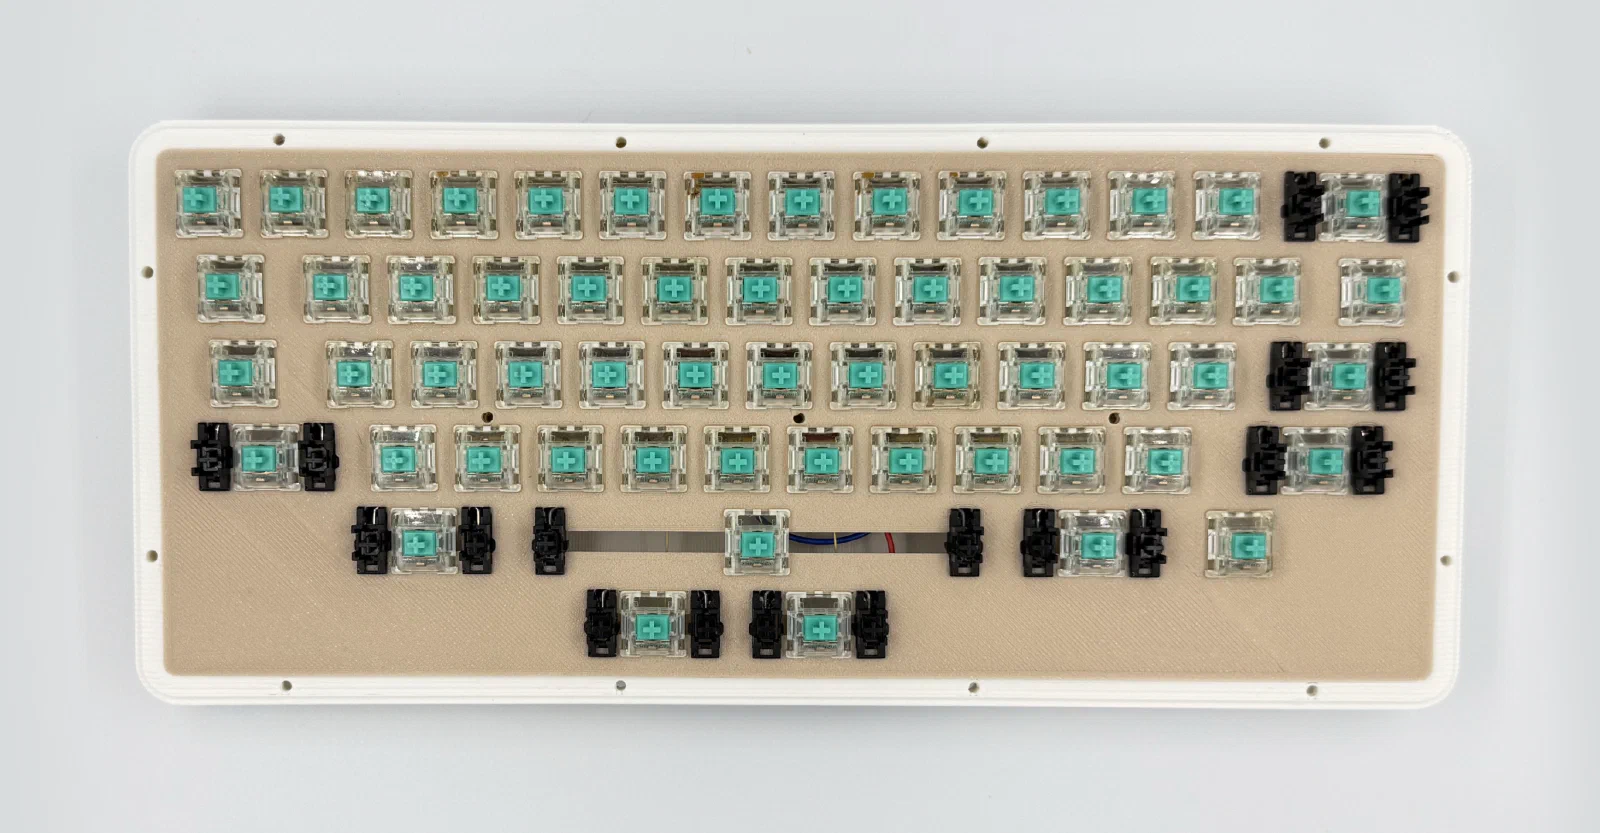
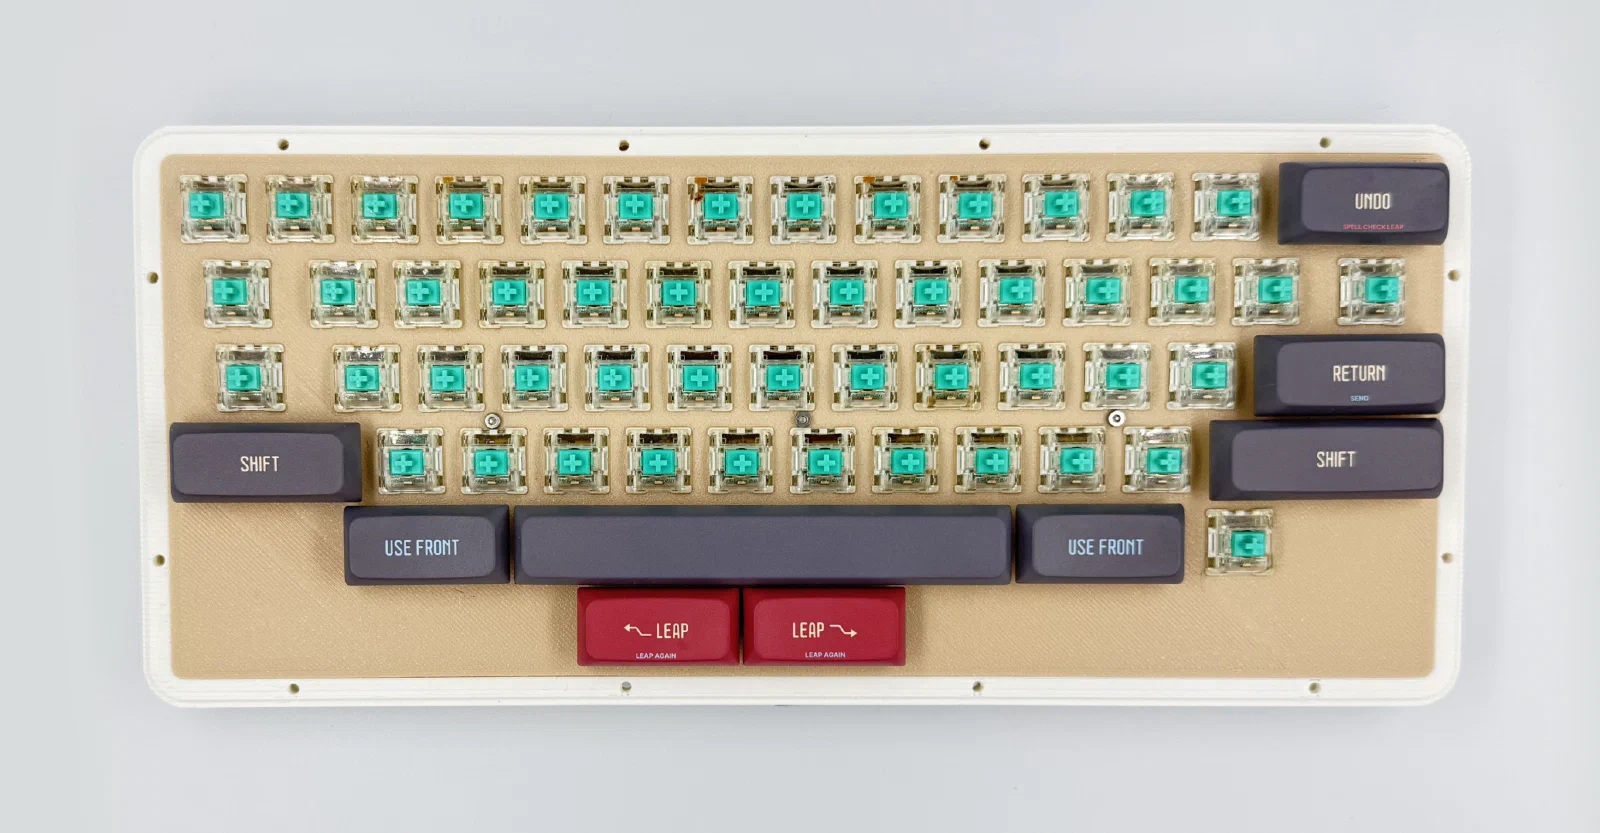
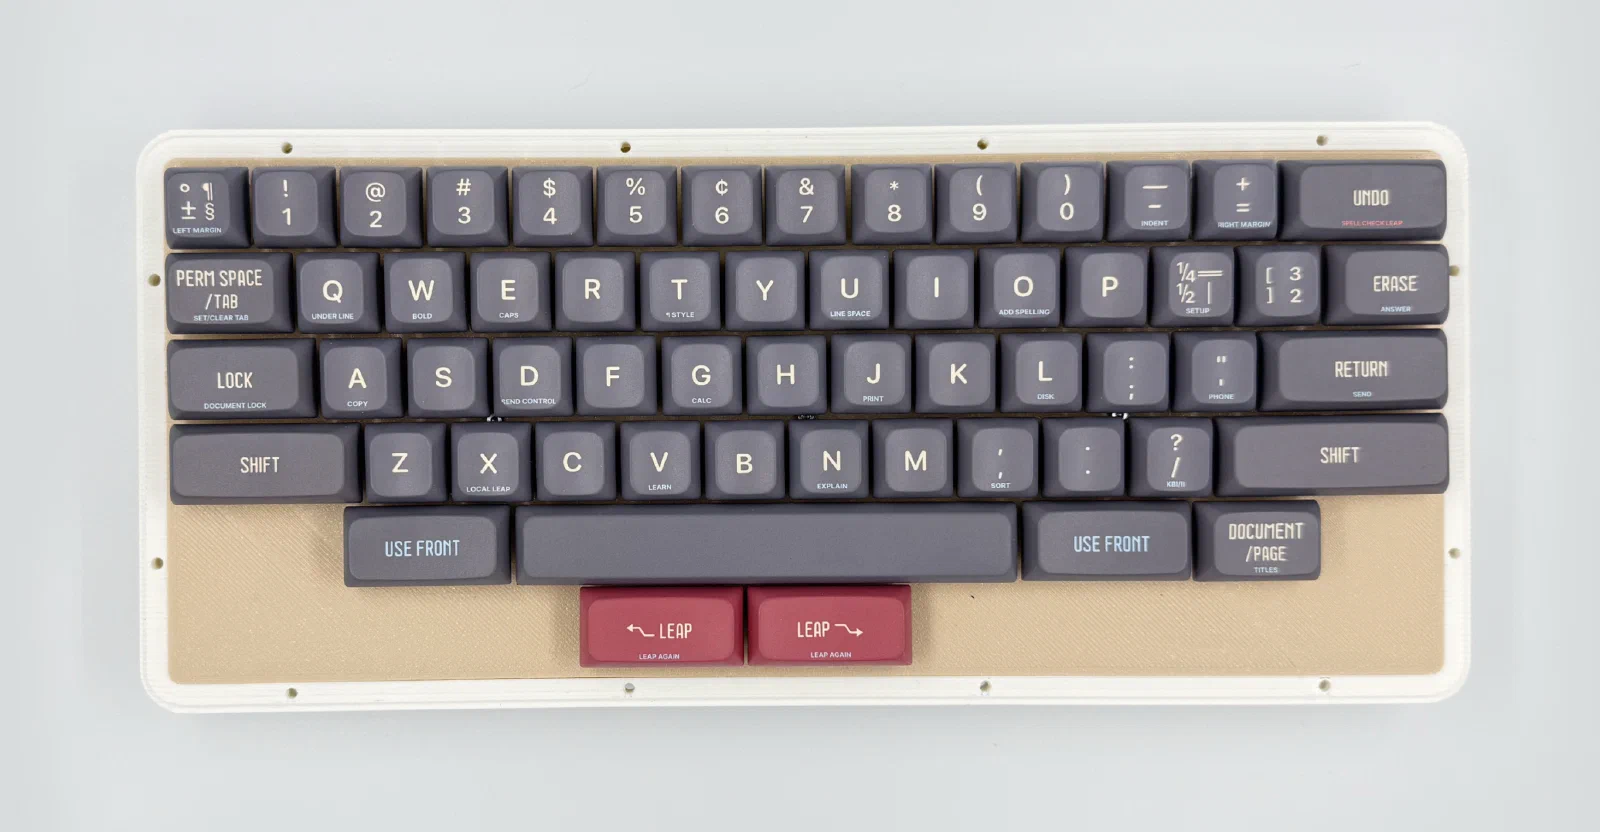
Yuzu helped me with the keycaps again. I first drew everything in Figma, then recreated it in their online editor. But I had to use an ANSI layout because they didn’t have the original RETURN shape. This also meant using a different right SHIFT and adding one more stabilizer. I actually like it better this way. There are already nine stabilizers on this keyboard, more than on any other board I own, including my 100% board. Another small compromise involved the legends. Some of the original ones were printed on the front faces of the keycaps. They don’t support that yet, so I had to place them on top next to the main legends instead.
I manually redrew the original typeface as vector artwork for all the control keys, including Leap, Return, Use Front, and so on.
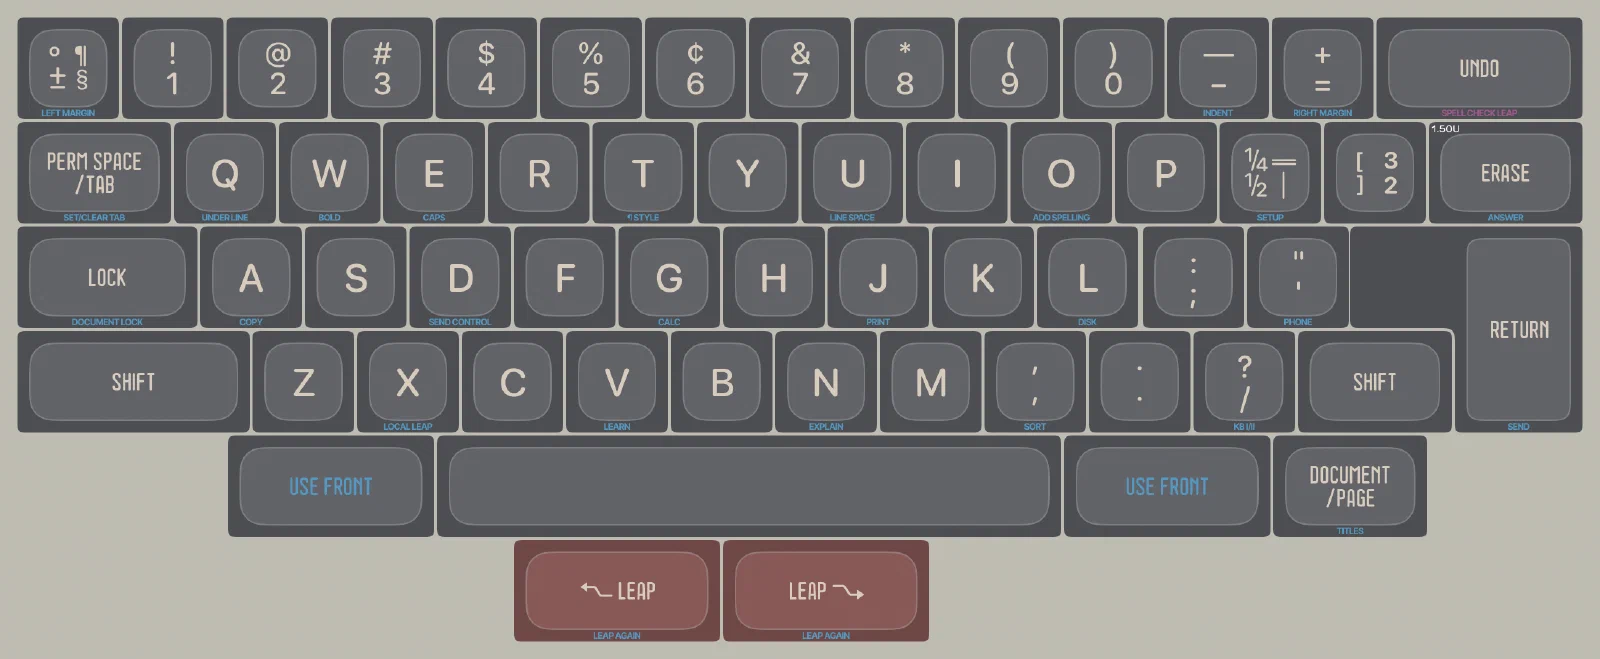
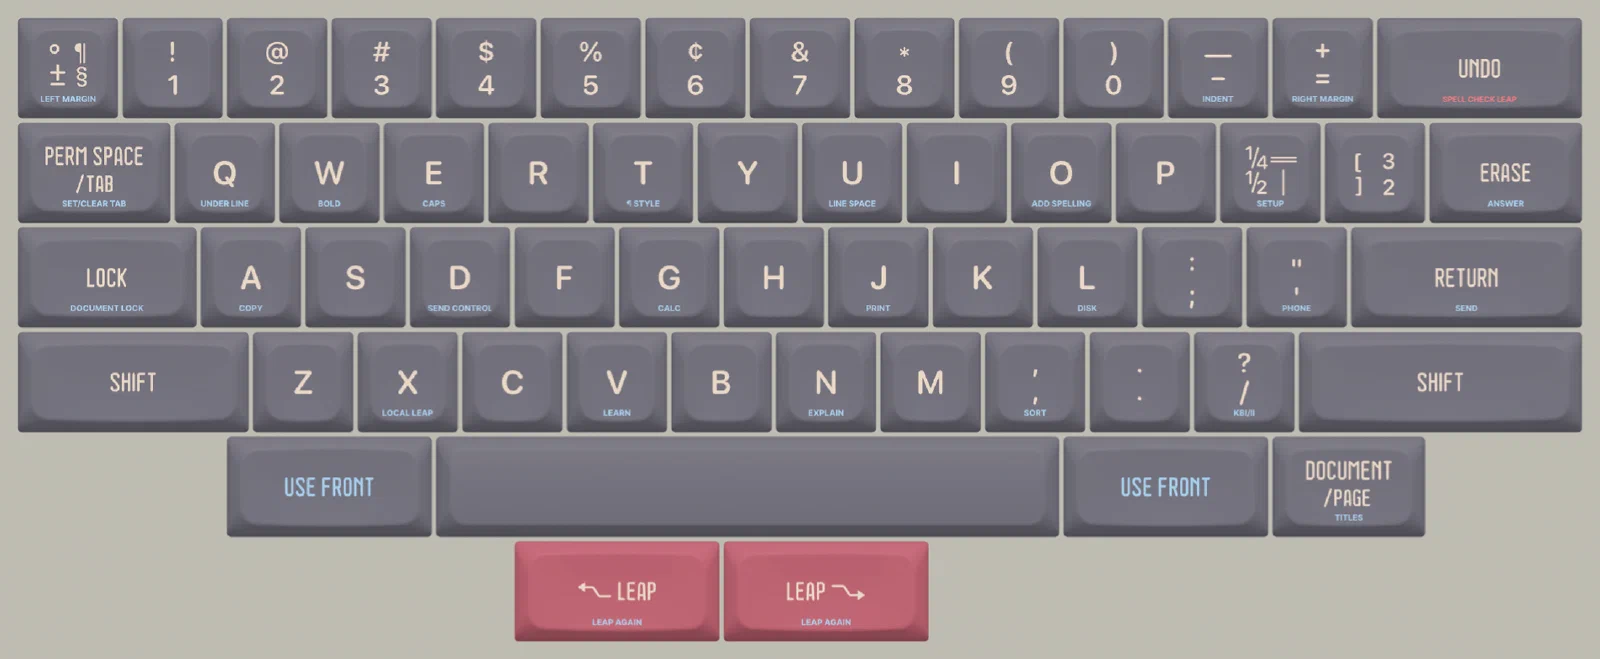
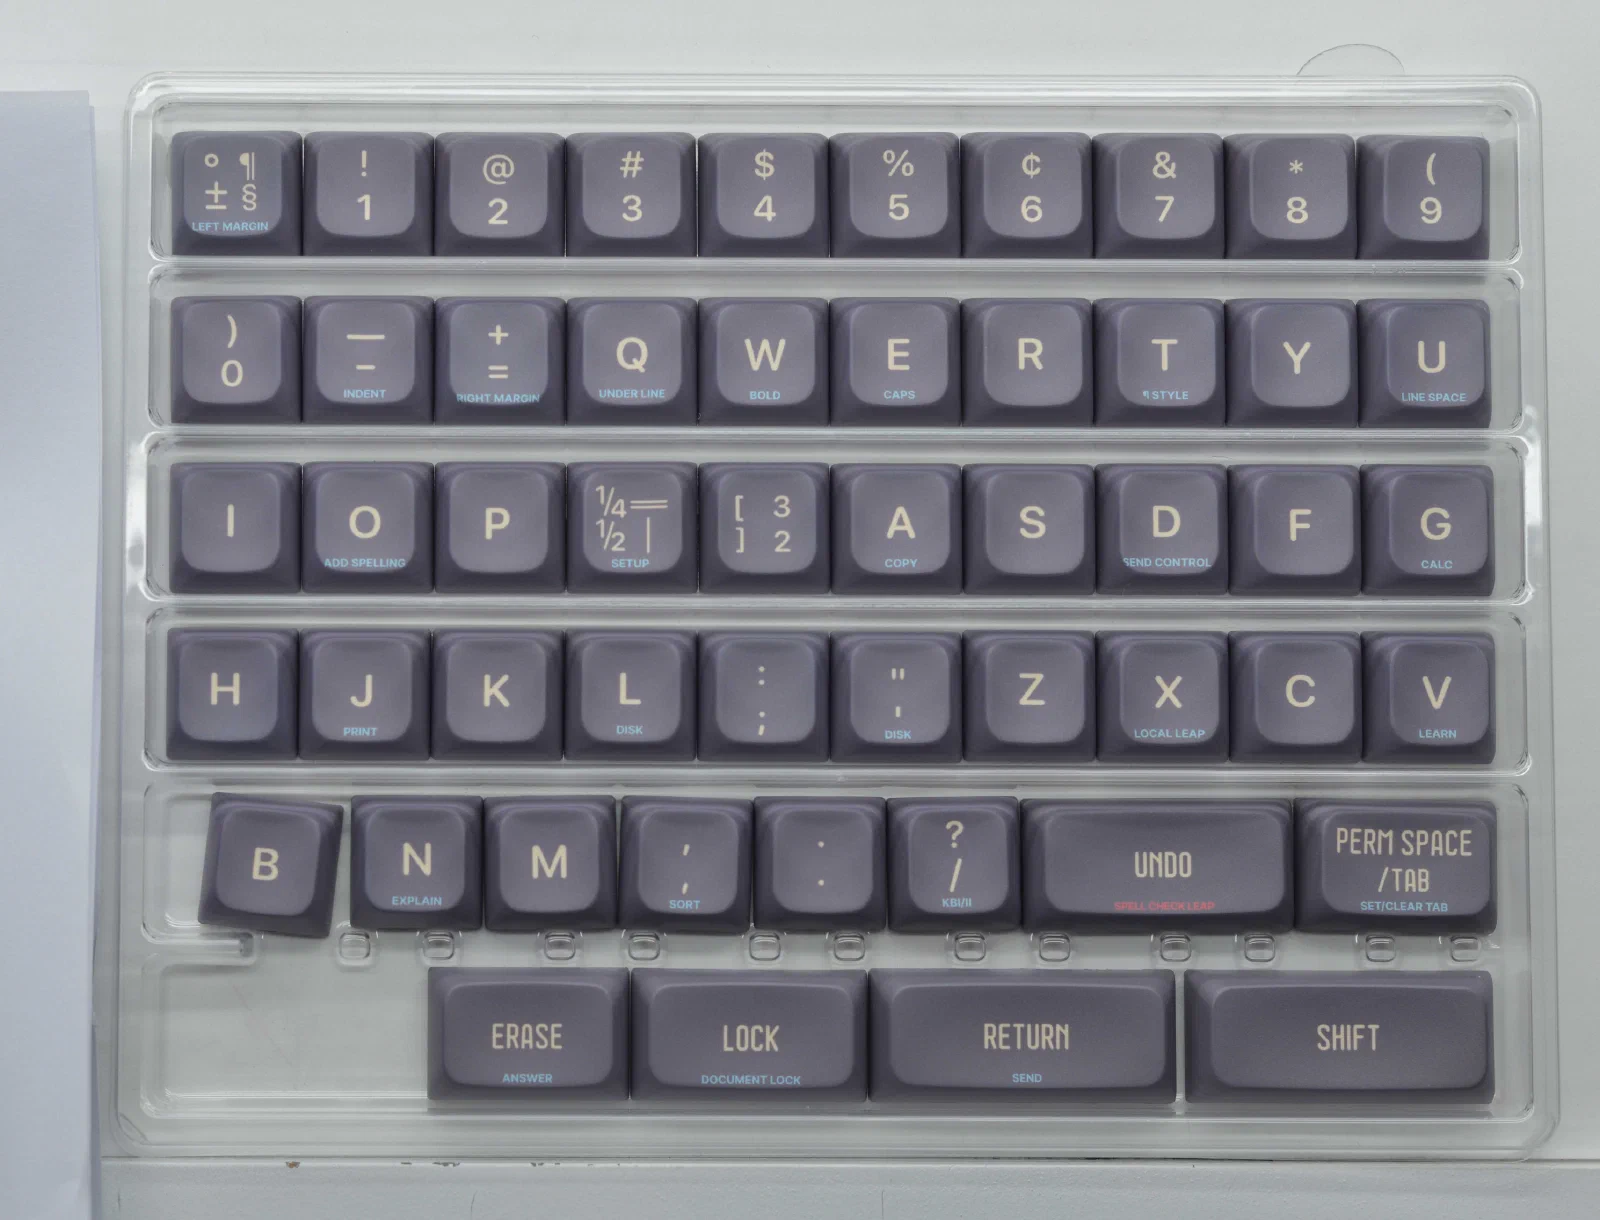
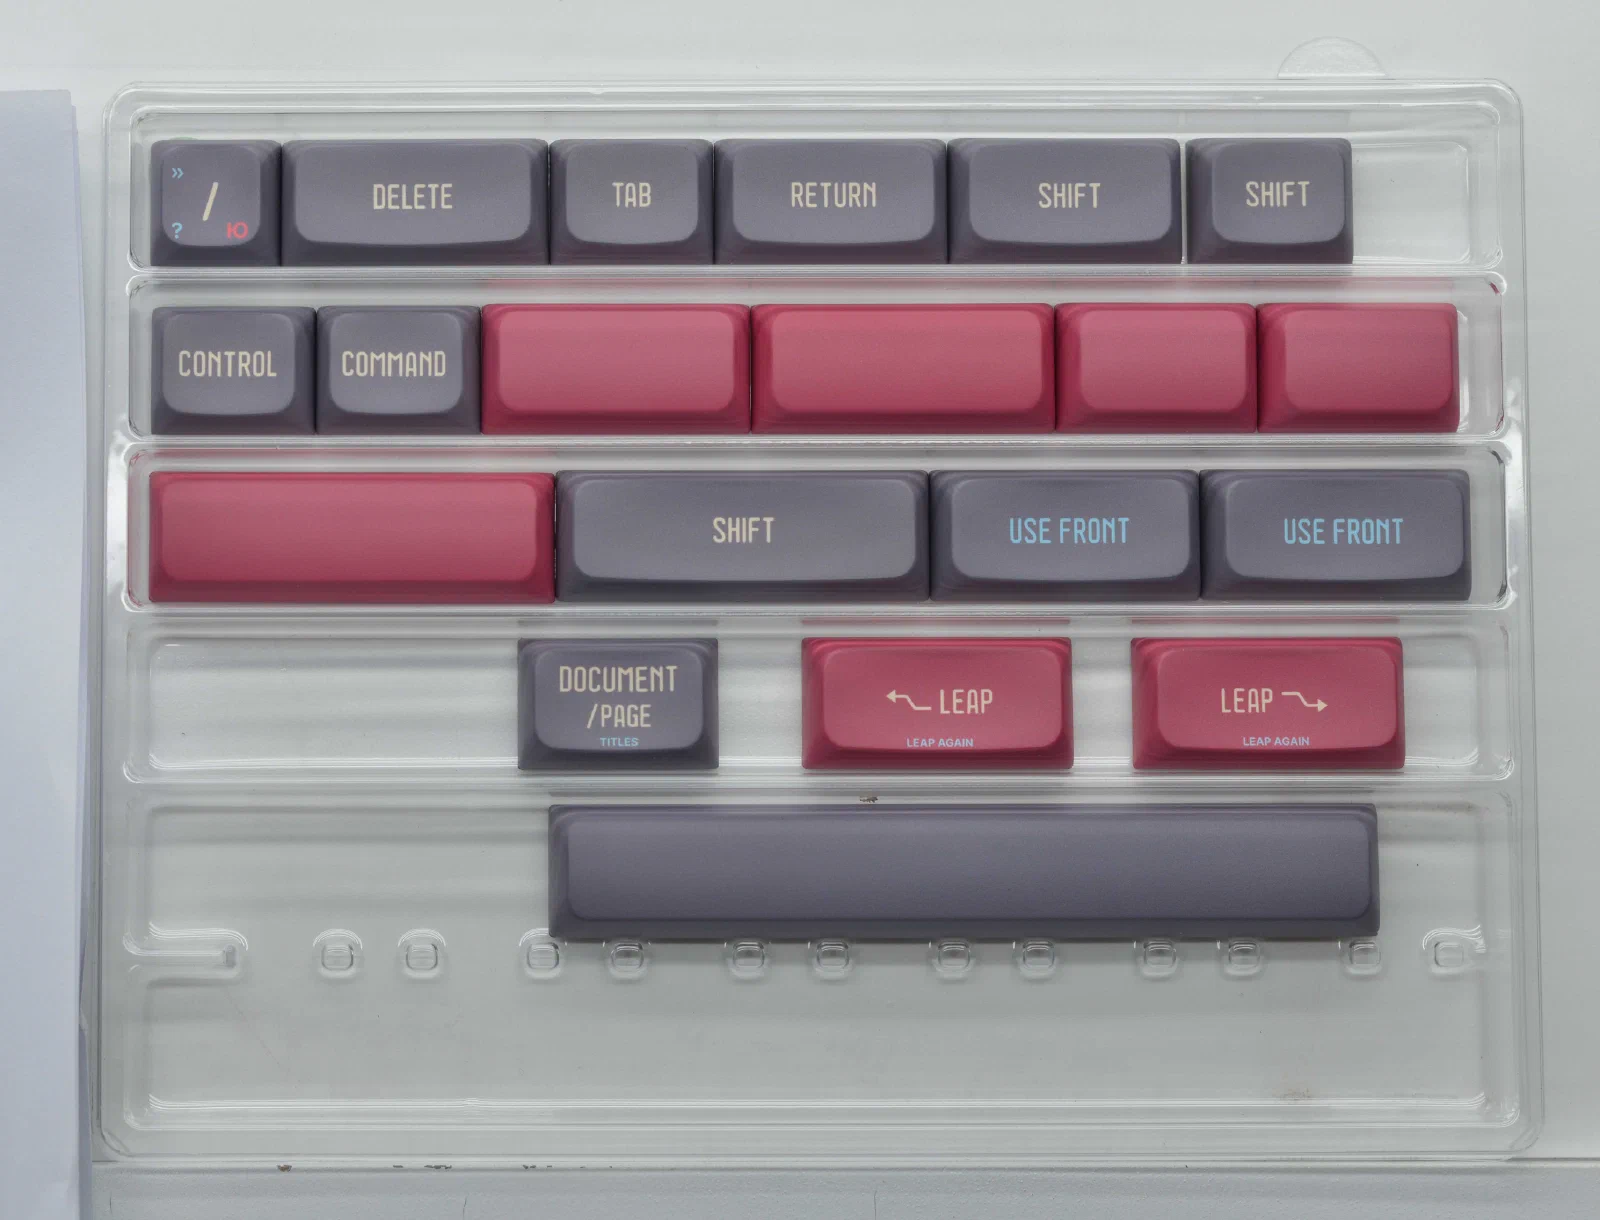
Once the keycaps were made, Yuzu sent me photos so I could check how they turned out. That’s when I noticed a mistake on the " key: I had written DISK instead of PHONE at the bottom. They remade the keycap with the correct legend without any issues.
Some of the longer legends, RIGHT MARGIN, ADD SPELLING, and SEND CONTROL, extend beyond the keycap edges. They’re split across two lines on the original, but I had to keep them on one here because of the limited space. Other than that, everything turned out great.
View this keycap set on Yuzu. You can copy it and customize it however you like.
Case
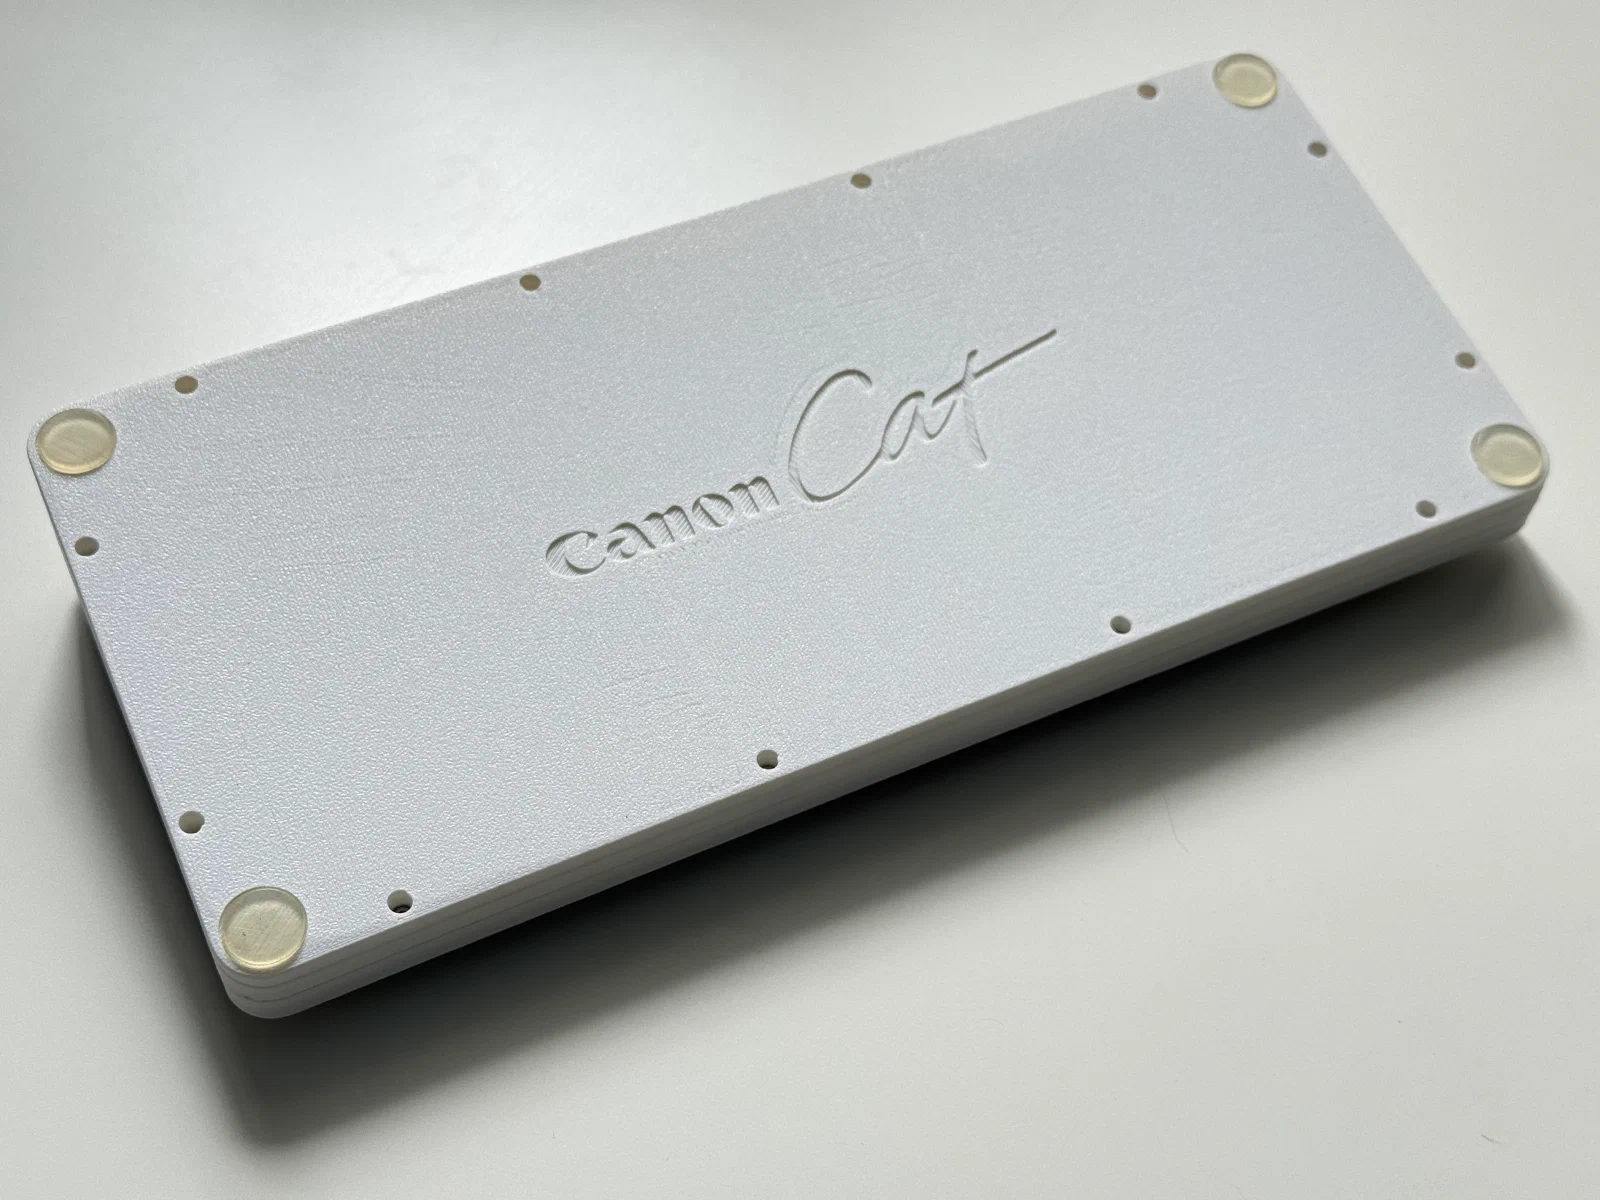
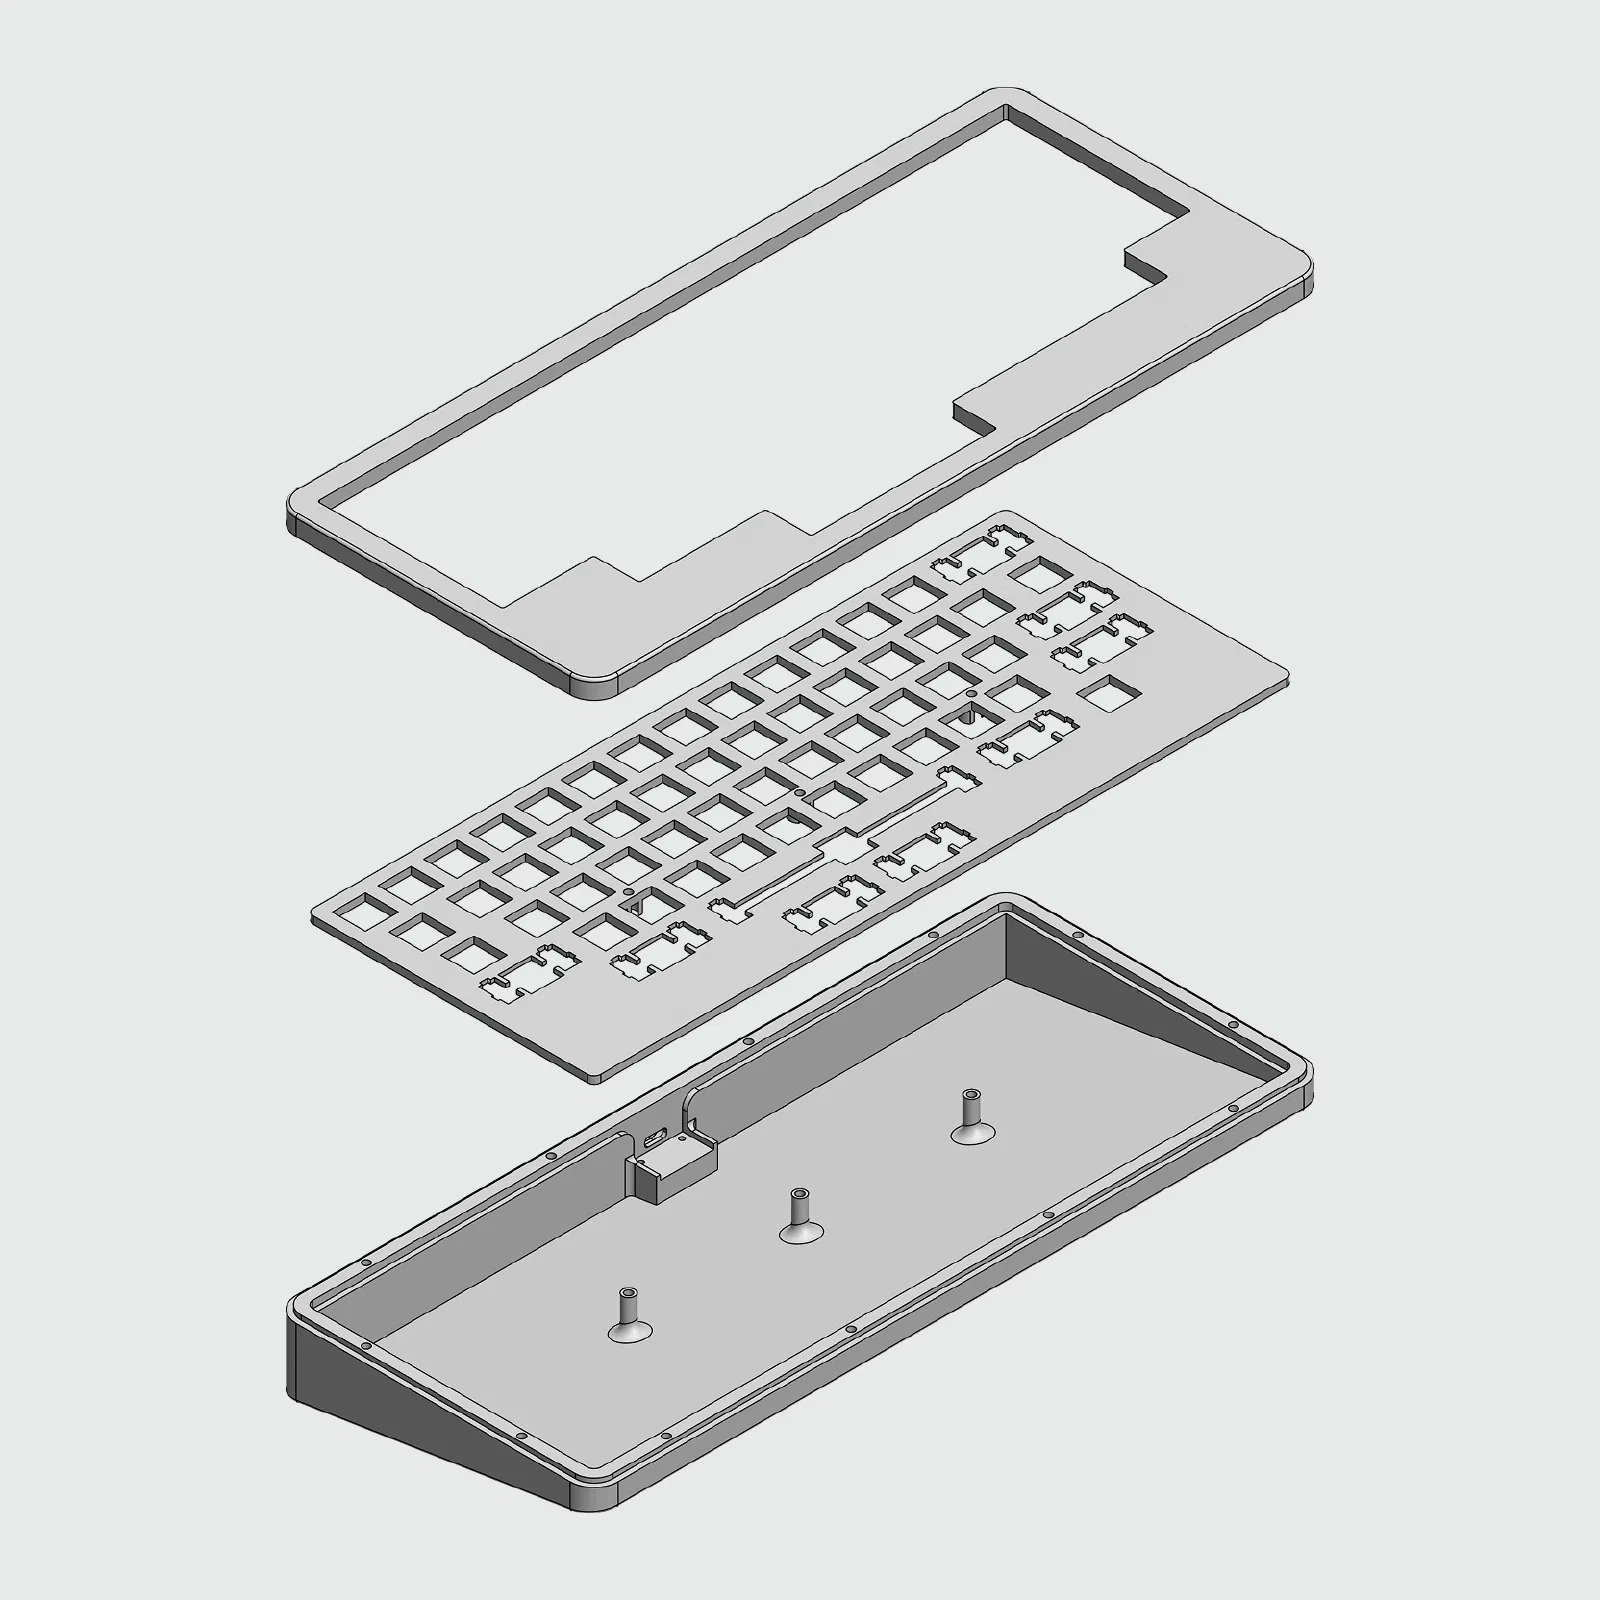
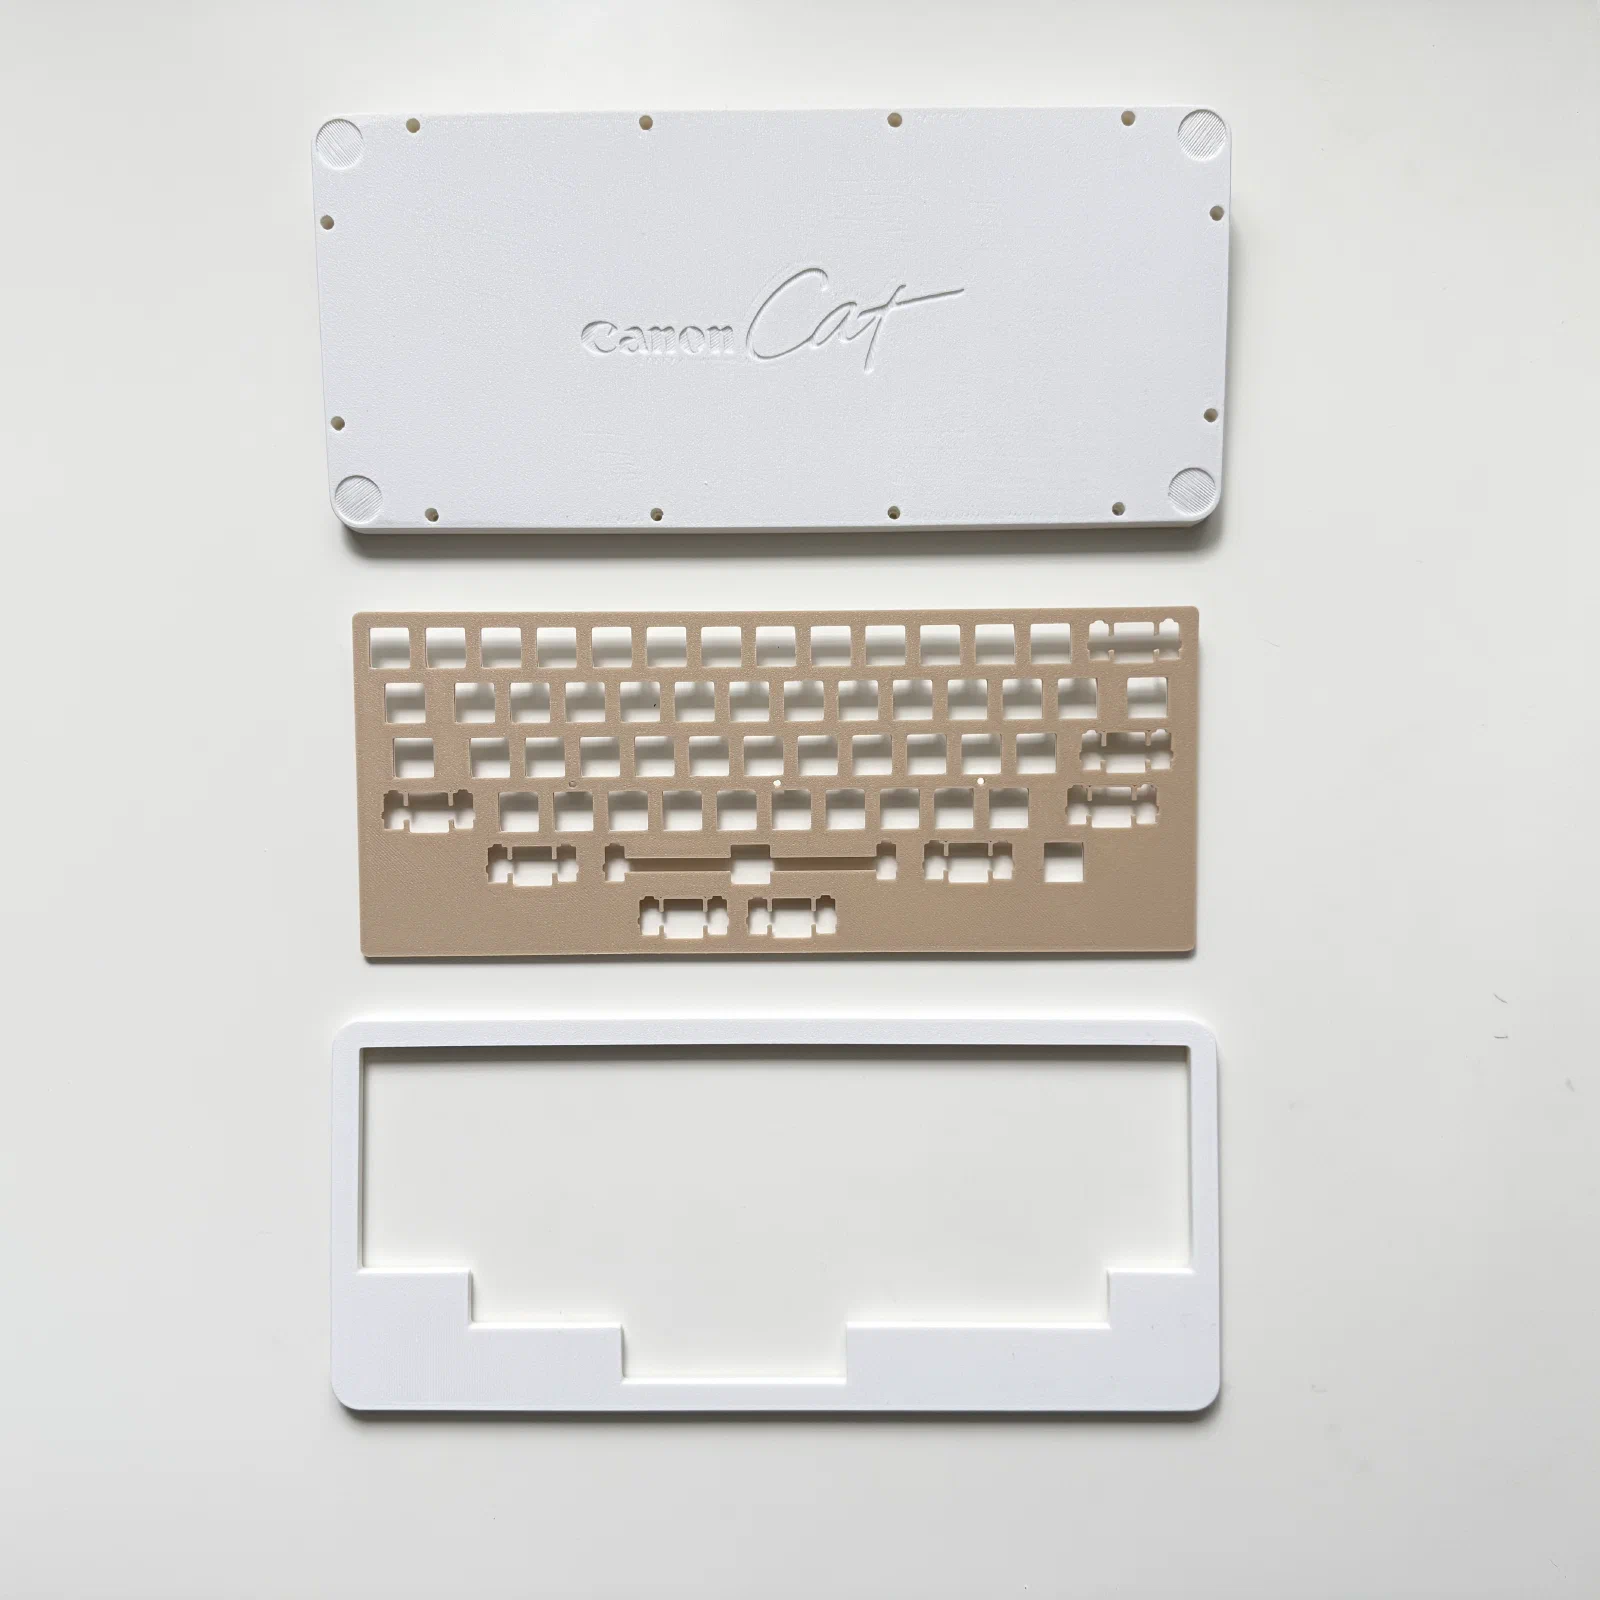
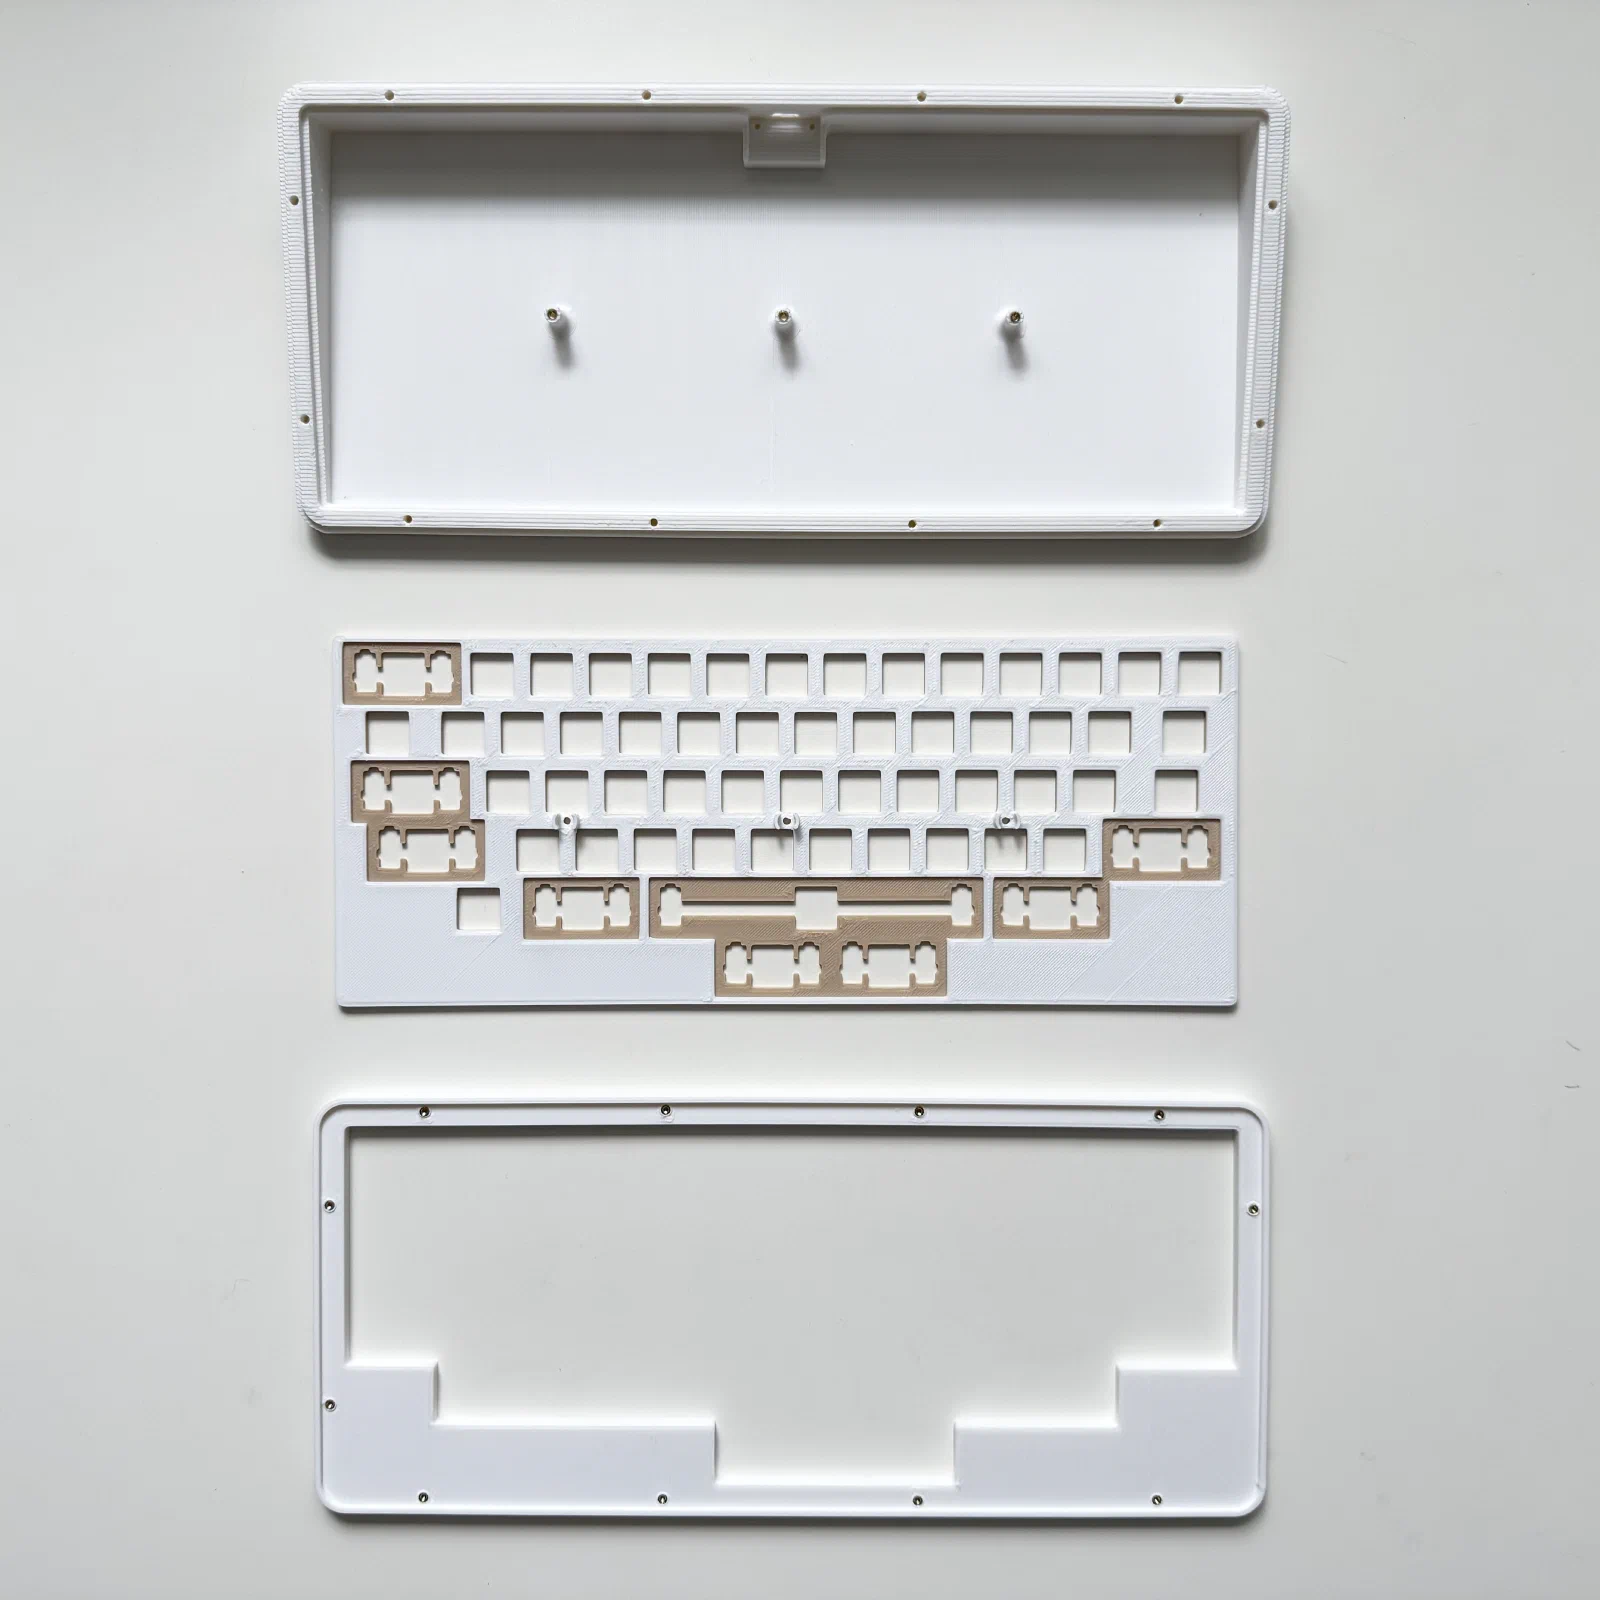
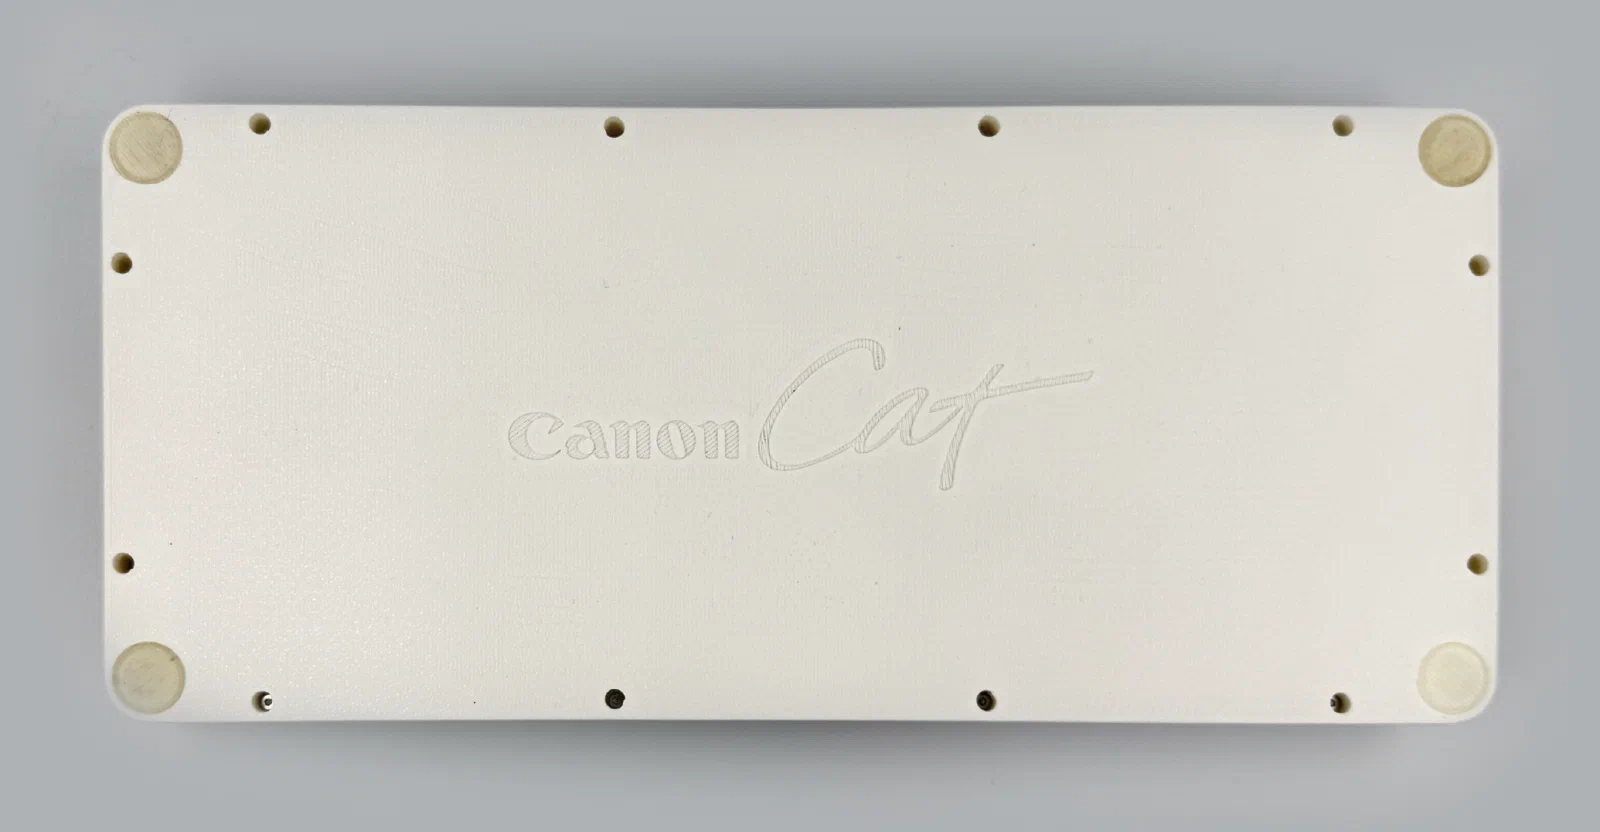
I wasn’t trying to reproduce the original computer’s distinctive case design, so this is a fairly standard case with a 9° typing angle. I printed it in white, but I might reprint it in a warm off-white filament to get closer to the original case color.
You can grab the print files from Printables, including the .STEP file.
Bill of materials
| Part | Count |
|---|---|
| RP2040-Zero | 1 |
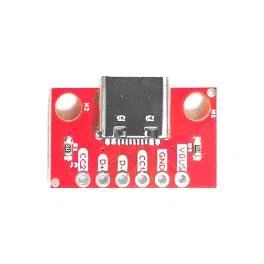
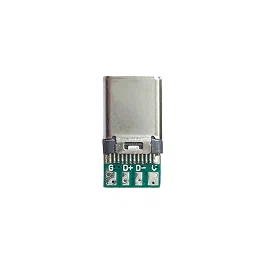
| USB-C breakout board (pic) | 1 |
| USB-C male connector (pic) | 1 |
| 3D printed case | 1 |
| M2 heat set inserts (OD 3.2mm) | 15 |
| M2 screws | 17 |
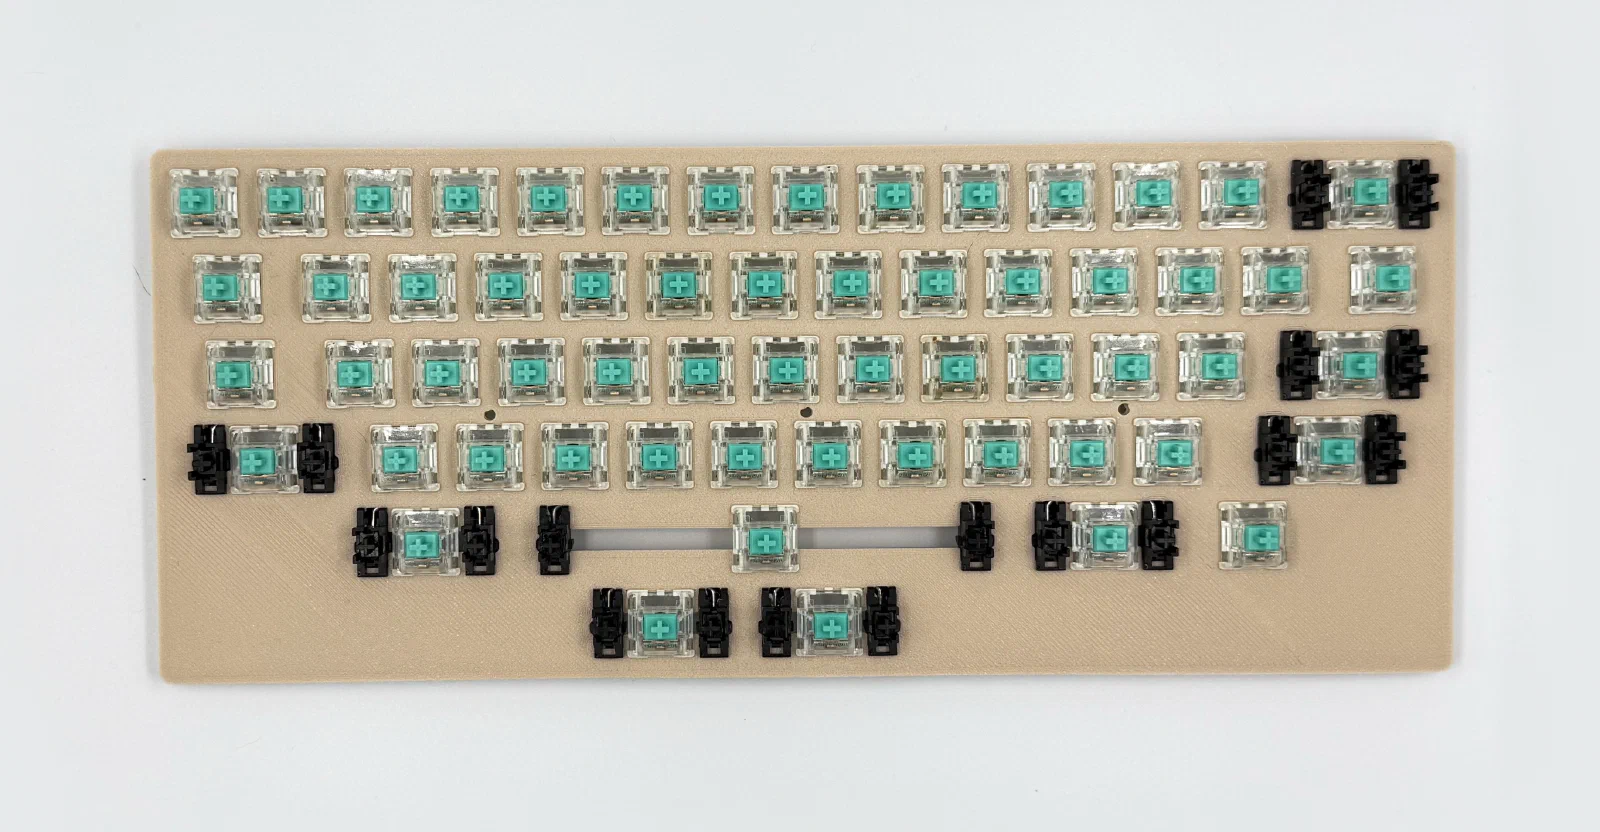
| MX switches (Gateron Cap Teal) | 59 |
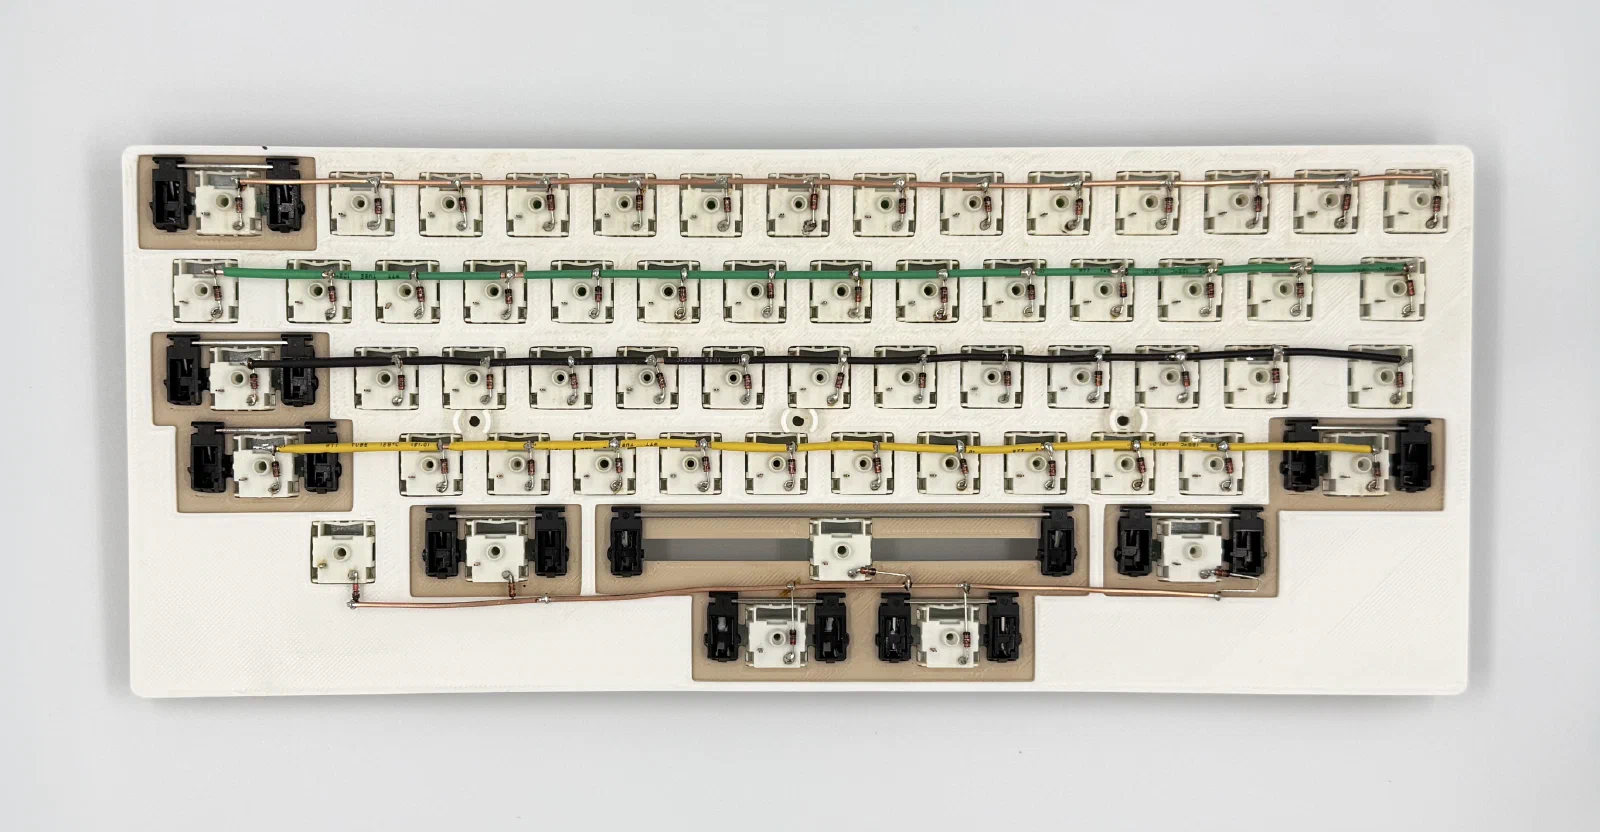
| 1N4148 diodes | 59 |
| Yuzu keycaps (PBS profile) | 59 |
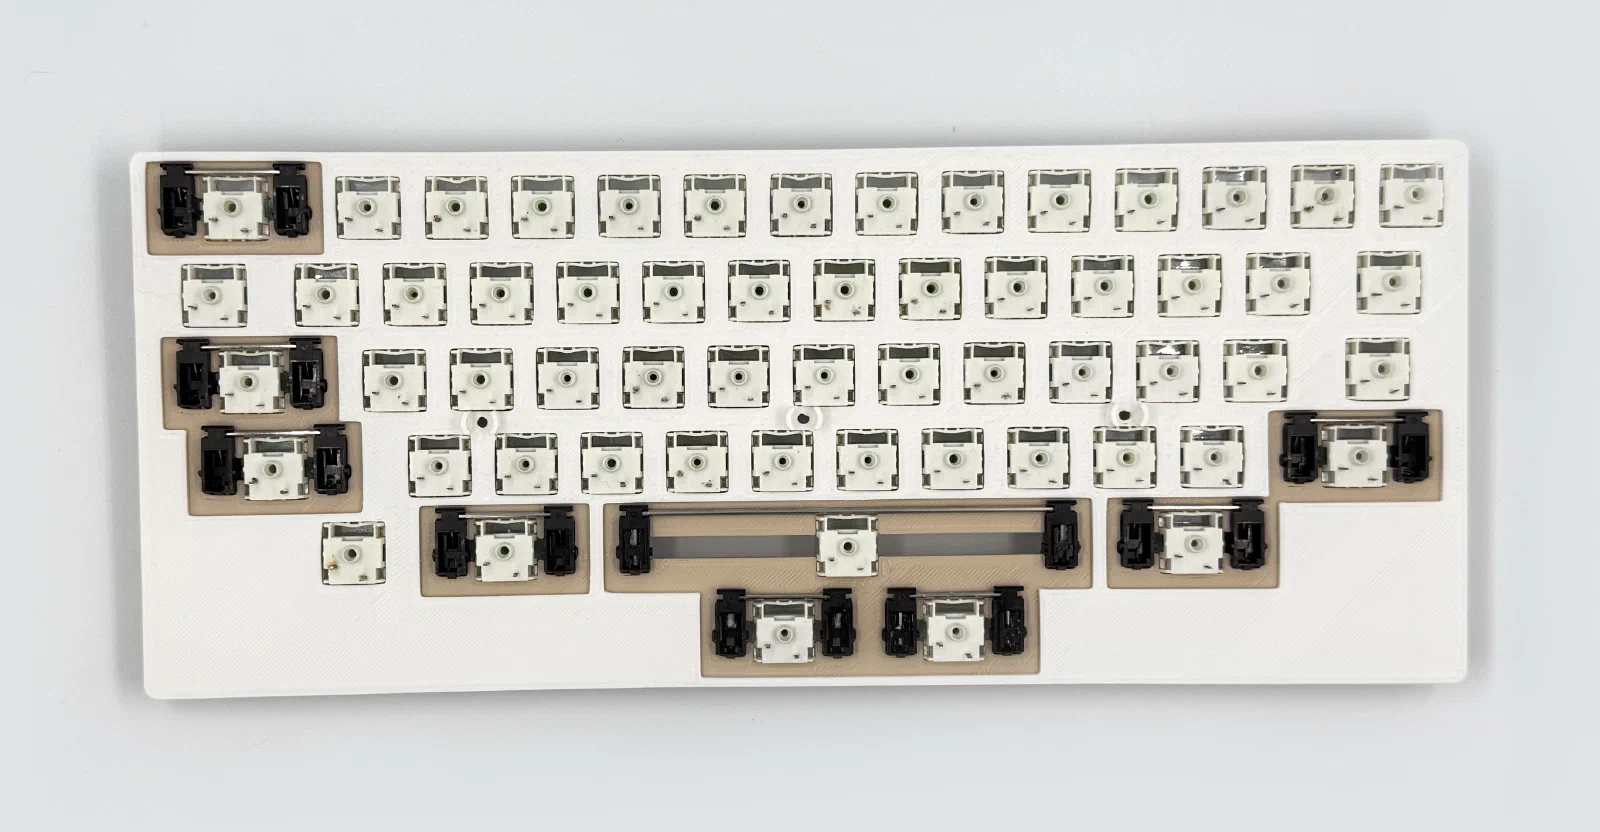
| 2u plate mount stabilizer | 8 |
| 6u plate mount stabilizer | 1 |
| Adhesive Bumper Pads (15mm) | 4 |
| Copper Wire (1.2mm) | |
| Wires (28AWG) | |
| Heat shrink tubing |
Build Log
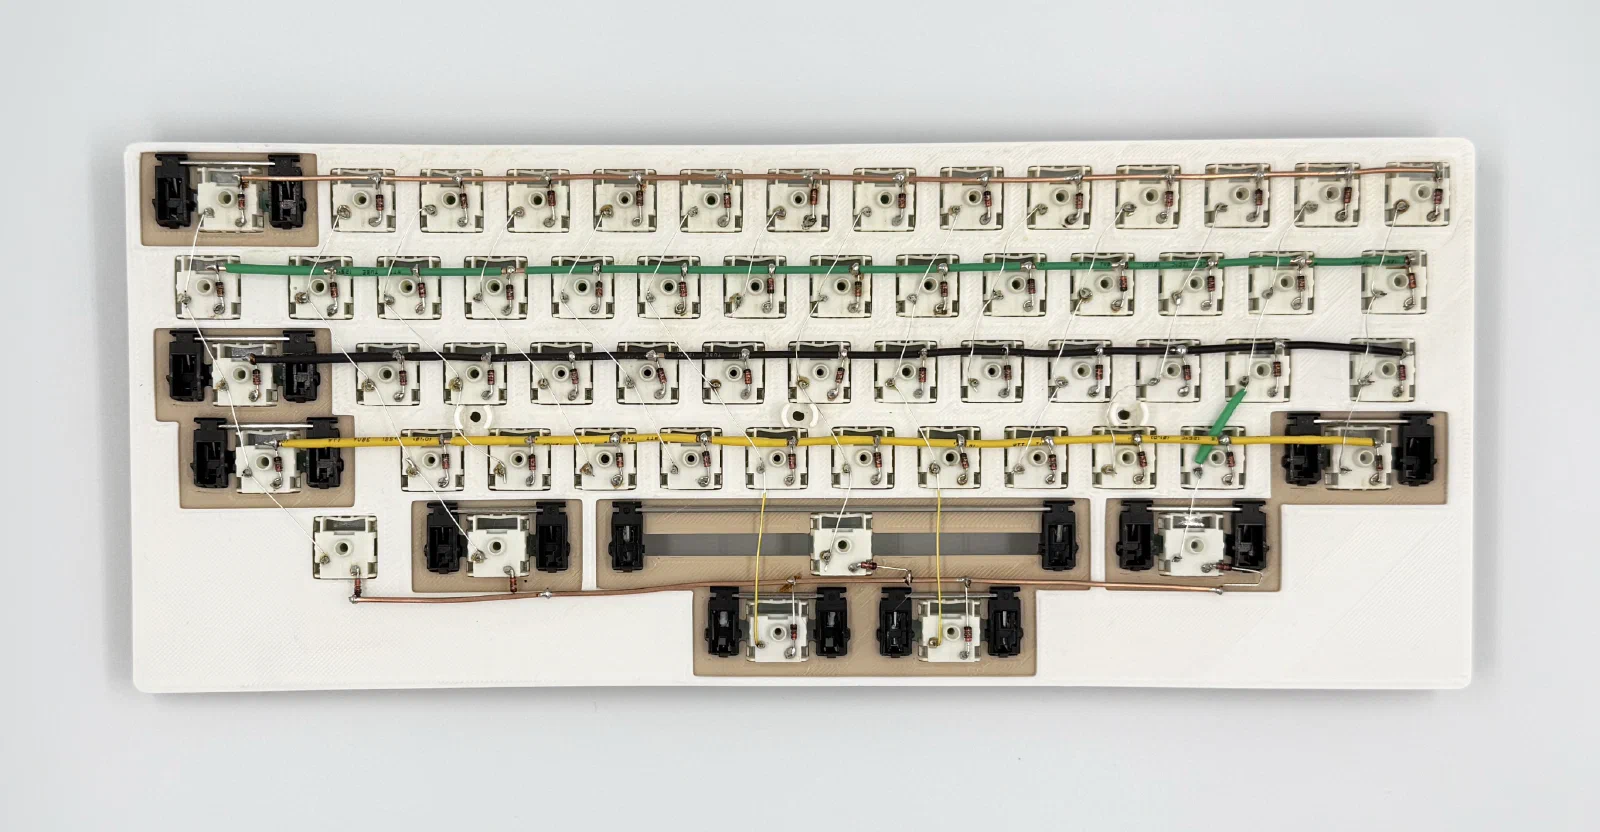
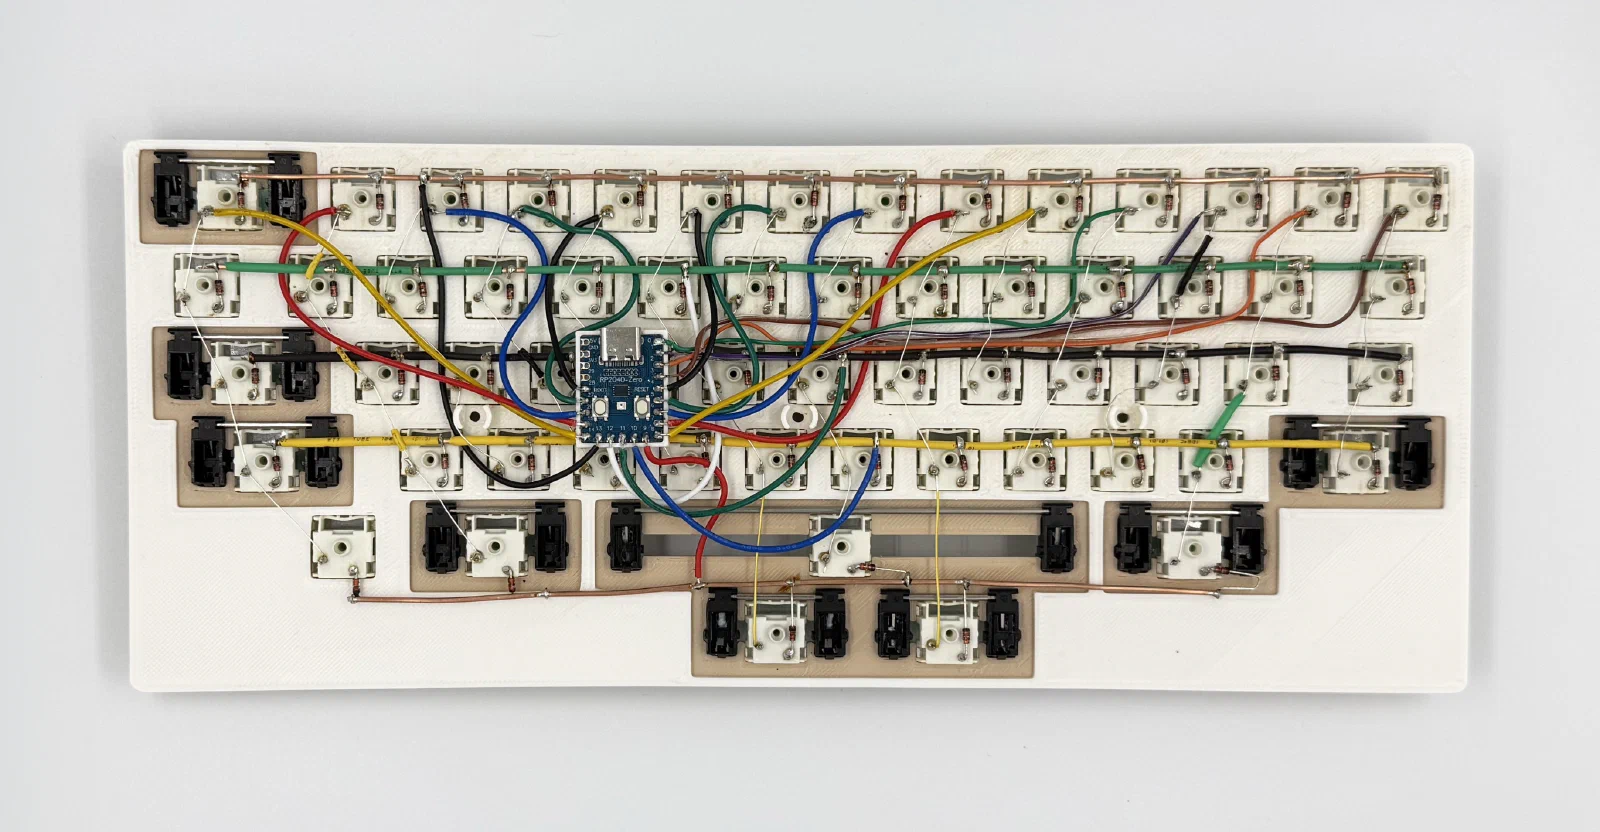
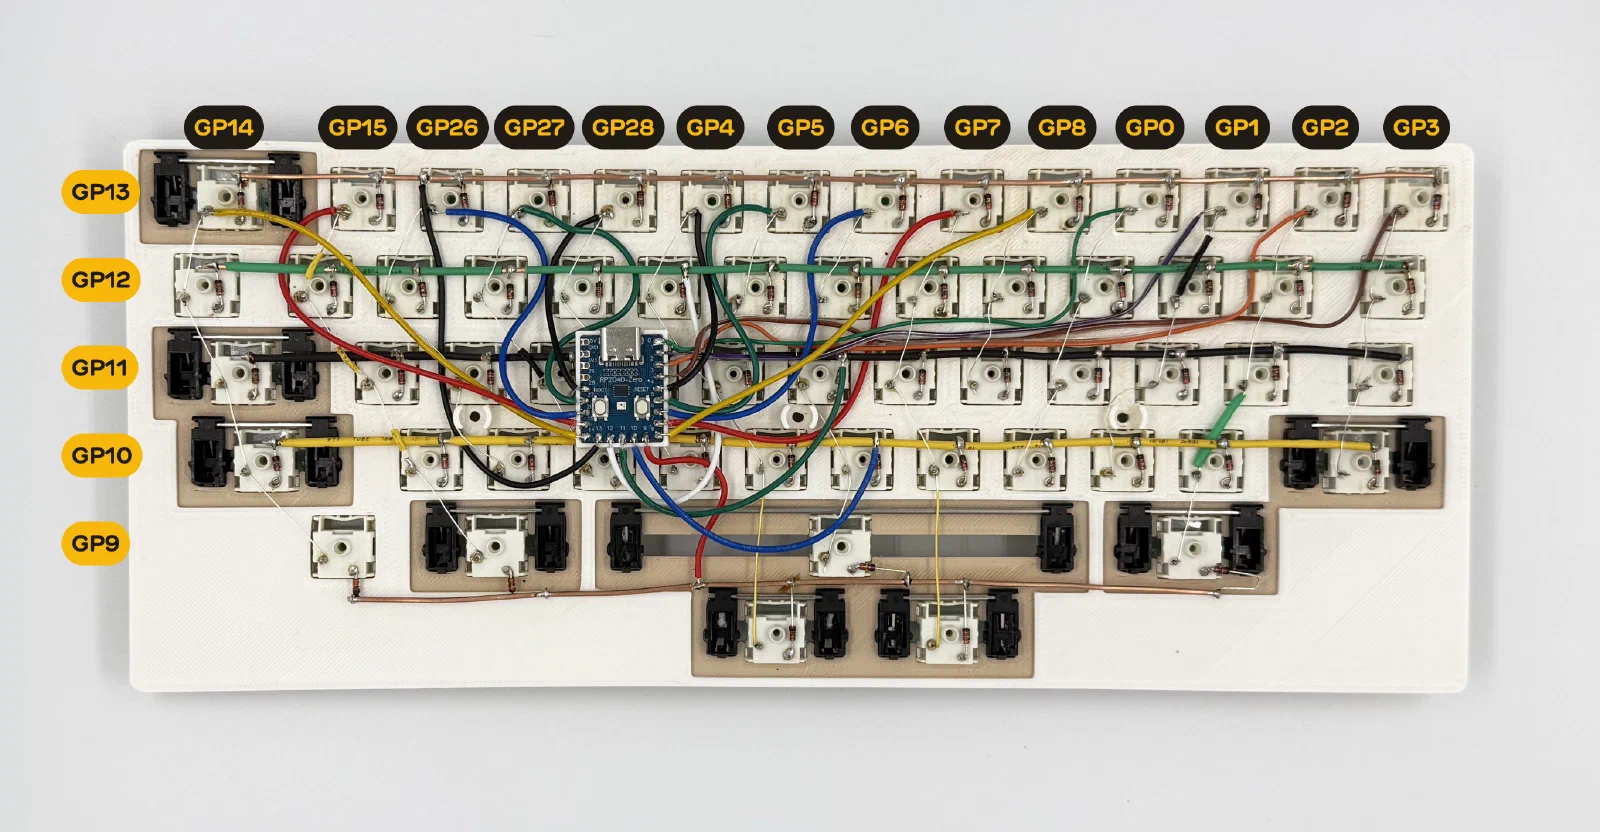
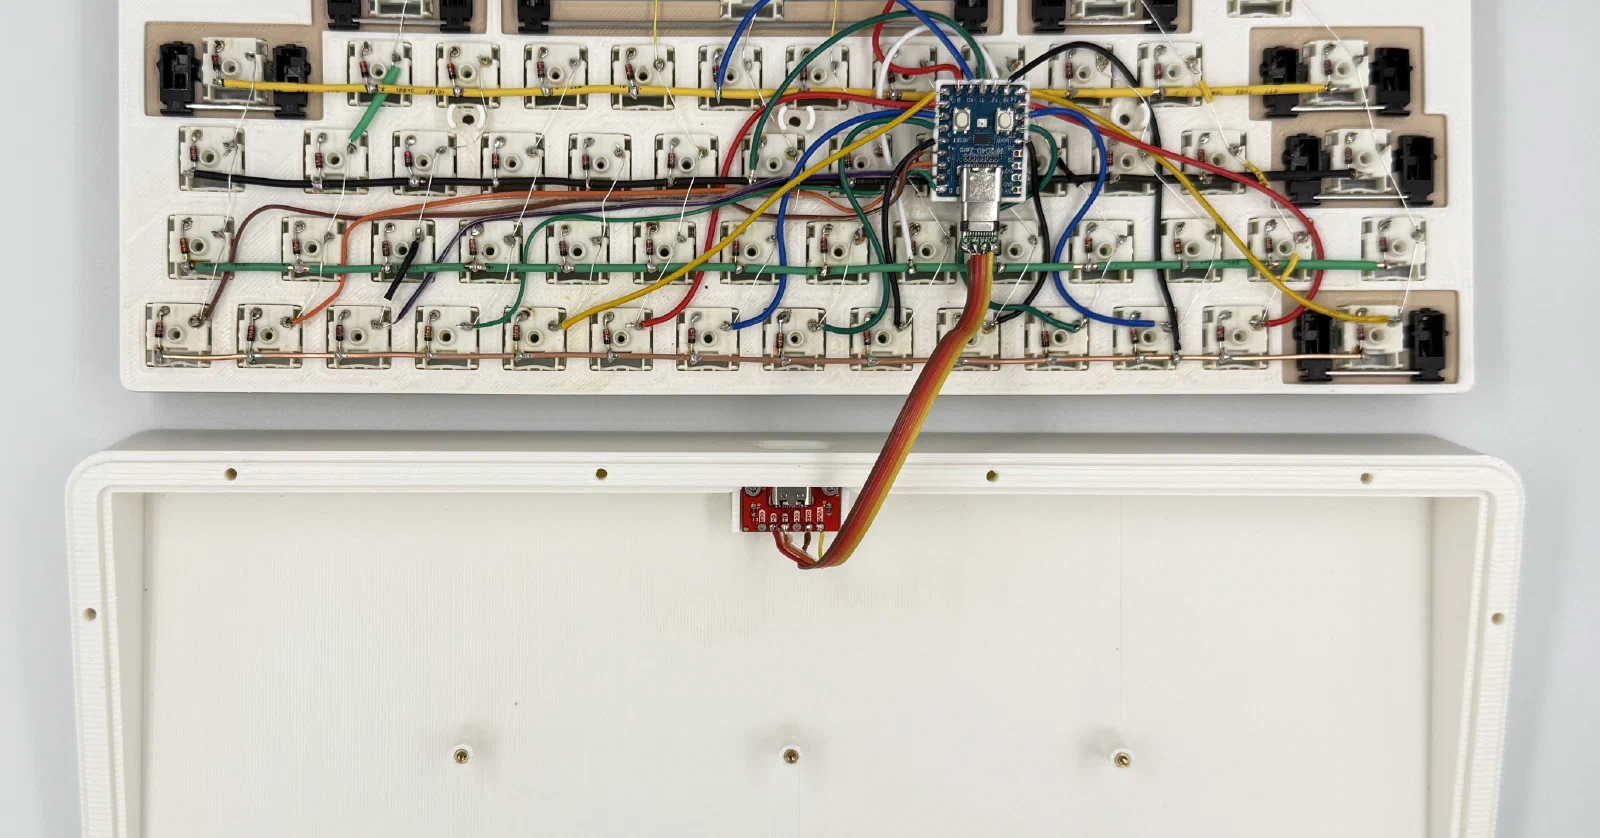
Photos
Firmware
I’m using QMK for the firmware. The repo is on GitHub, and precompiled firmware is available too.
Matrix pin mapping:
"matrix_pins": {
    "cols": ["GP3", "GP2", "GP1", "GP0", "GP8", "GP7", "GP6", "GP5", "GP4", "GP28", "GP27", "GP26", "GP15", "GP14"],
    "rows": ["GP13", "GP12", "GP11", "GP10", "GP9"]
}
Vial
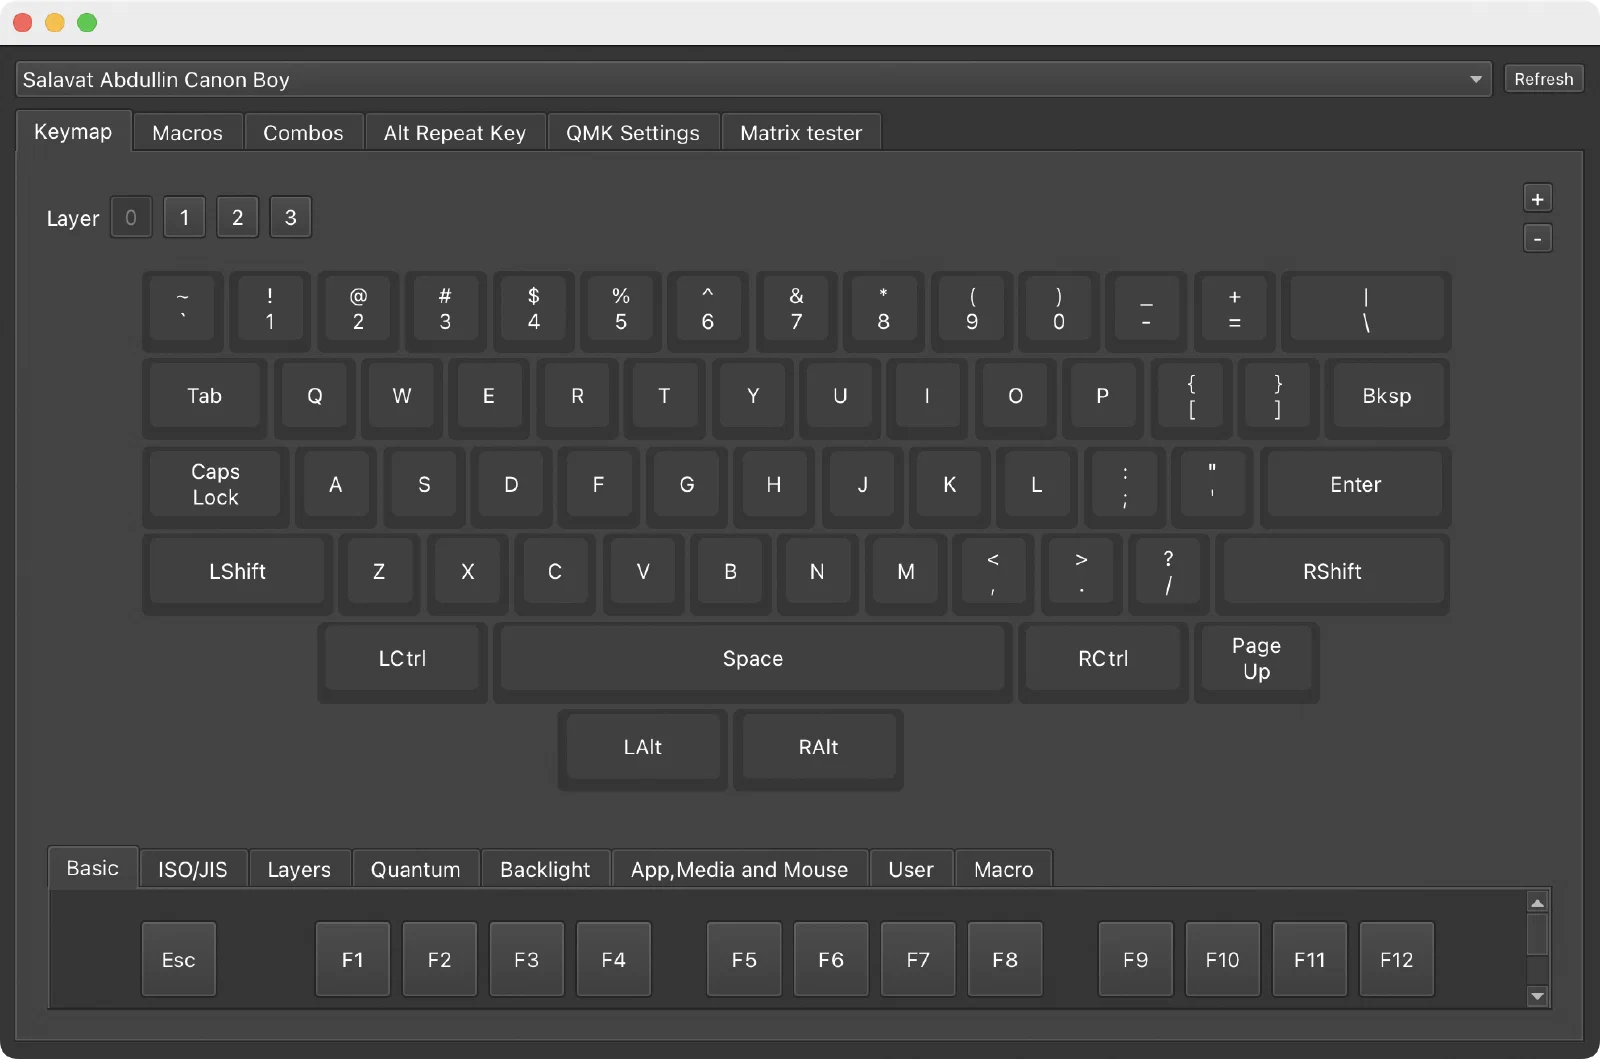
The keycodes are mapped to what the Canon Cat emulator expects, though there may still be a few inaccuracies.
Resources
- Keycaps: Yuzu
- Case print files on Printables
- Repo: GitHub
- Pre-compiled firmware