Introduction
I collect old computers, and there’s one I still haven’t managed to add to my collection: the Atari 800, a pretty iconic machine. I love how it looks: the industrial design, the color scheme, even the ads.
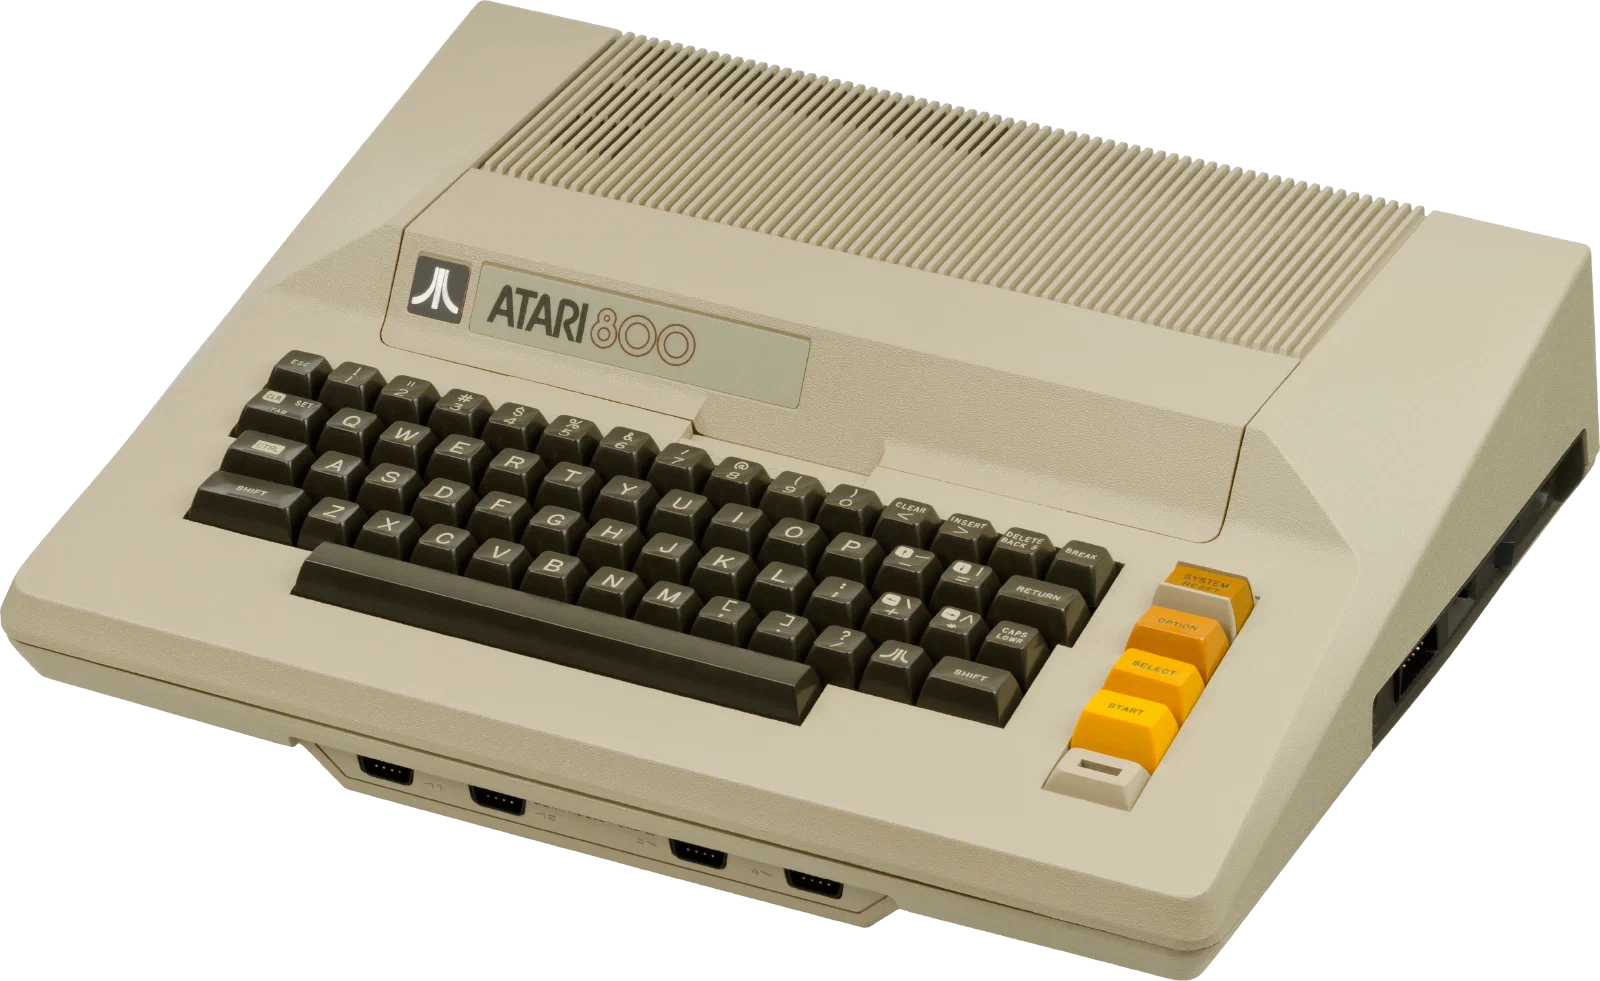
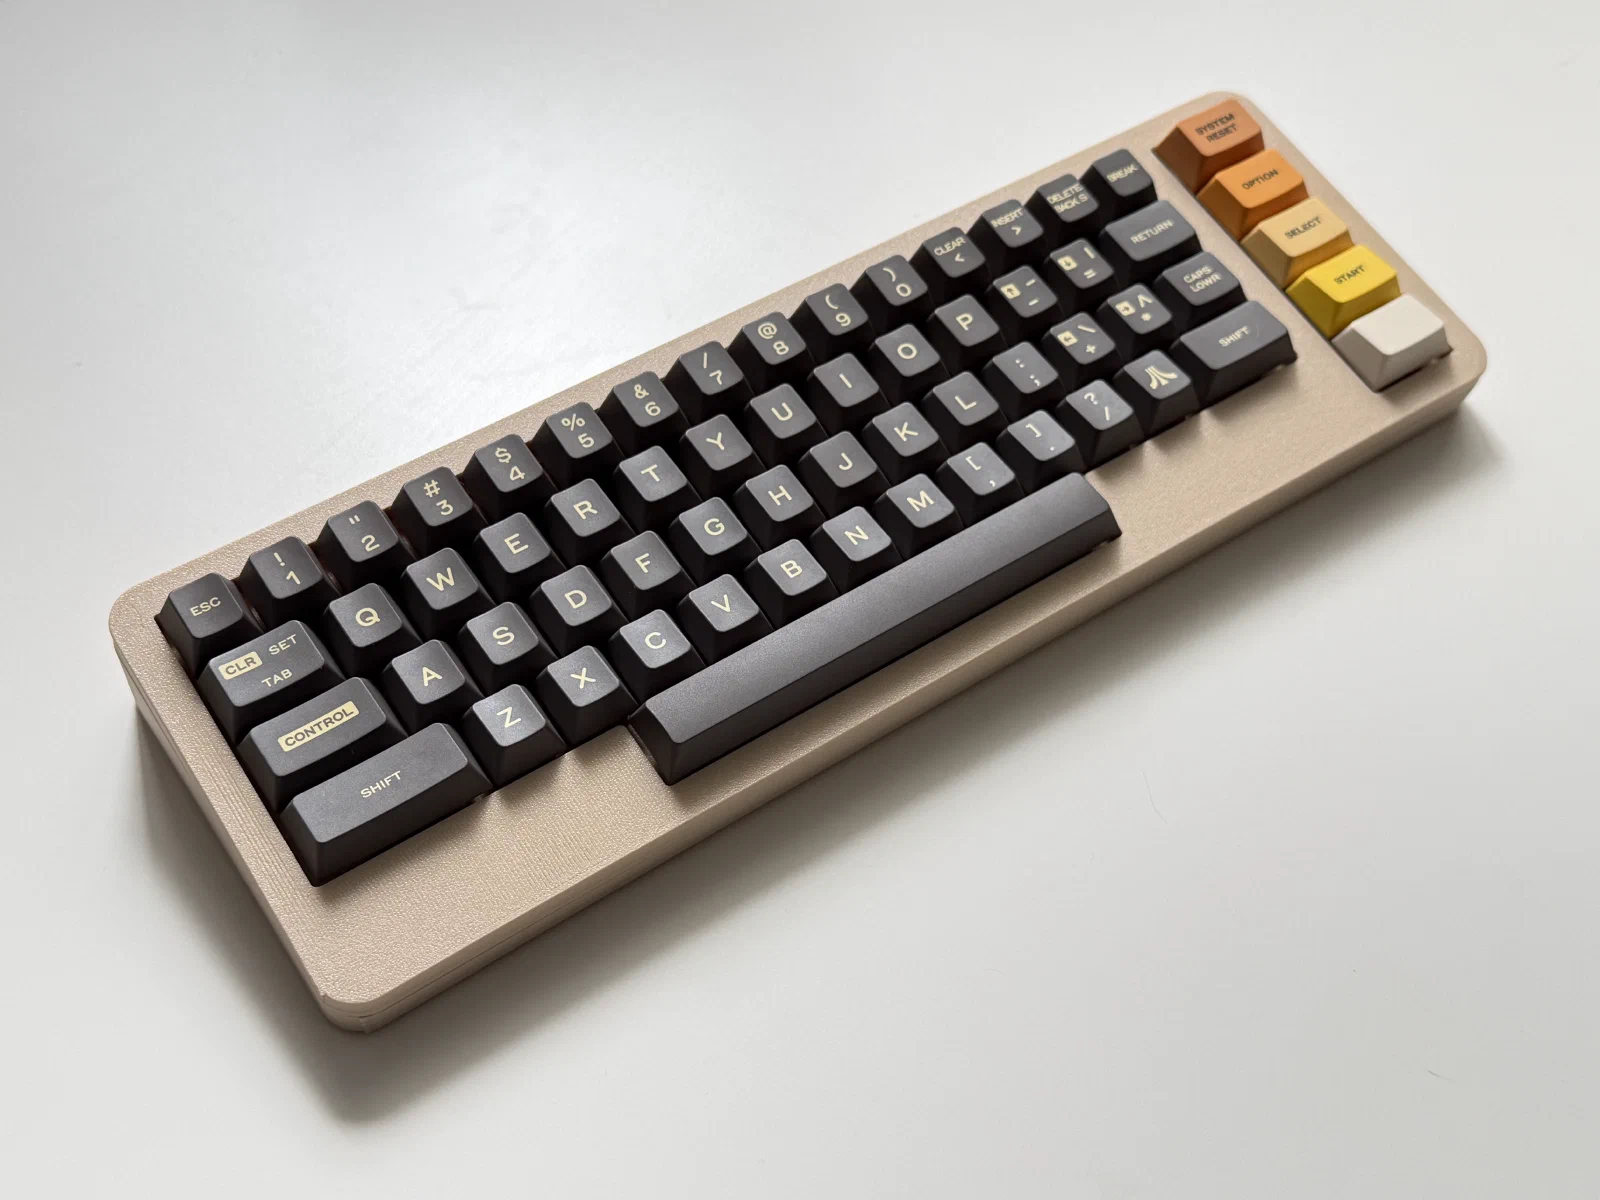
Since I’ve been building handwired keyboards for a while, I figured, why not make one that replicates the Atari 800’s keyboard? That way I could pair it with an emulator and at least partly recreate the original experience of using the computer.
Keycaps
I wanted not just the layout to be original, but the keycaps too. I wanted to recreate every legend exactly. I know there are keycaps styled after the Atari 800, but they’re made for modern keyboards. I didn’t want to use stickers on existing keycaps or print them on a 3D printer, so I reached out to Yuzu; I’d known about them for a while and heard good things.
I first designed the keycaps in Figma, then moved the design into Yuzu’s editor (that workflow was easier for me). Along the way I made a few changes to the layout:
- Widened the
CONTROL,SHIFT, andCAPS LOWRkeys so they form a flush edge on the left and right - Used a 7u spacebar instead of the original 9u, since 9u ones unfortunately don’t exist
- Honestly, I thought there was a button under
STARTtoo, but it turns out that’s just the power indicator. On my keyboard, though, it is a button; pressing it opens the emulator settings.
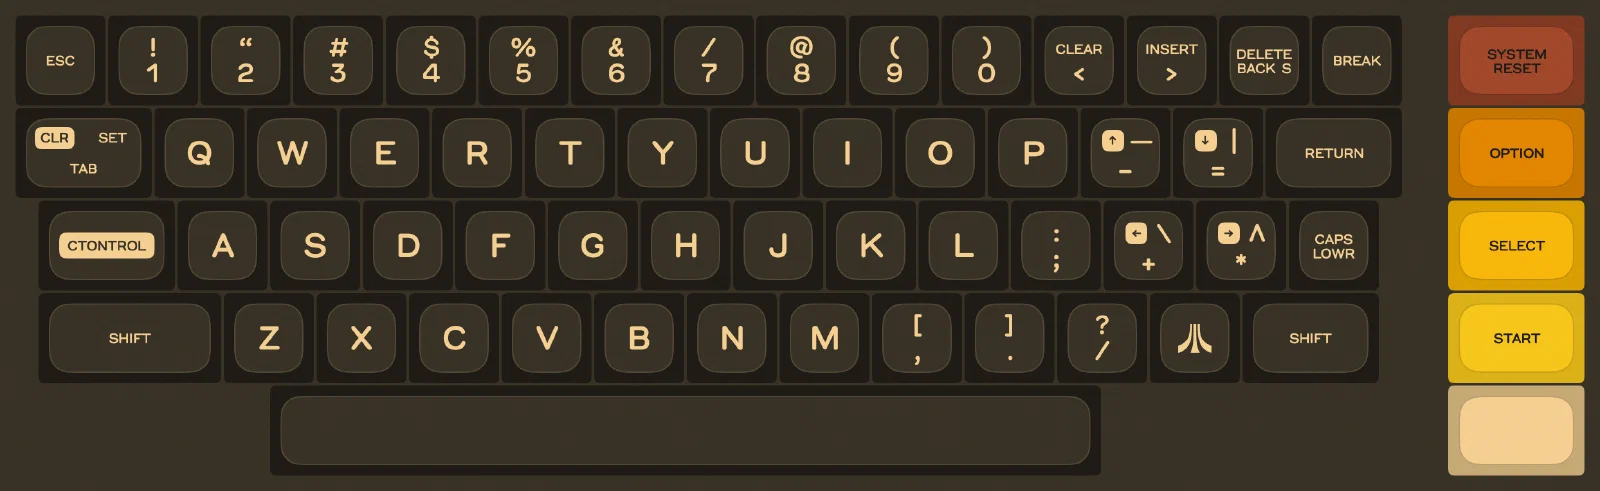
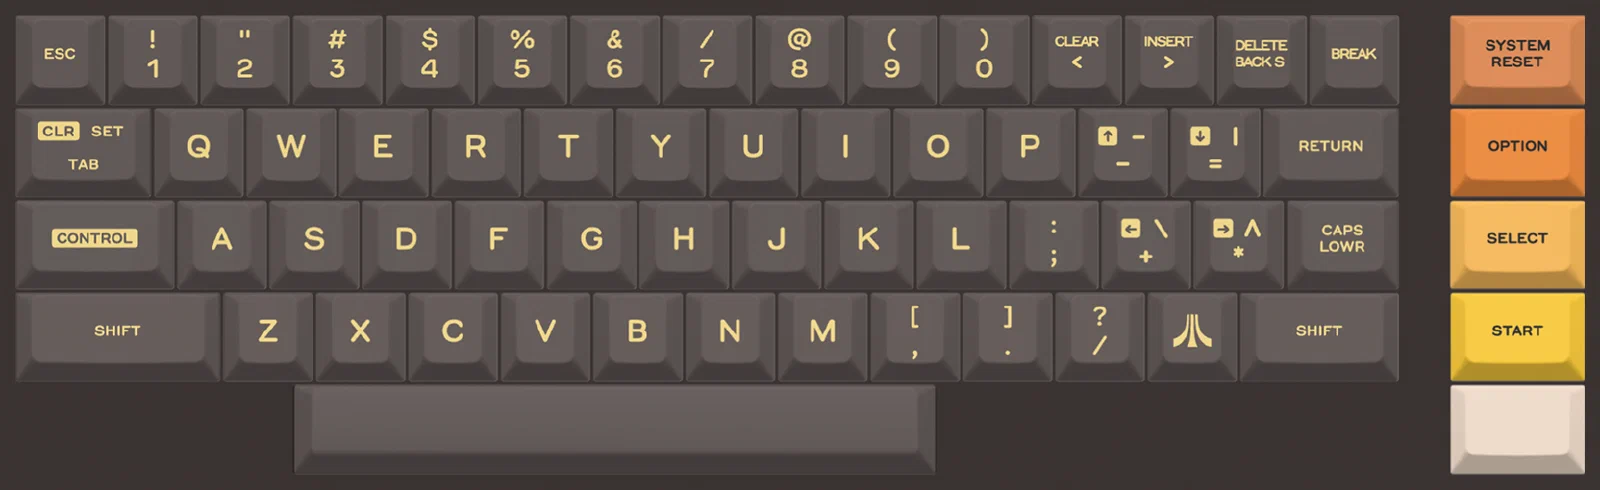
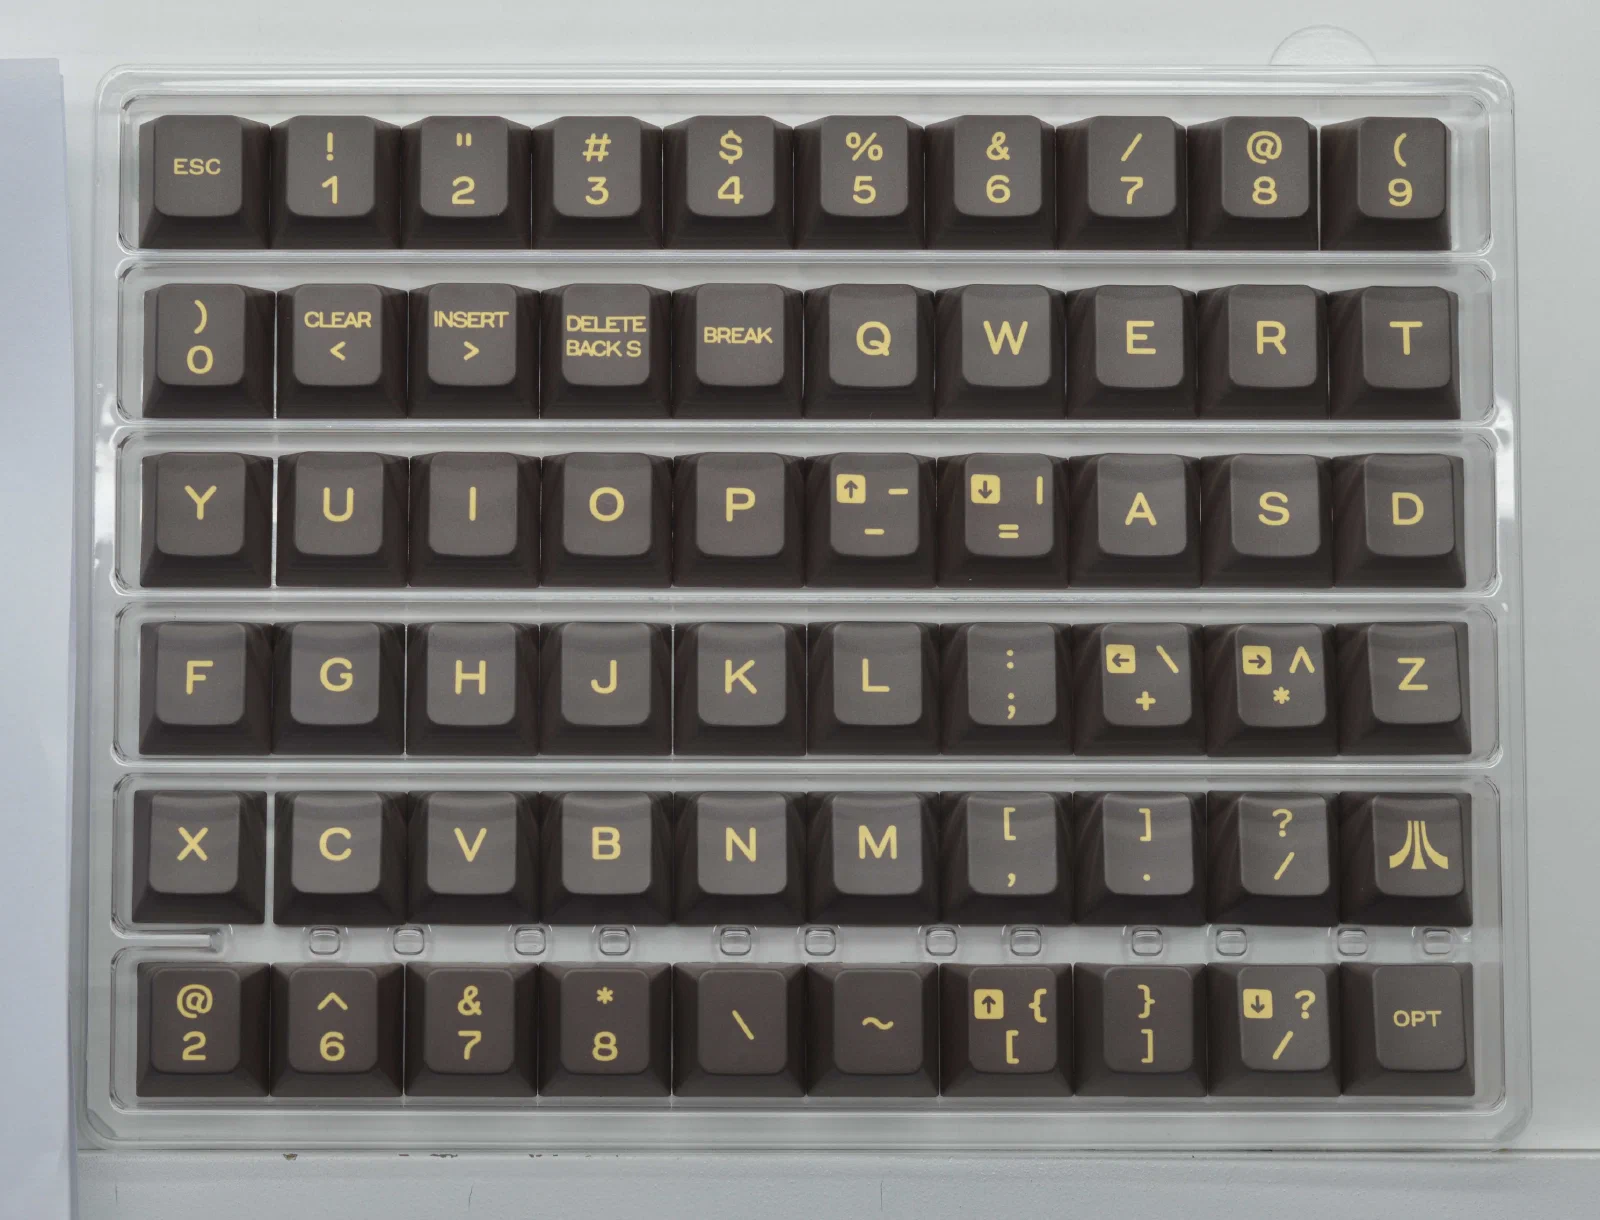
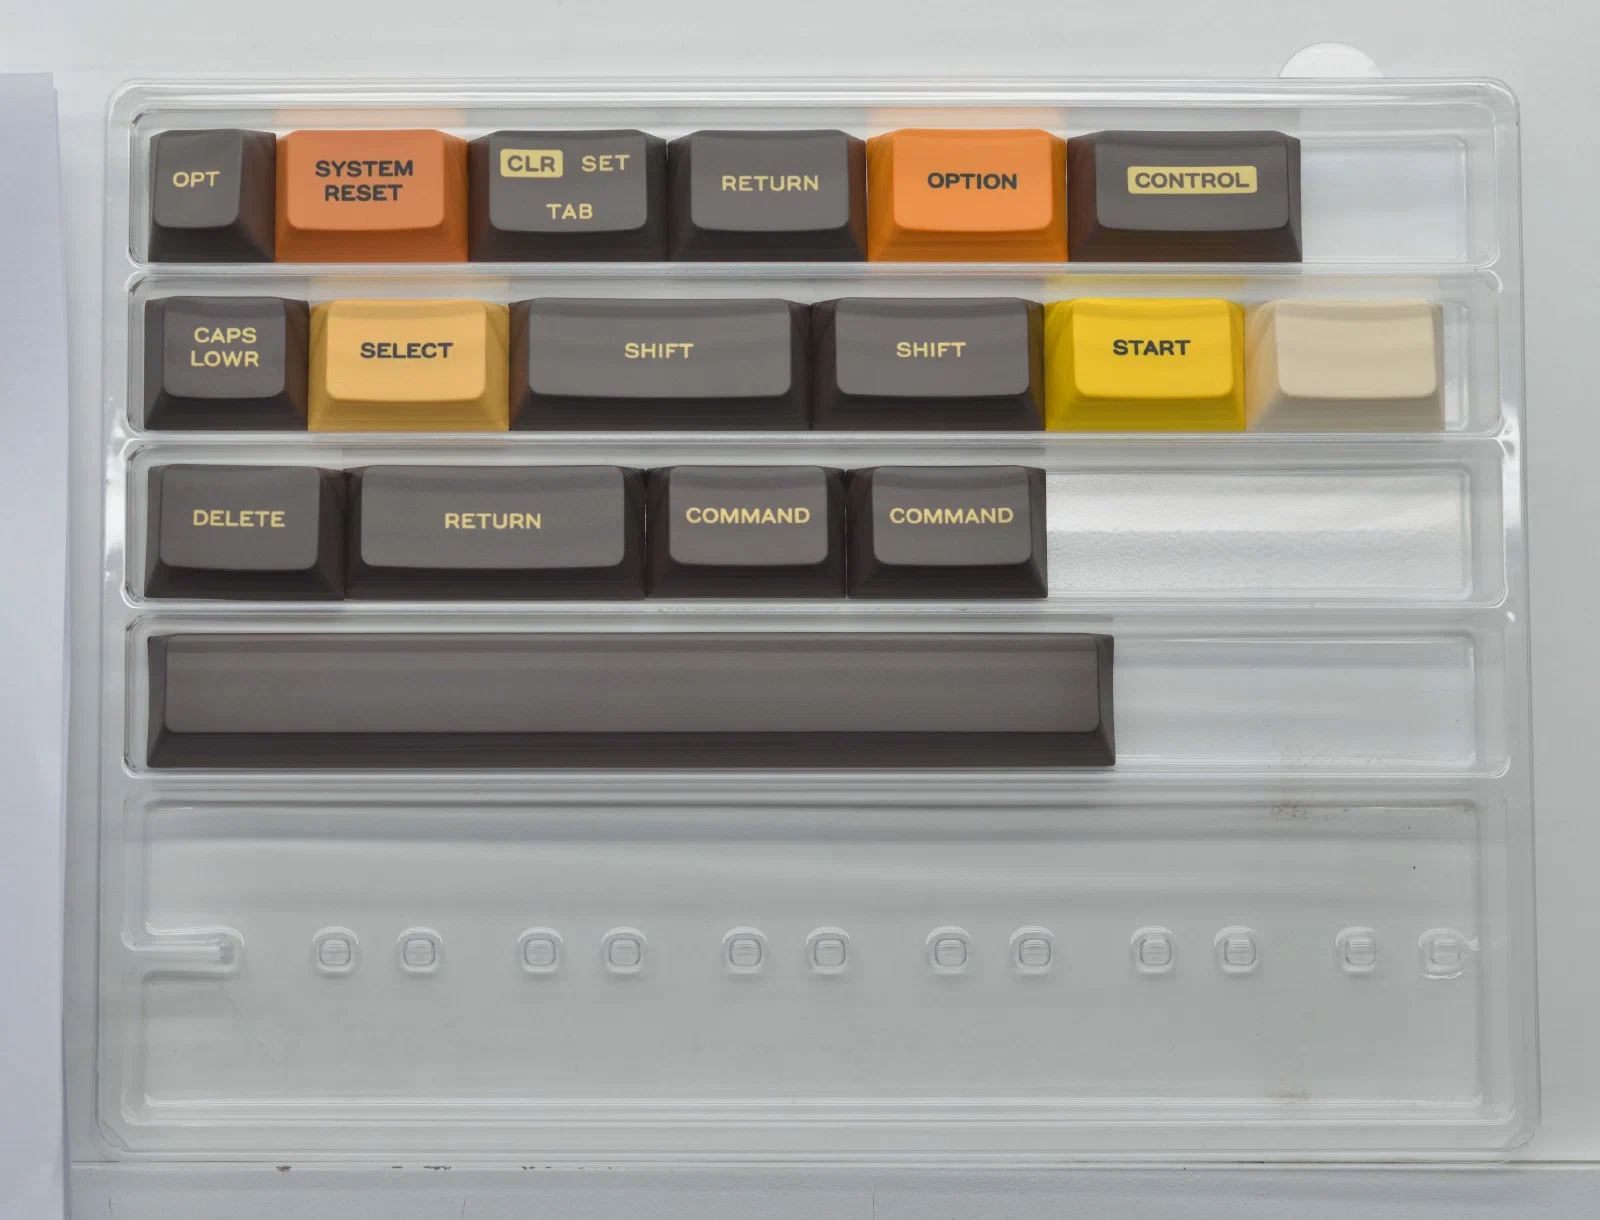
Once the keycaps are made, Yuzu sends photos so you can check everything’s right and ask for fixes if needed. I didn’t nail the exact colors on the side keys, but they capture the overall palette well. The main keys also came out a bit lighter than the original. Both of those are down to my color choices, not the manufacturing quality; everything else, I think, turned out pretty great.
View this keycap set on Yuzu. You can copy it and customize it however you like, including the colors. The set also includes a few keycaps for modern keyboards.
Case
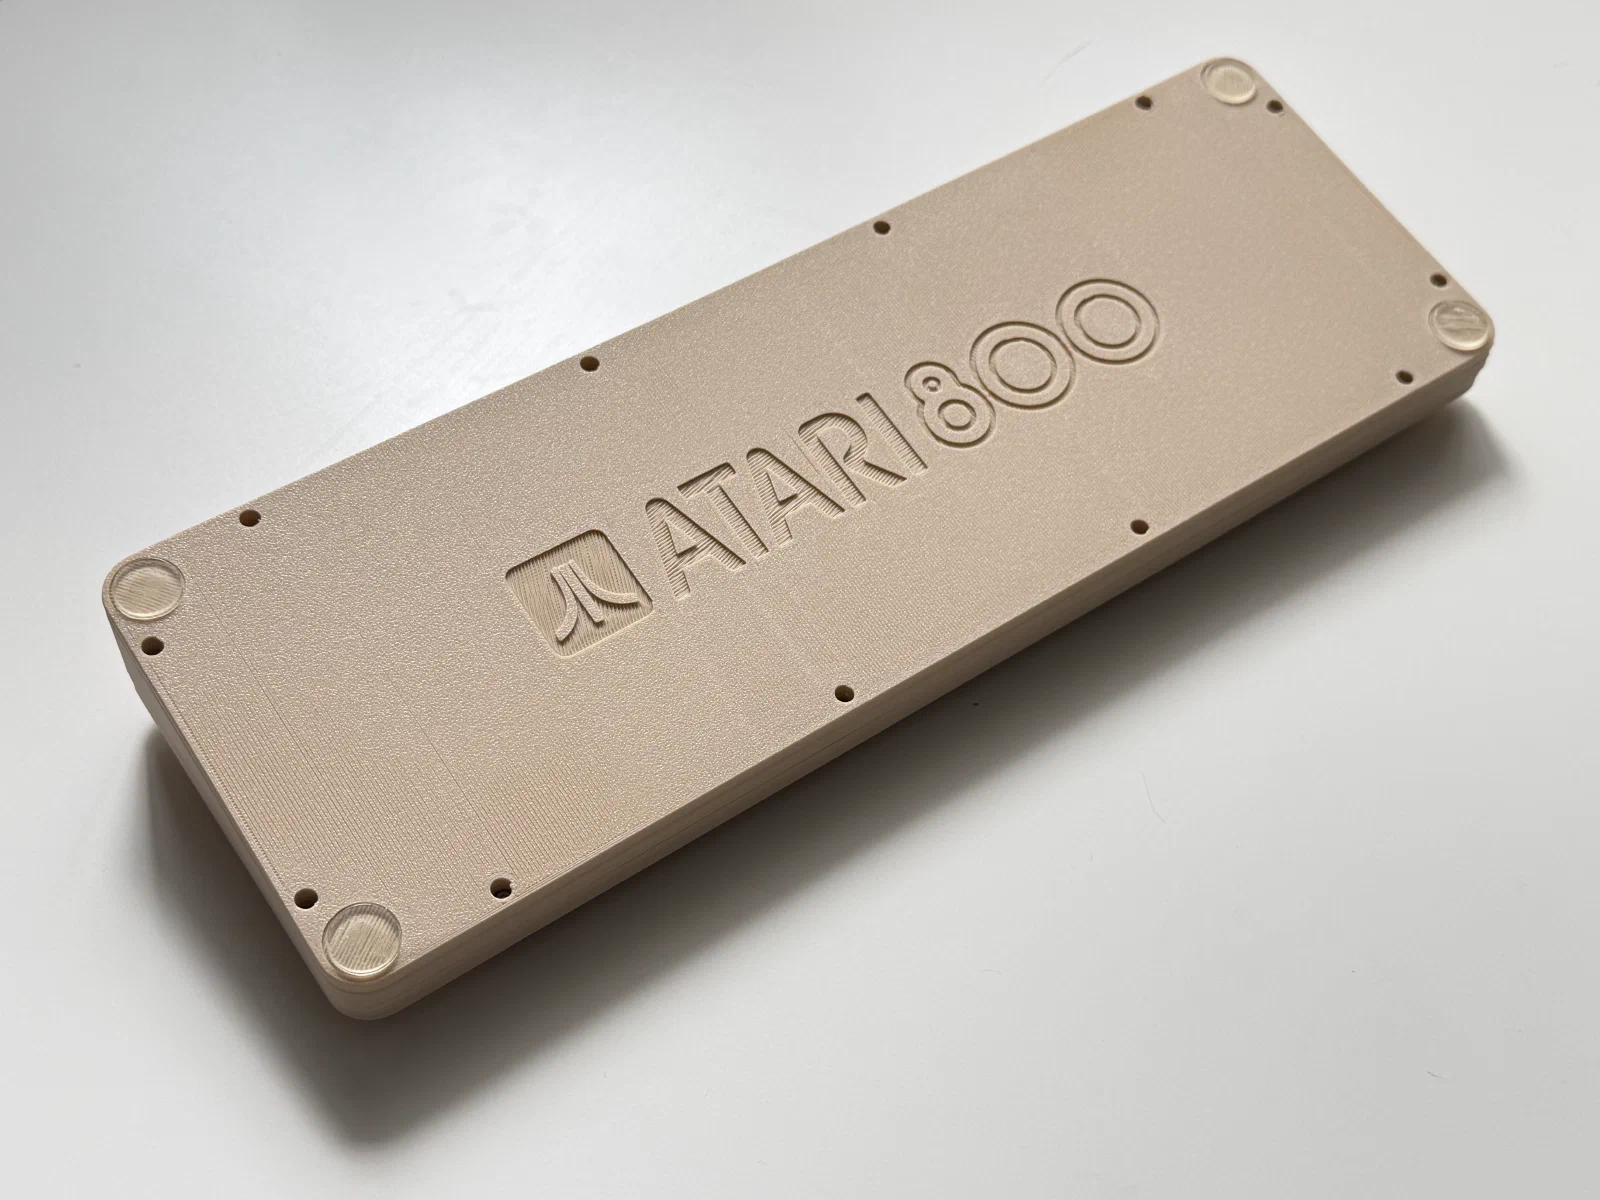
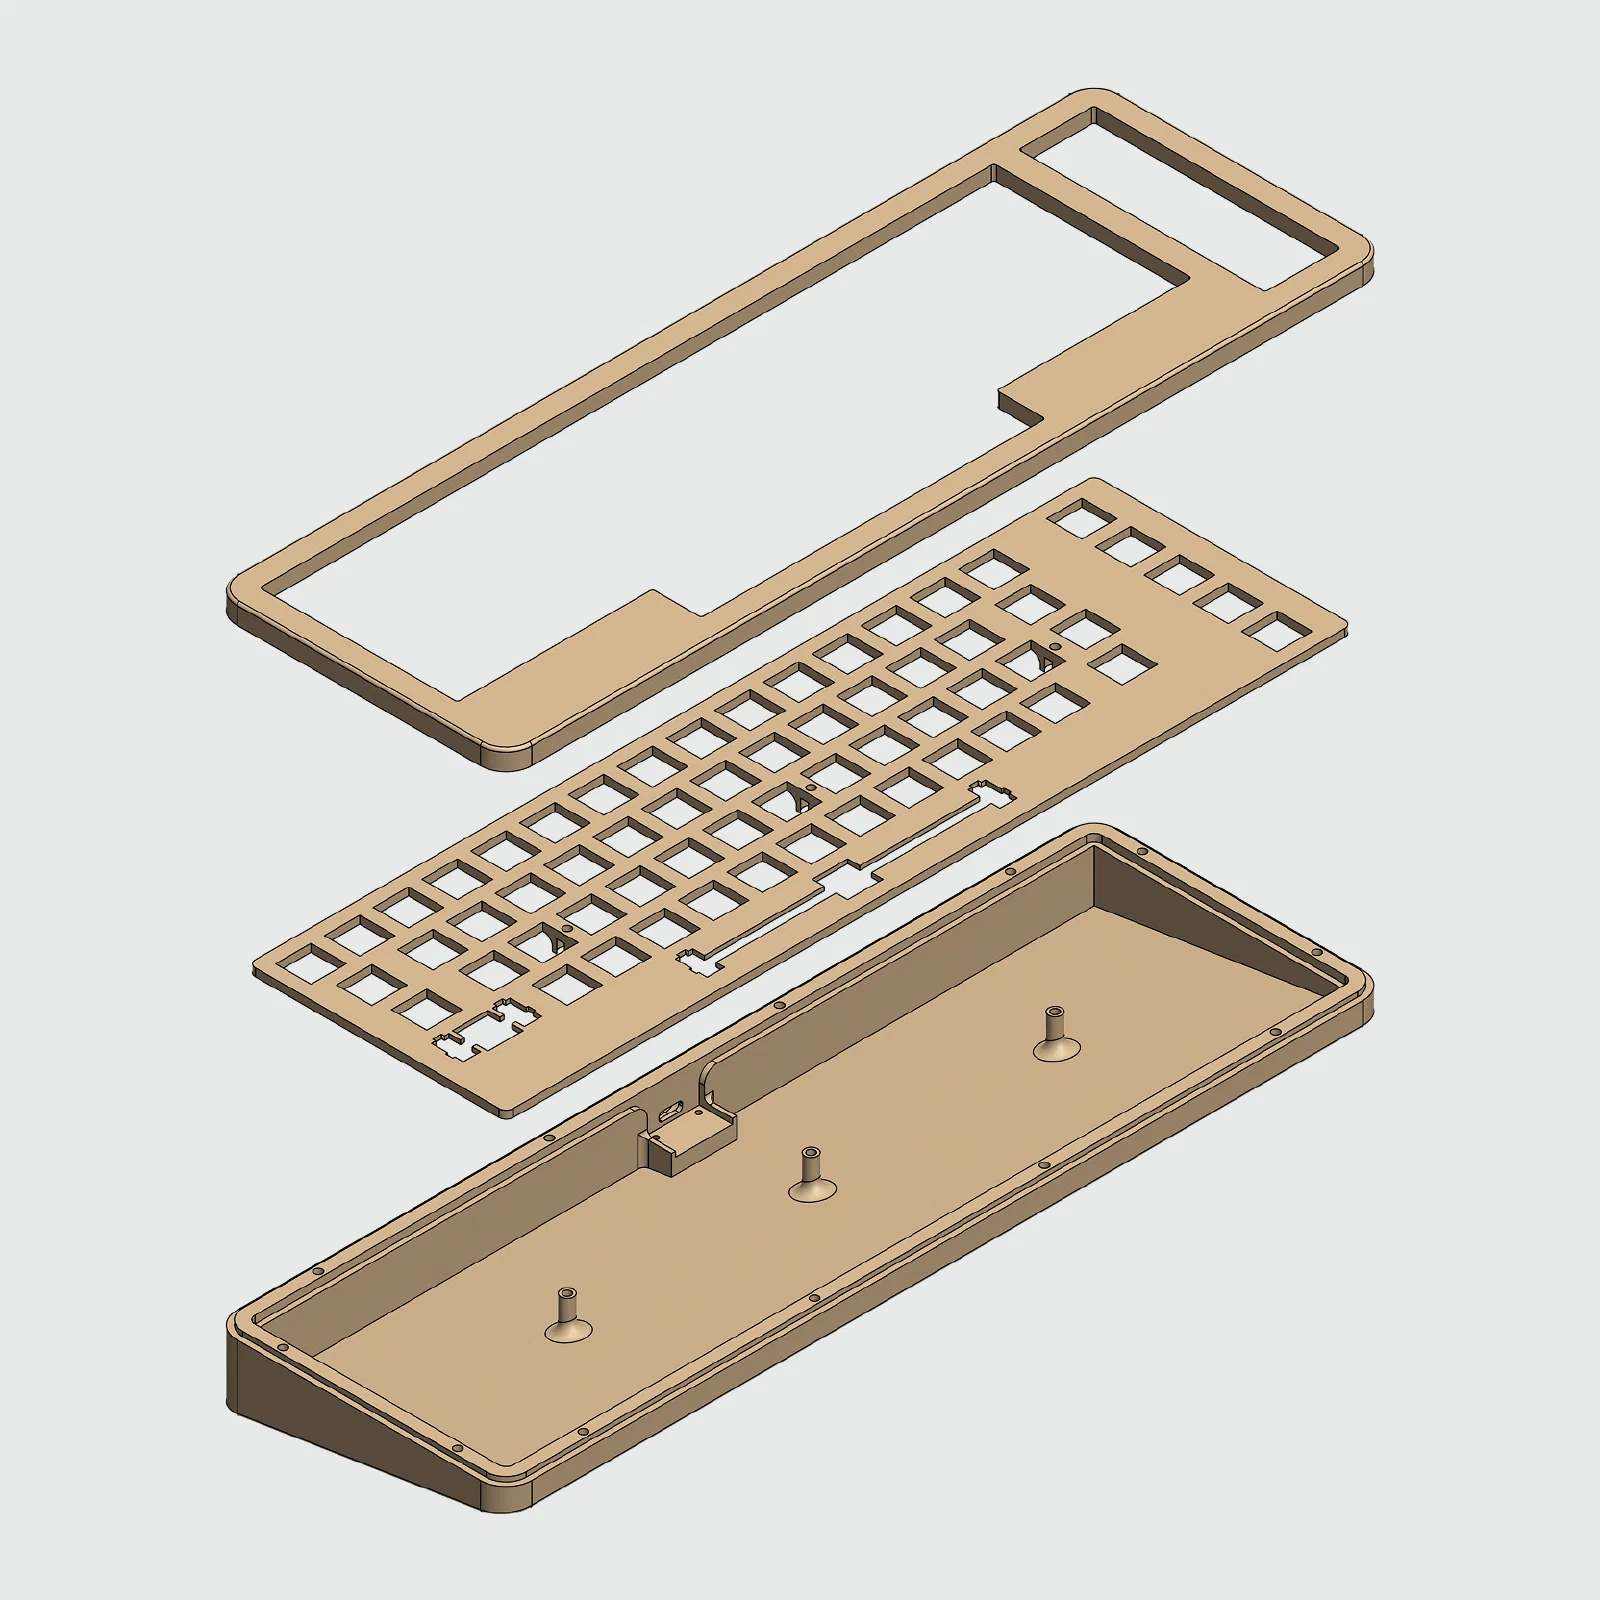
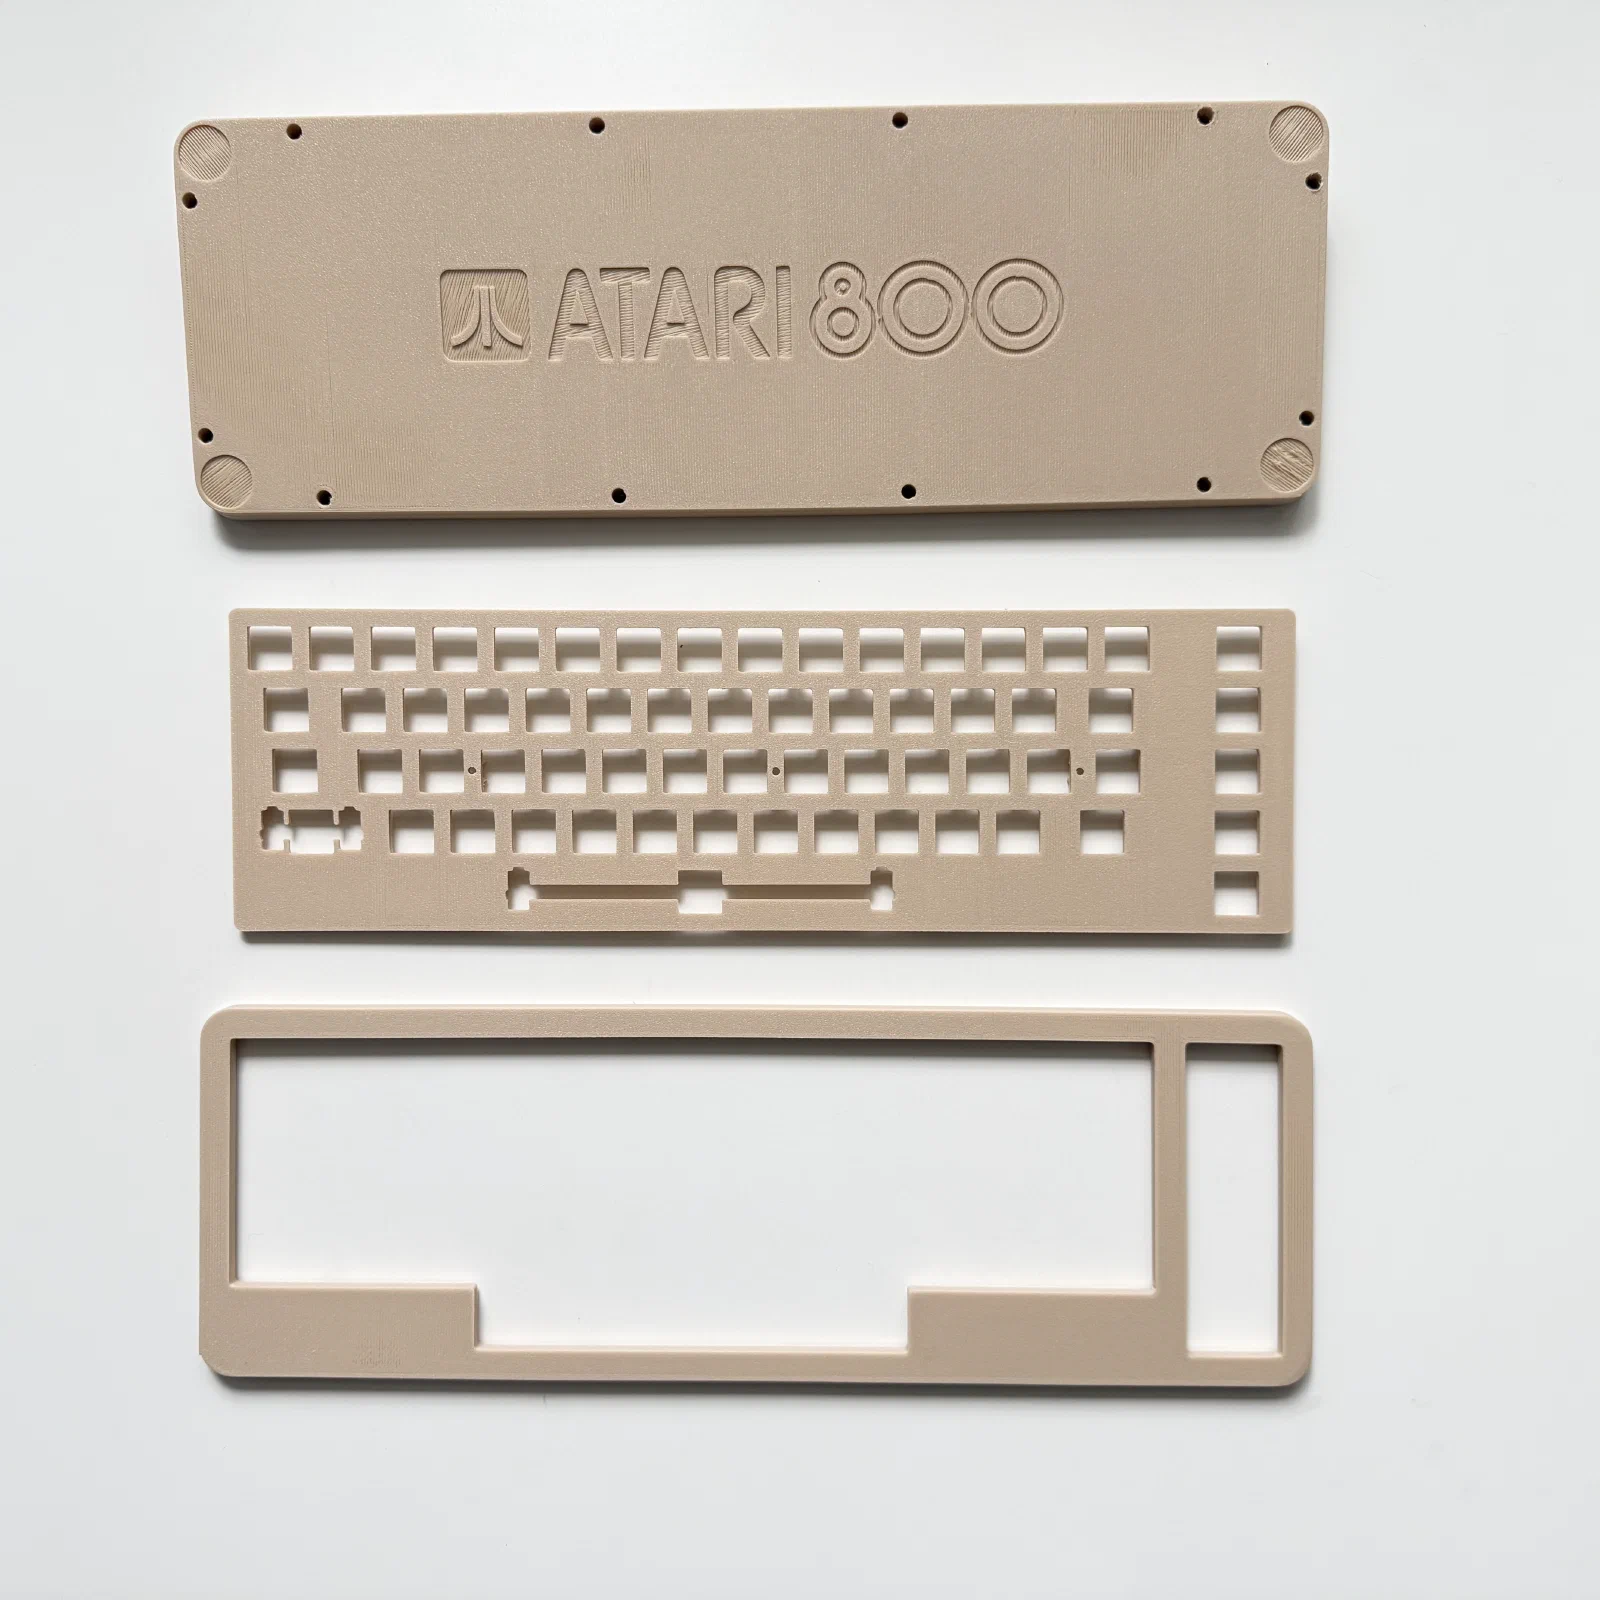
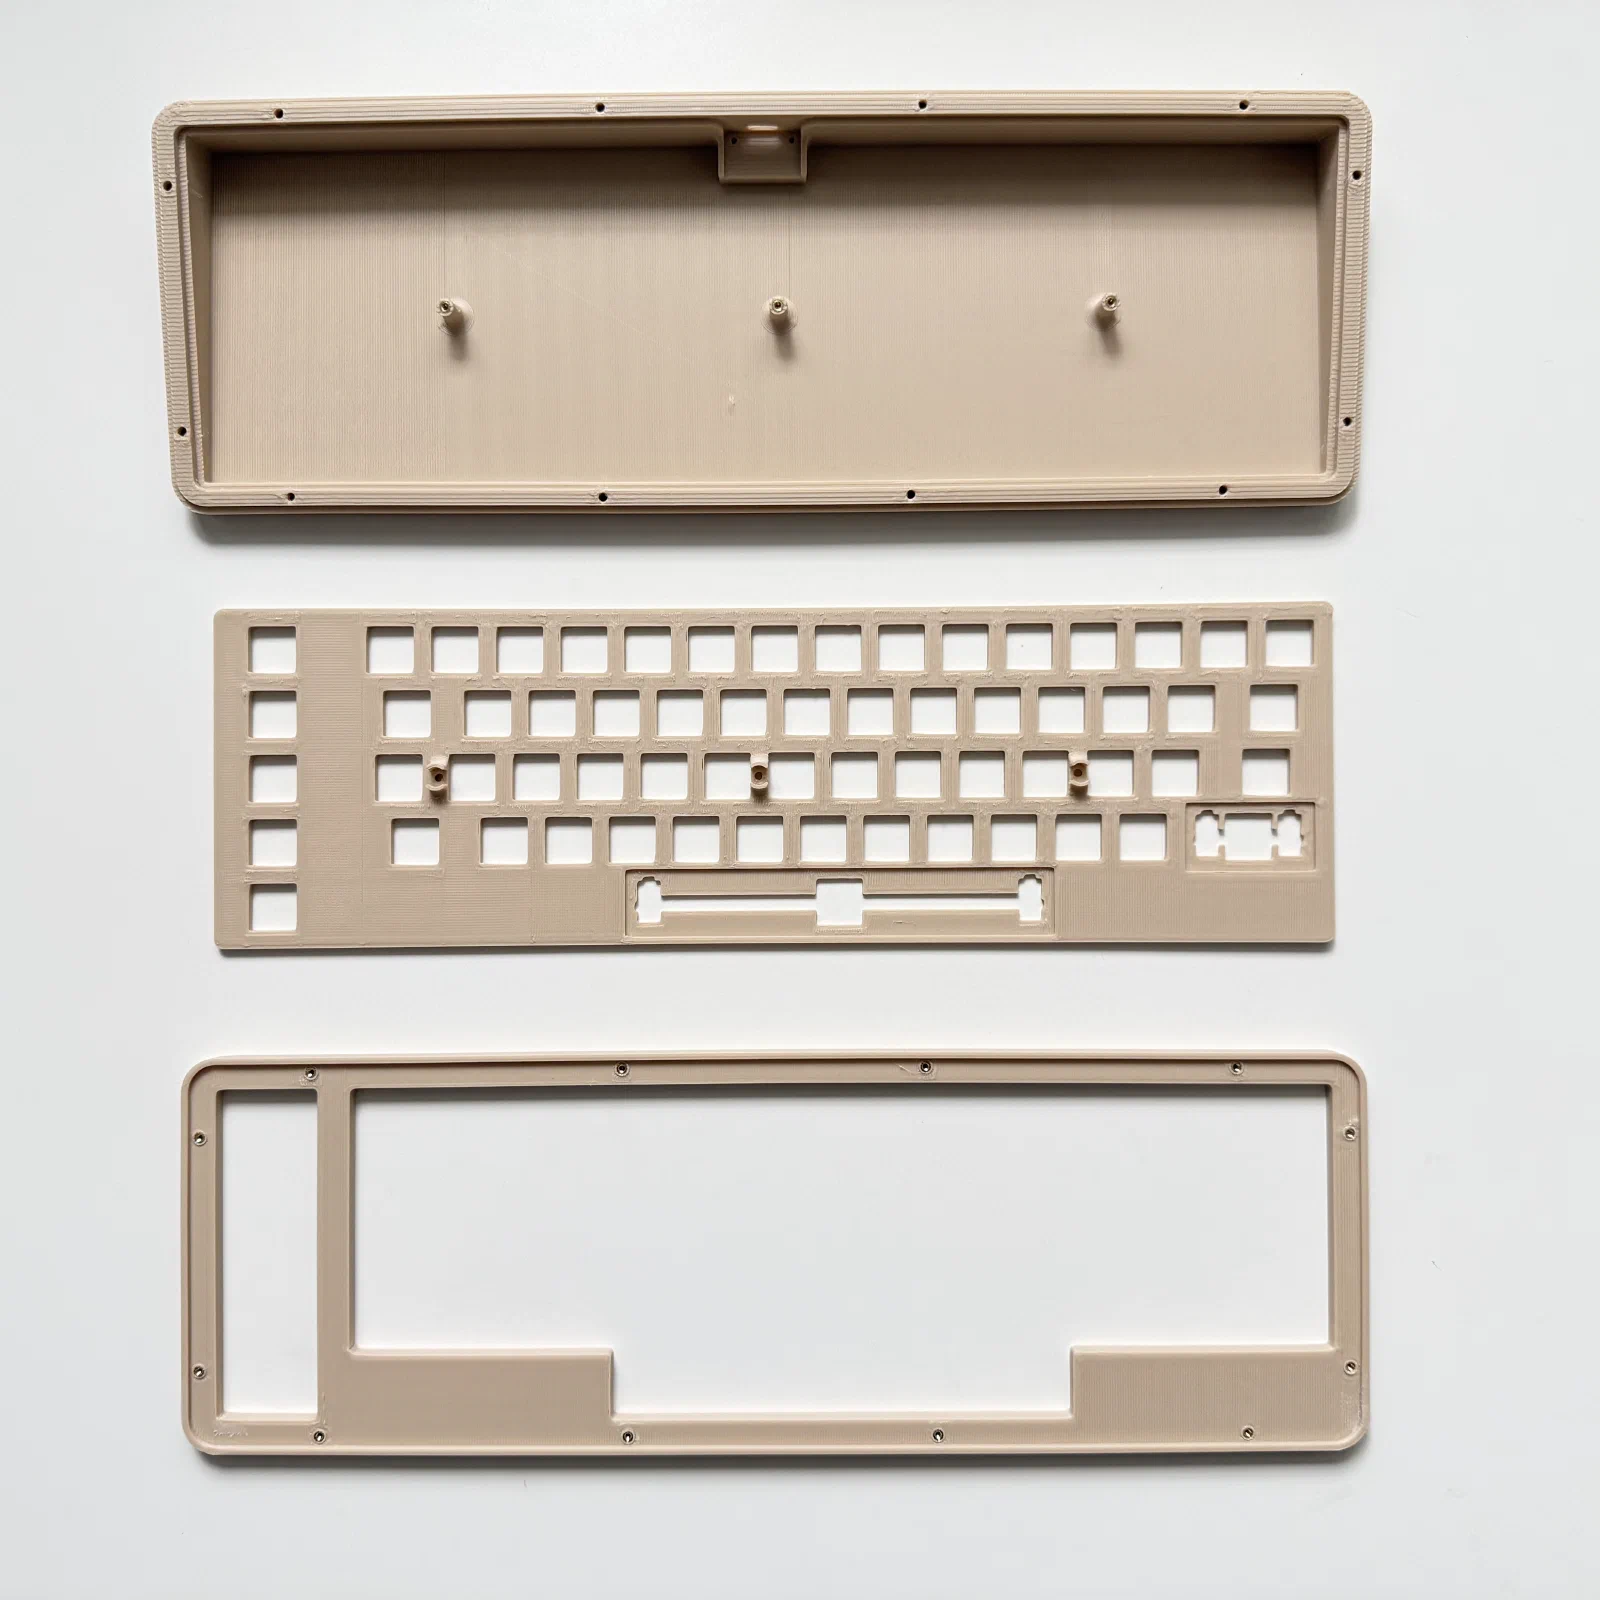
I built the case the same way as my other ones. For the next iteration, it’d be cool to style it after the Atari 800’s design. For now, you can grab the print files from Printables, including the .STEP file.
Bill of materials
| Part | Count |
|---|---|
| RP2040 Pro Micro | 1 |
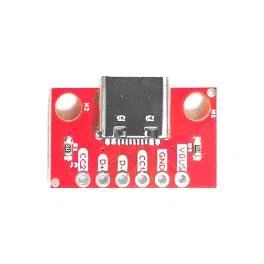
| USB-C breakout board (pic) | 1 |
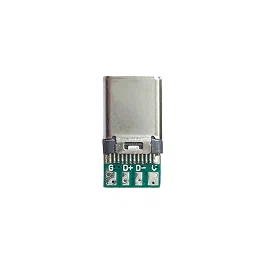
| USB-C male connector (pic) | 1 |
| 3D printed case | 1 |
| M2 heat set inserts (OD 3.2mm) | 15 |
| M2 screws | 17 |
| MX switches (Gateron Pro Milky Red) | 62 |
| 1N4148 diodes | 62 |
| Yuzu keycaps (cherry profile) | 62 |
| 2u plate mount stabilizer | 1 |
| 7u plate mount stabilizer | 1 |
| Adhesive Bumper Pads (15mm) | 4 |
| Copper Wire (1.2mm) | |
| Wires (28AWG) | |
| Heat shrink tubing |
Build Log
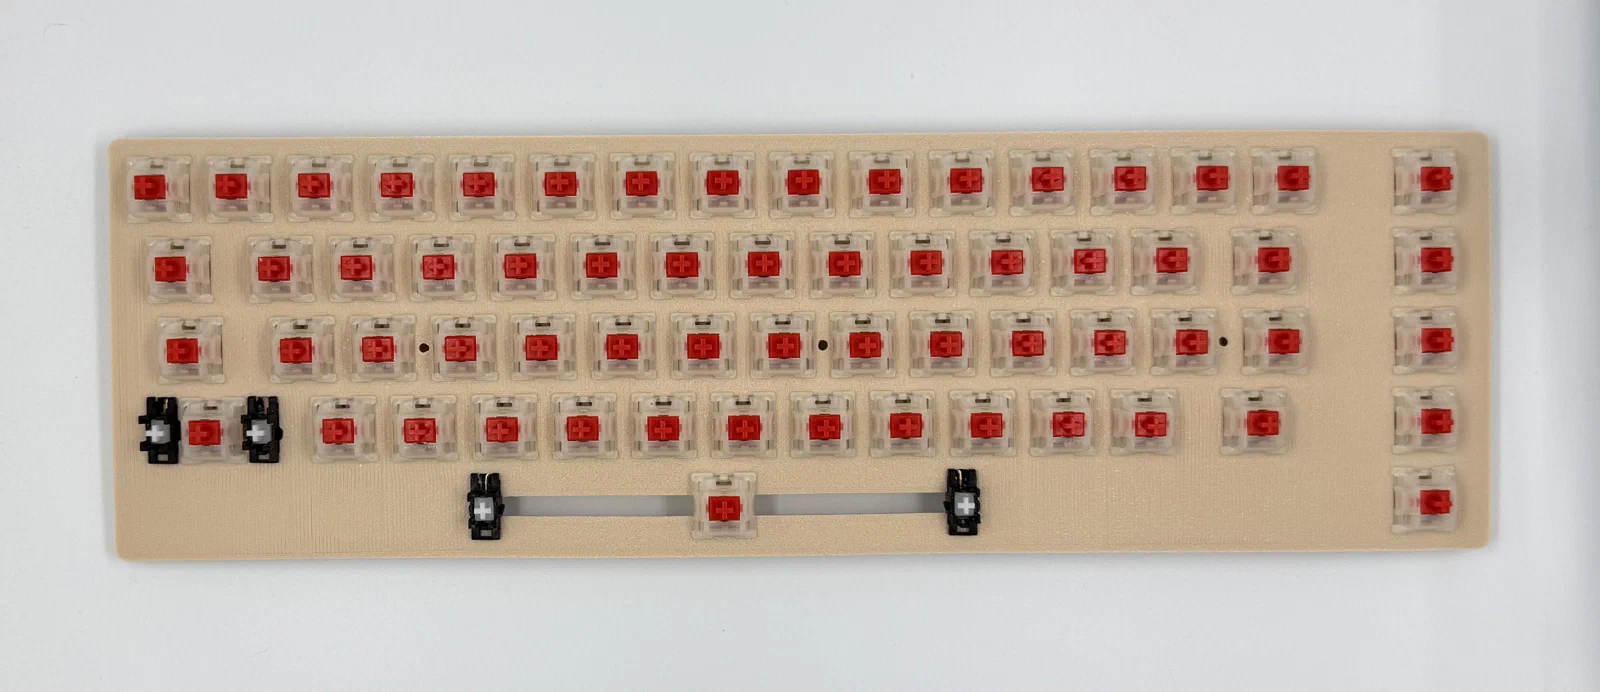
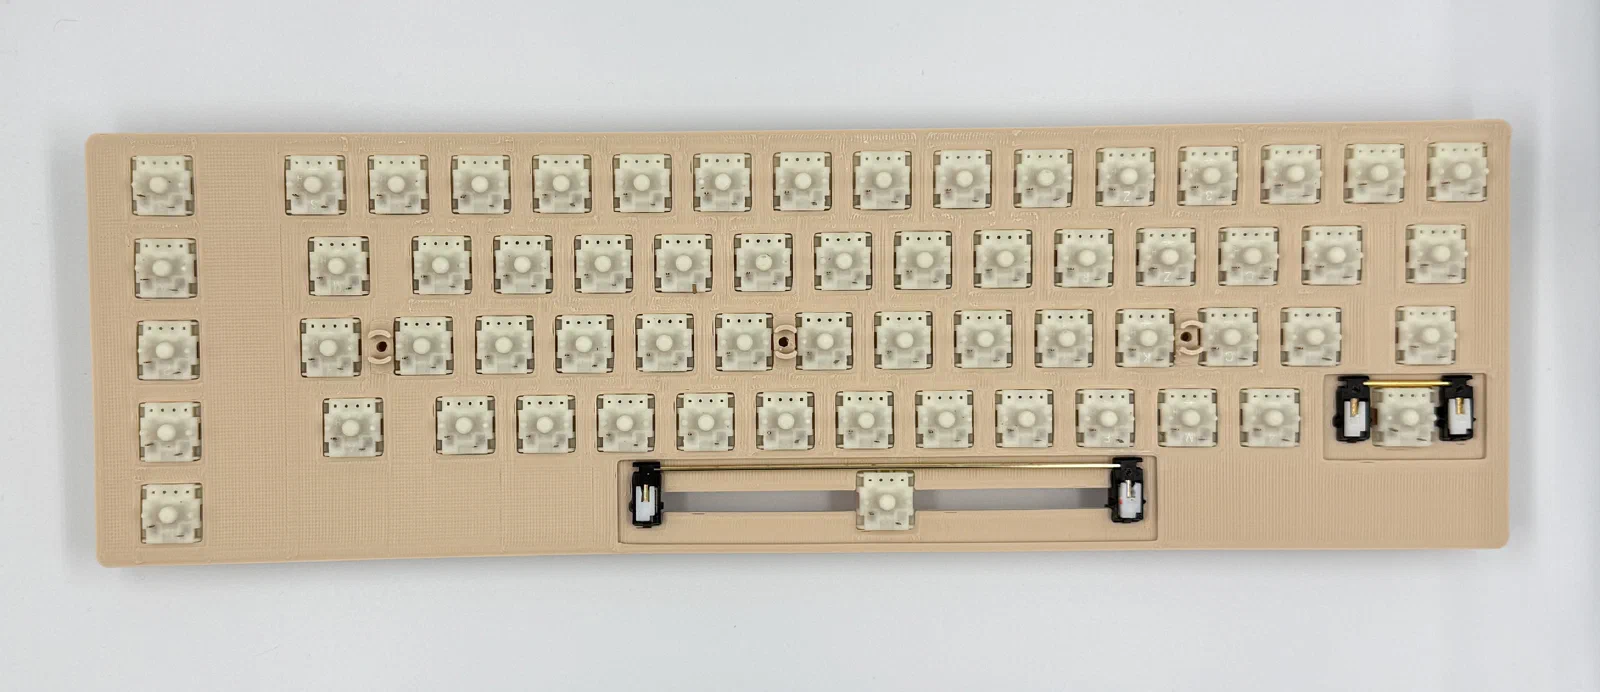
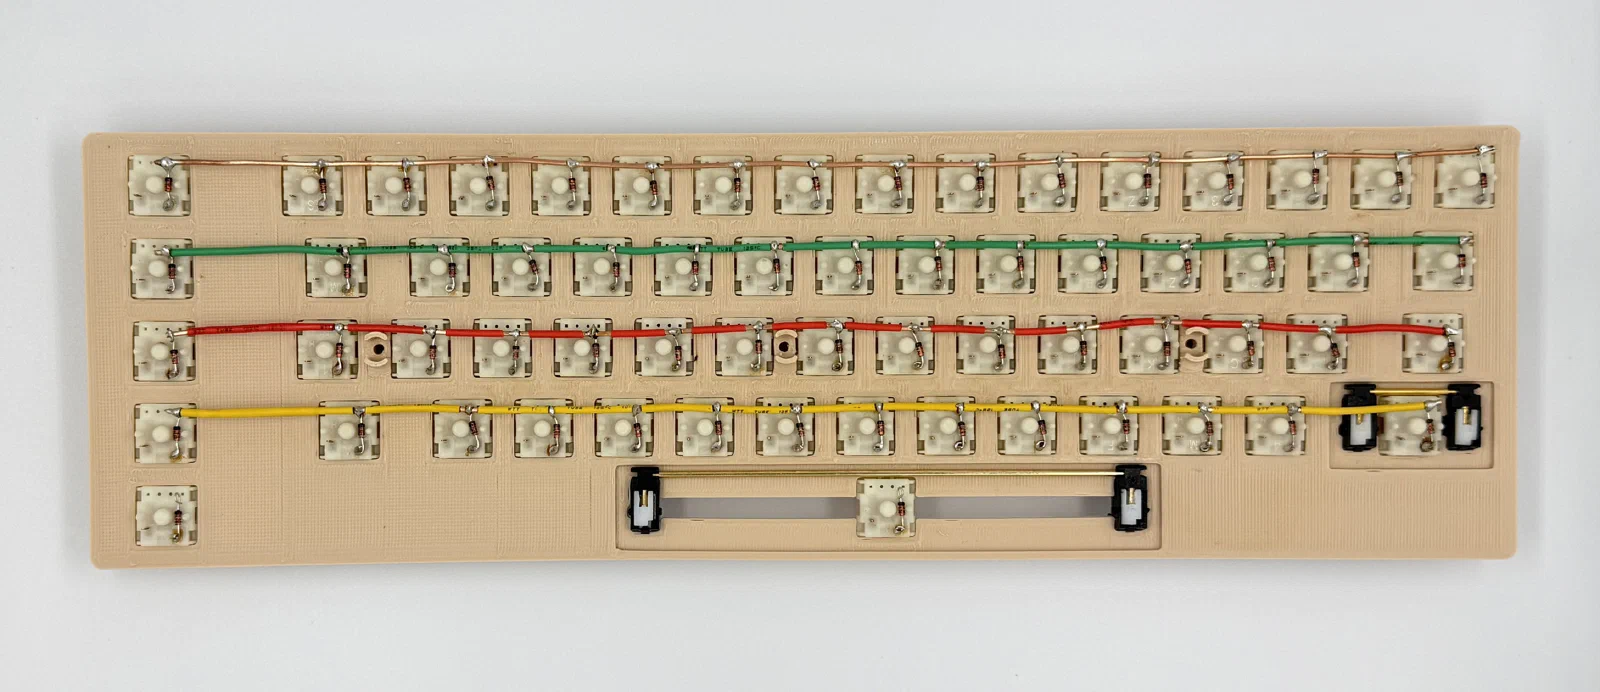
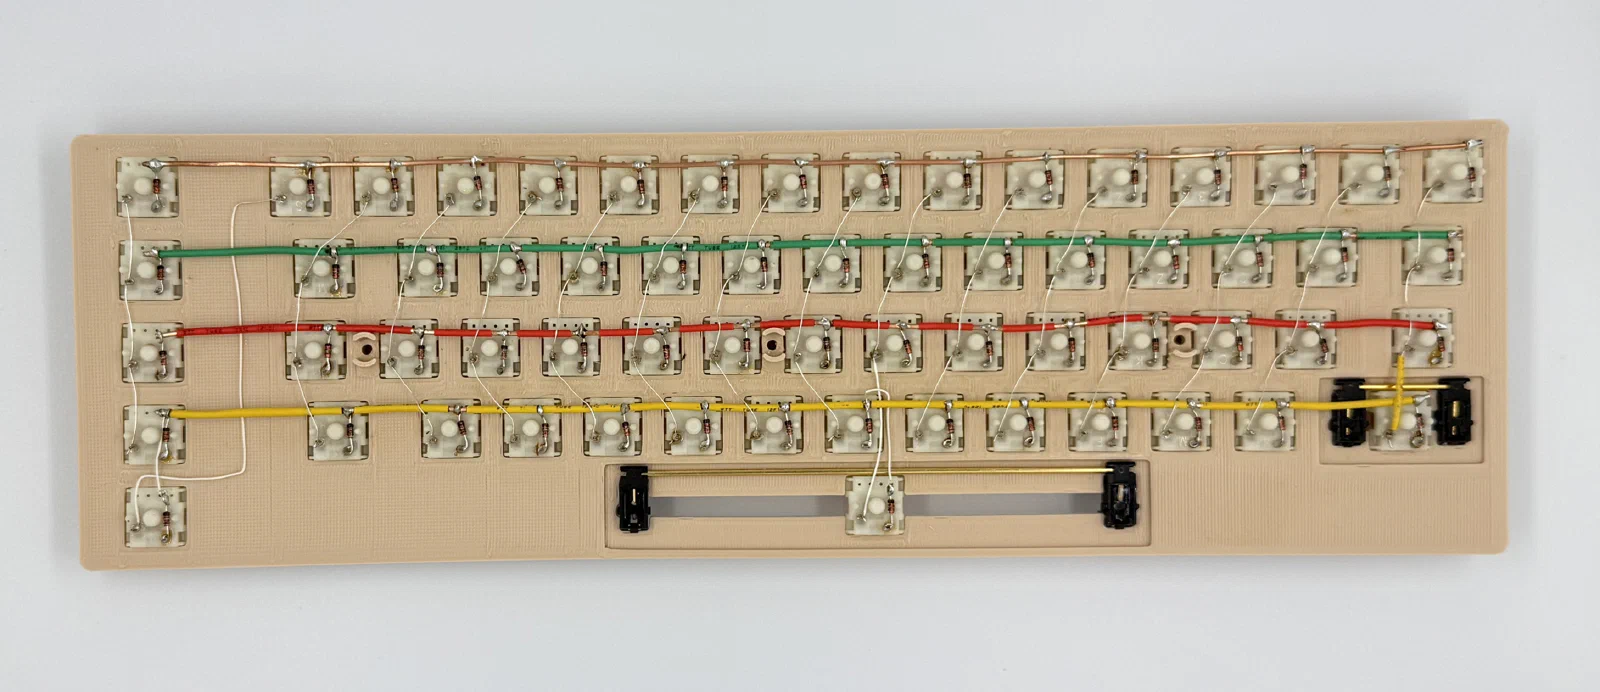
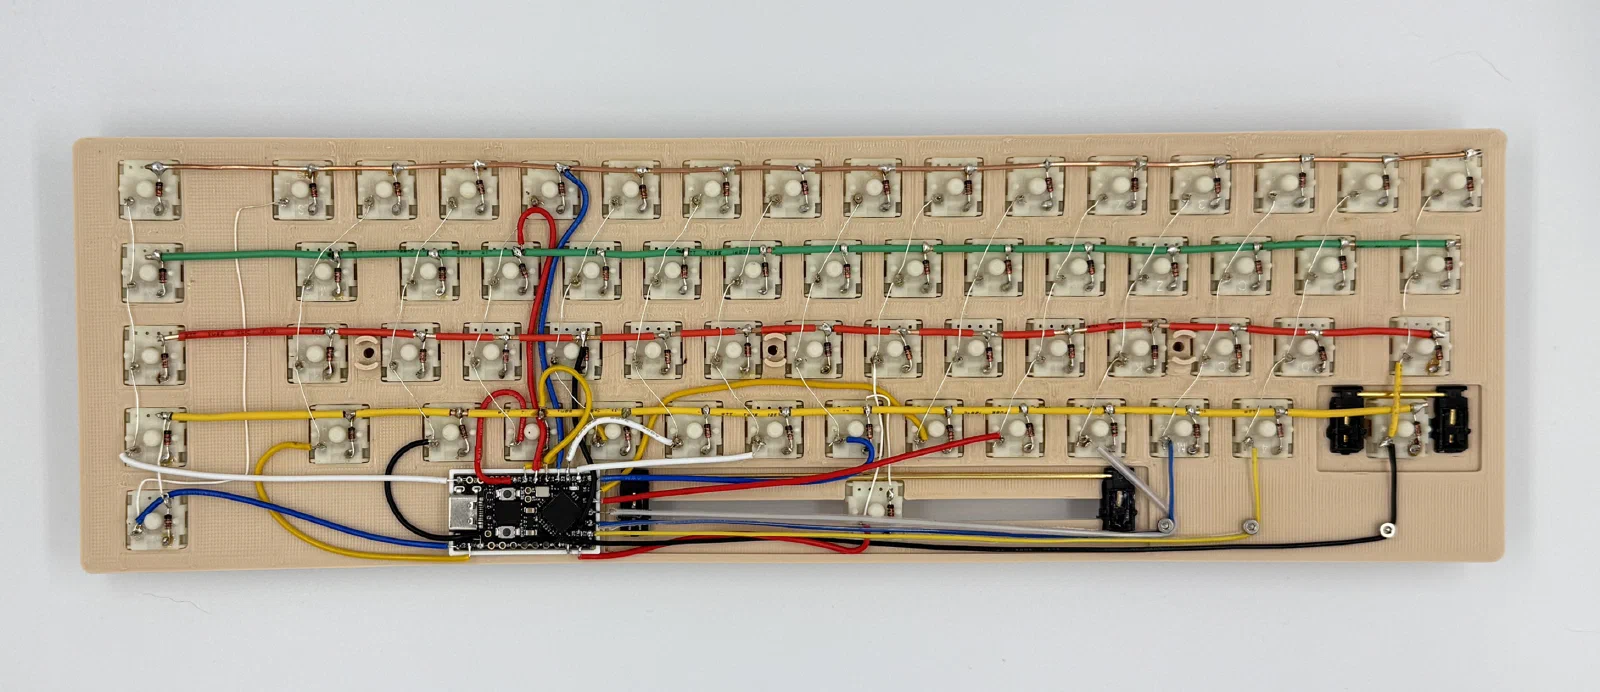
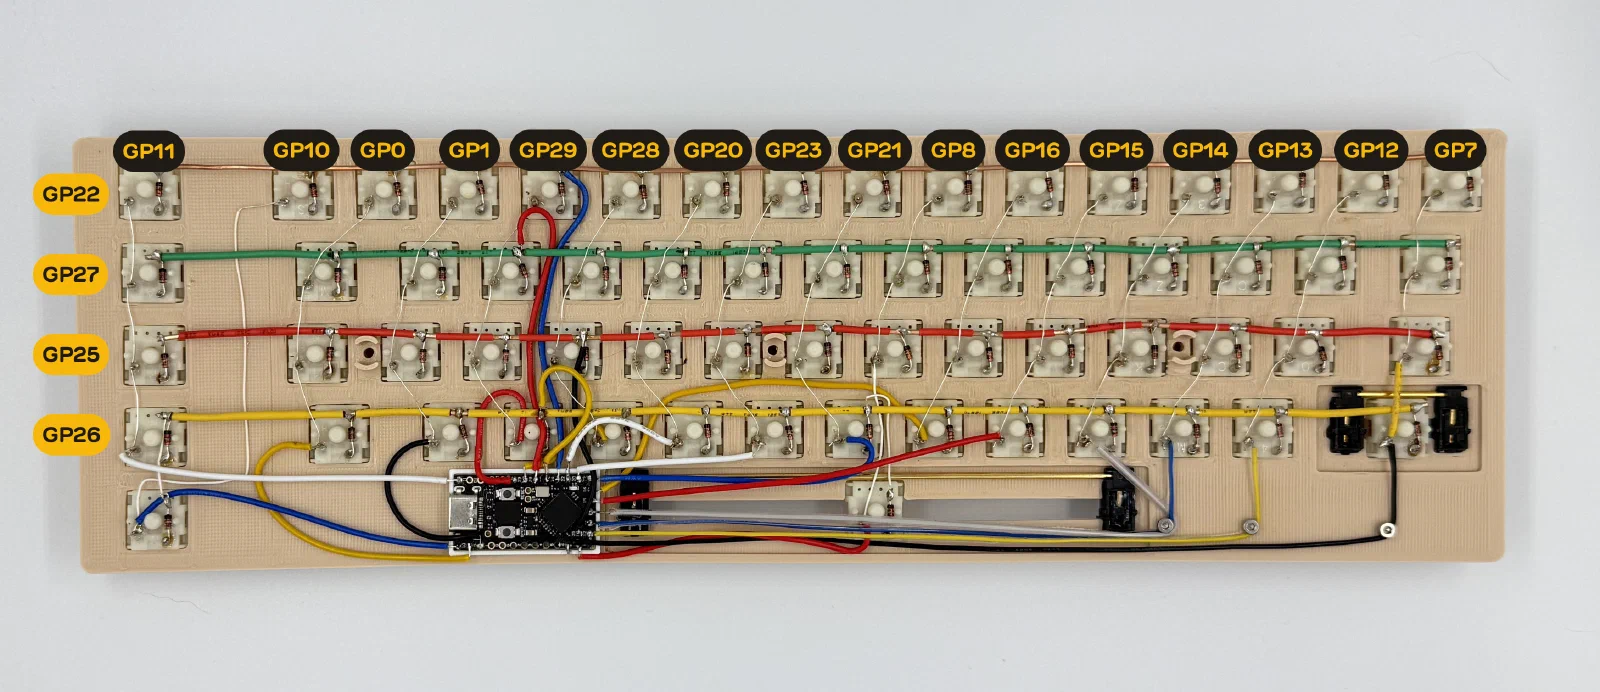
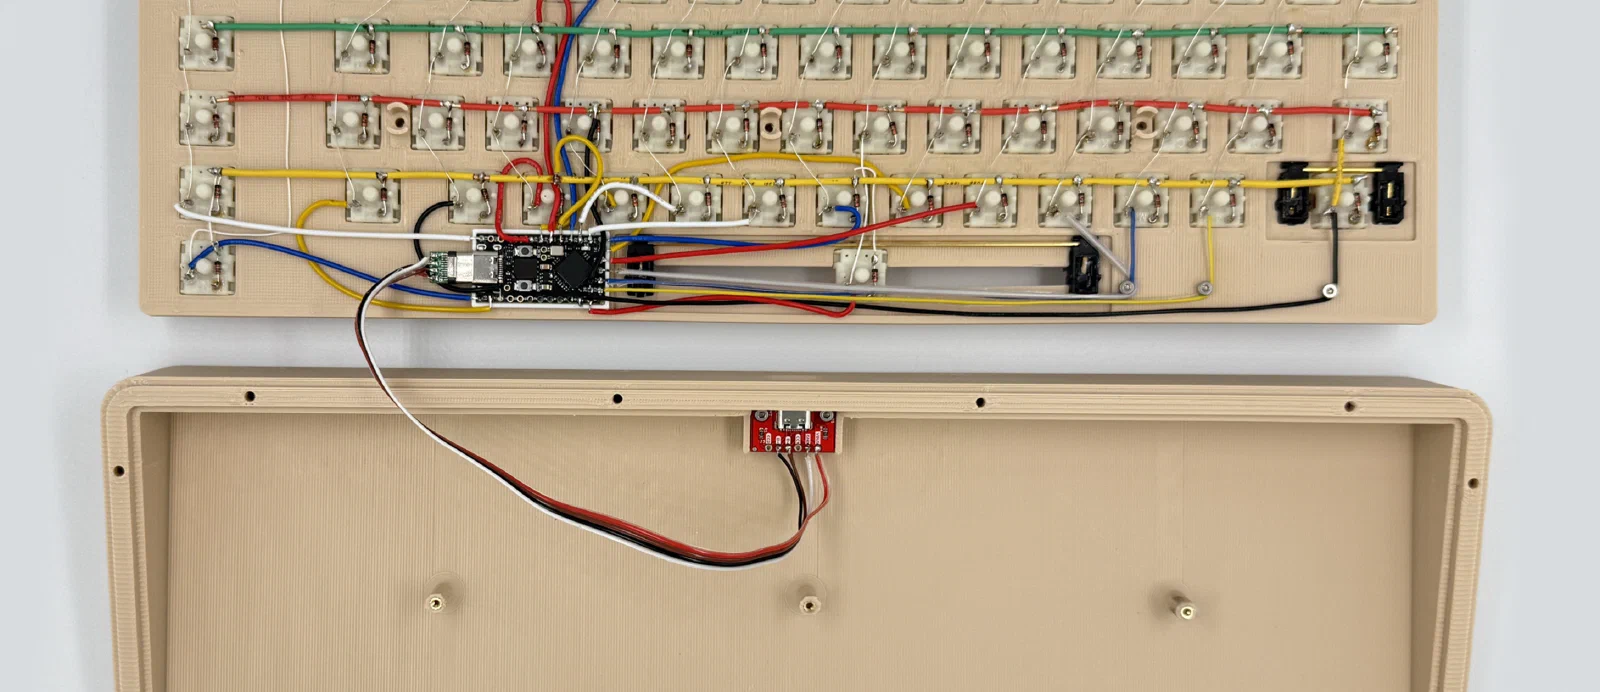
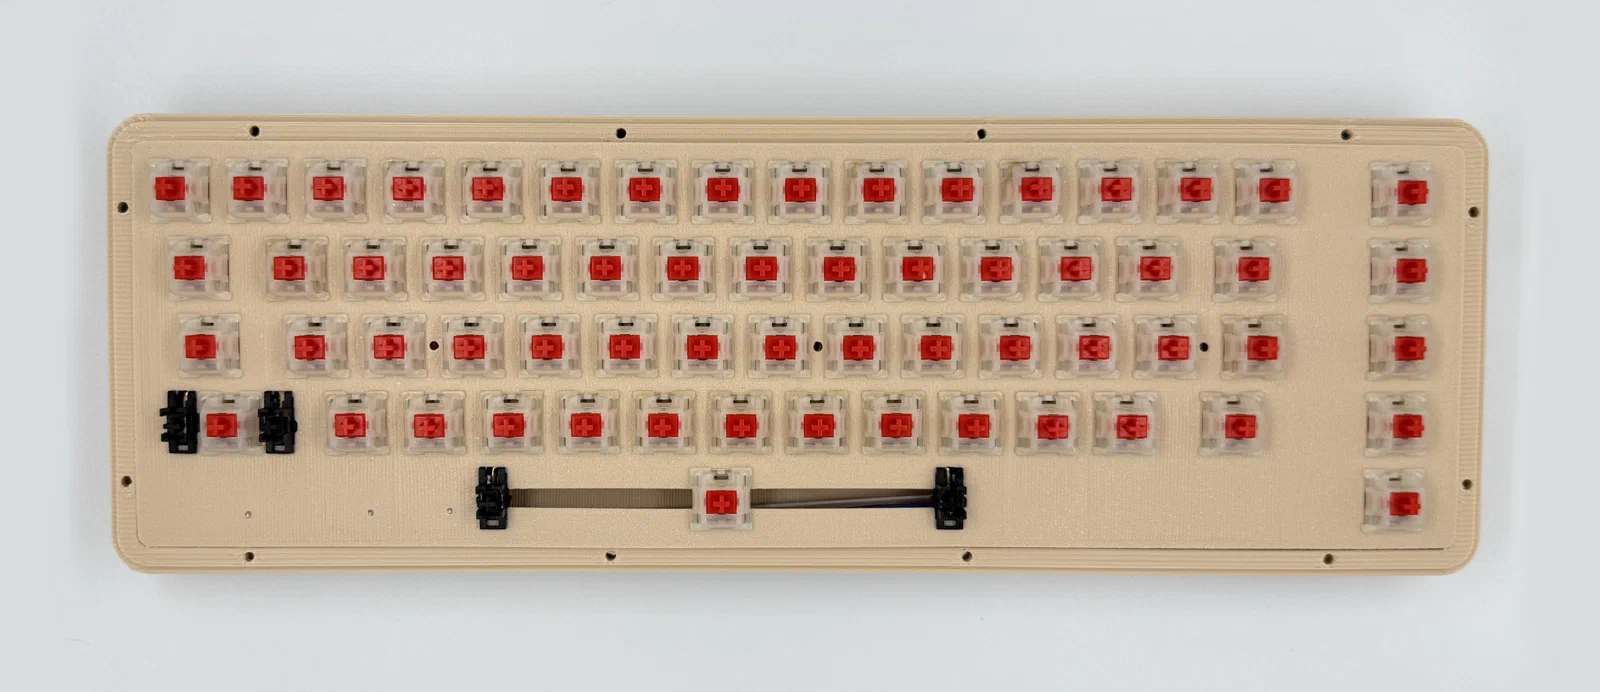
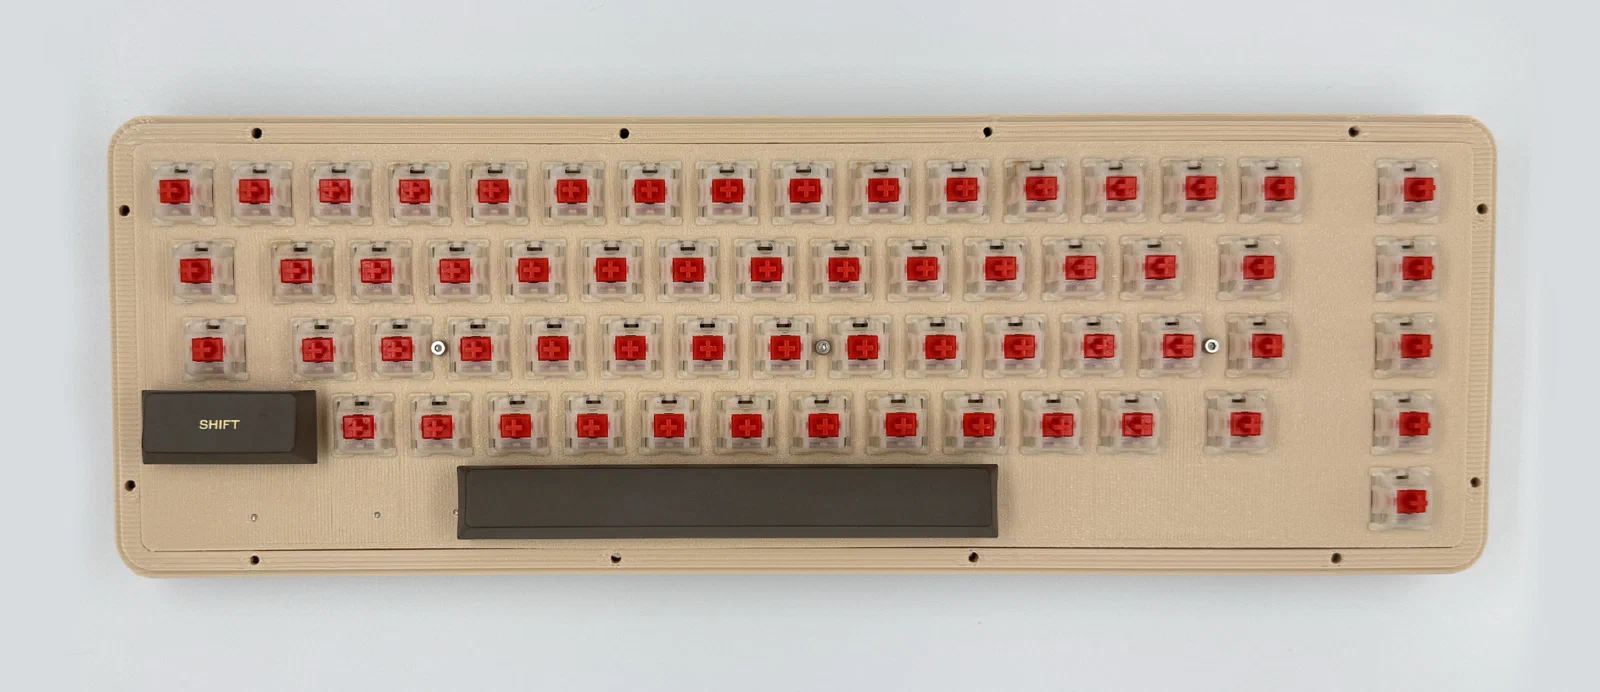
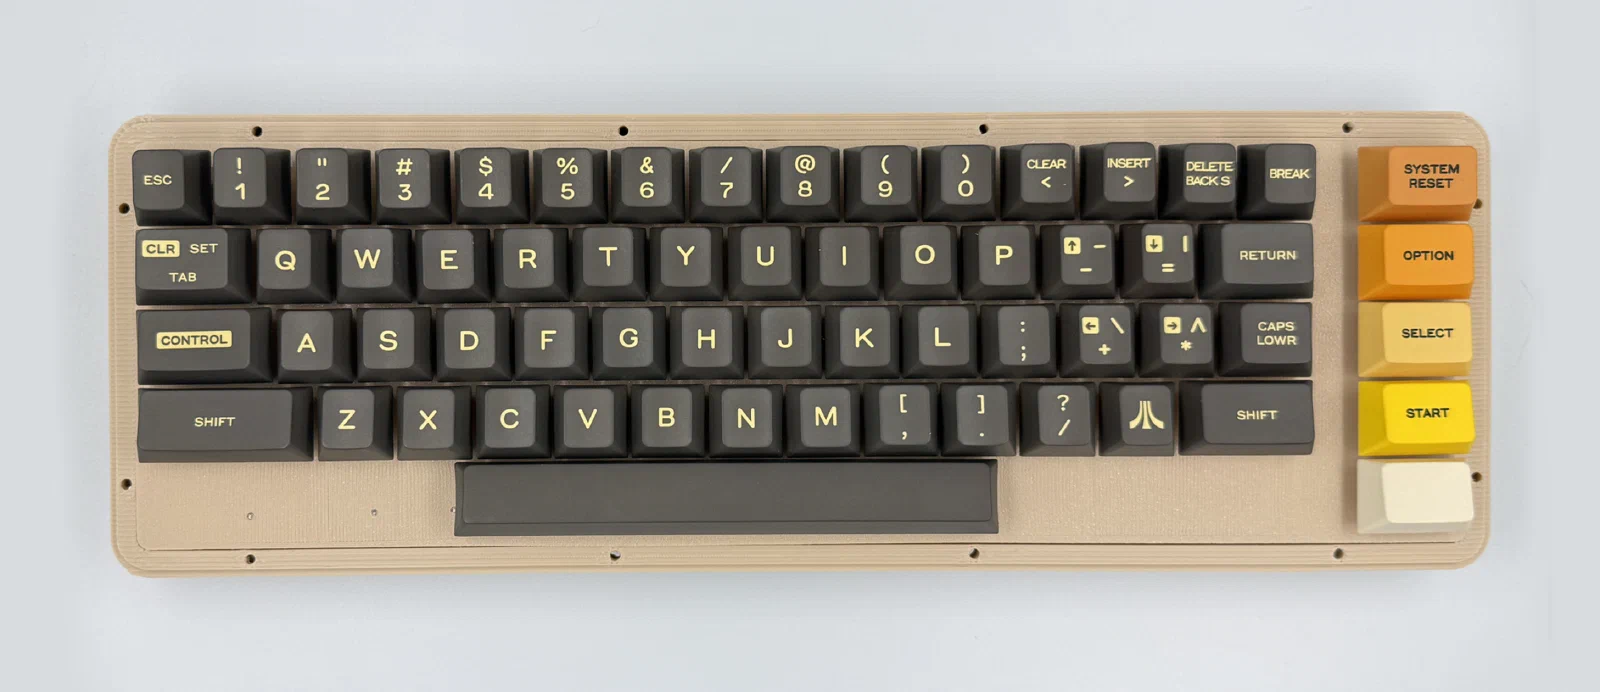
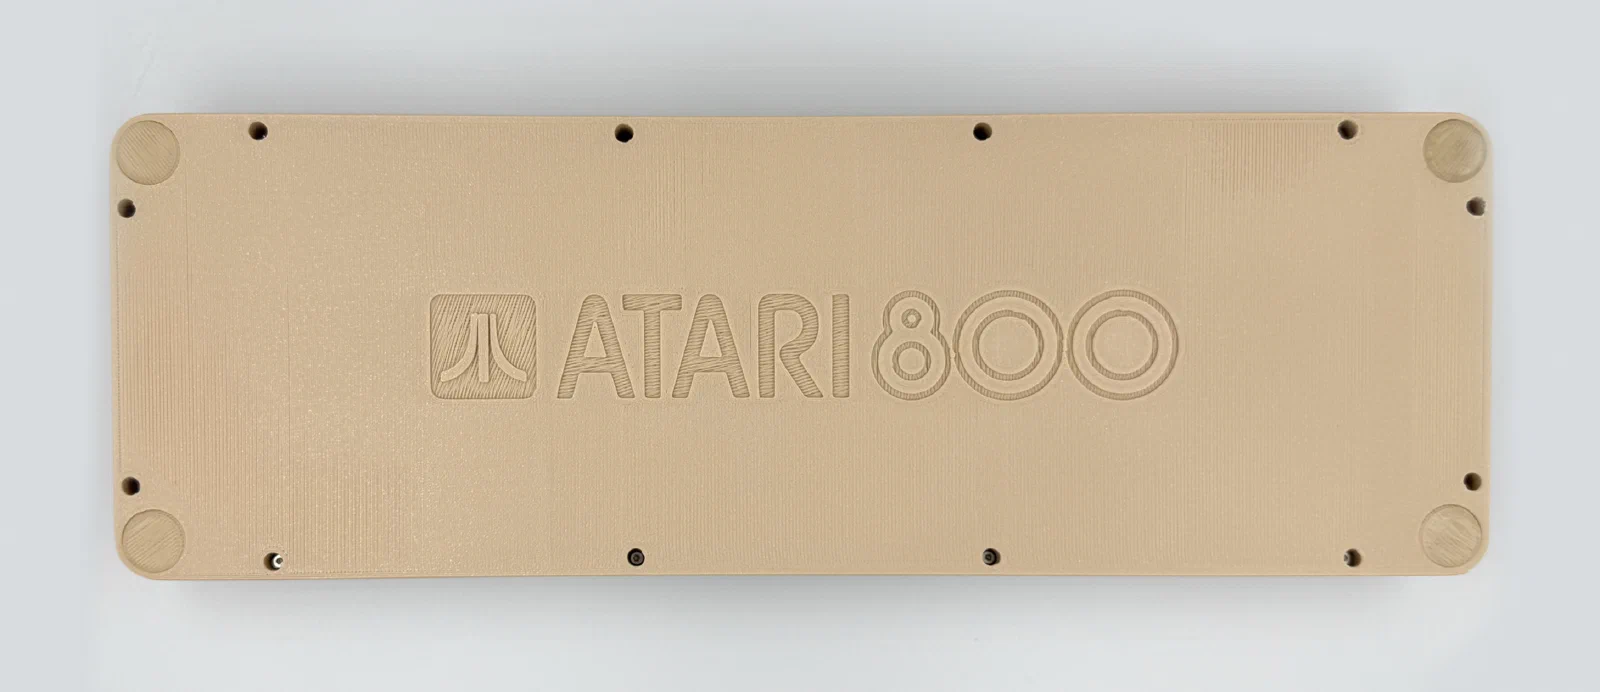
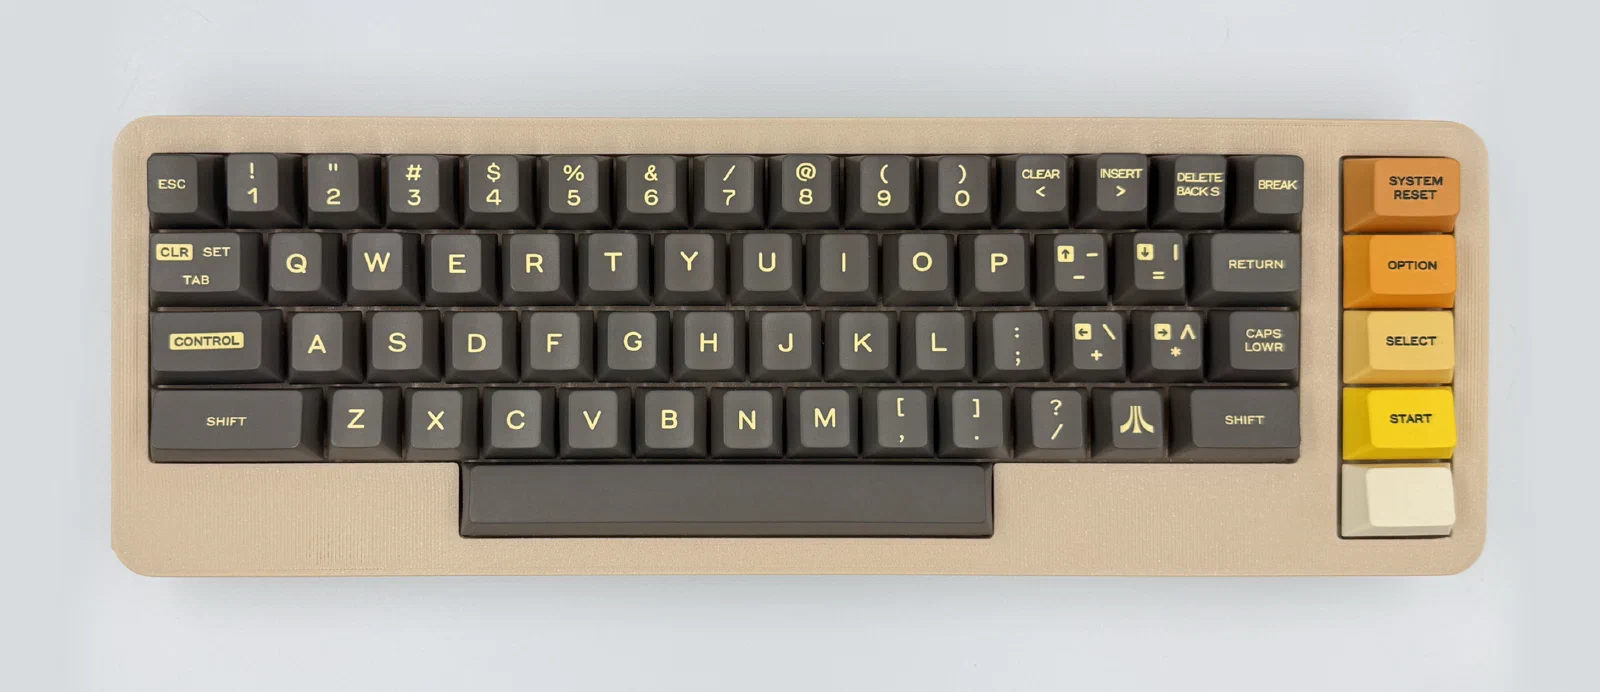
Firmware
I’m using QMK for the firmware. Repo’s on GitHub. Pre-compiled firmware is available too.
Pin direction:
"matrix_pins": {
    "cols": ["GP7", "GP12", "GP13", "GP14", "GP15", "GP16", "GP8", "GP21", "GP23", "GP20", "GP28", "GP29", "GP1", "GP0", "GP10", "GP11"],
    "rows": ["GP22", "GP27", "GP25", "GP26"]
}
Vial
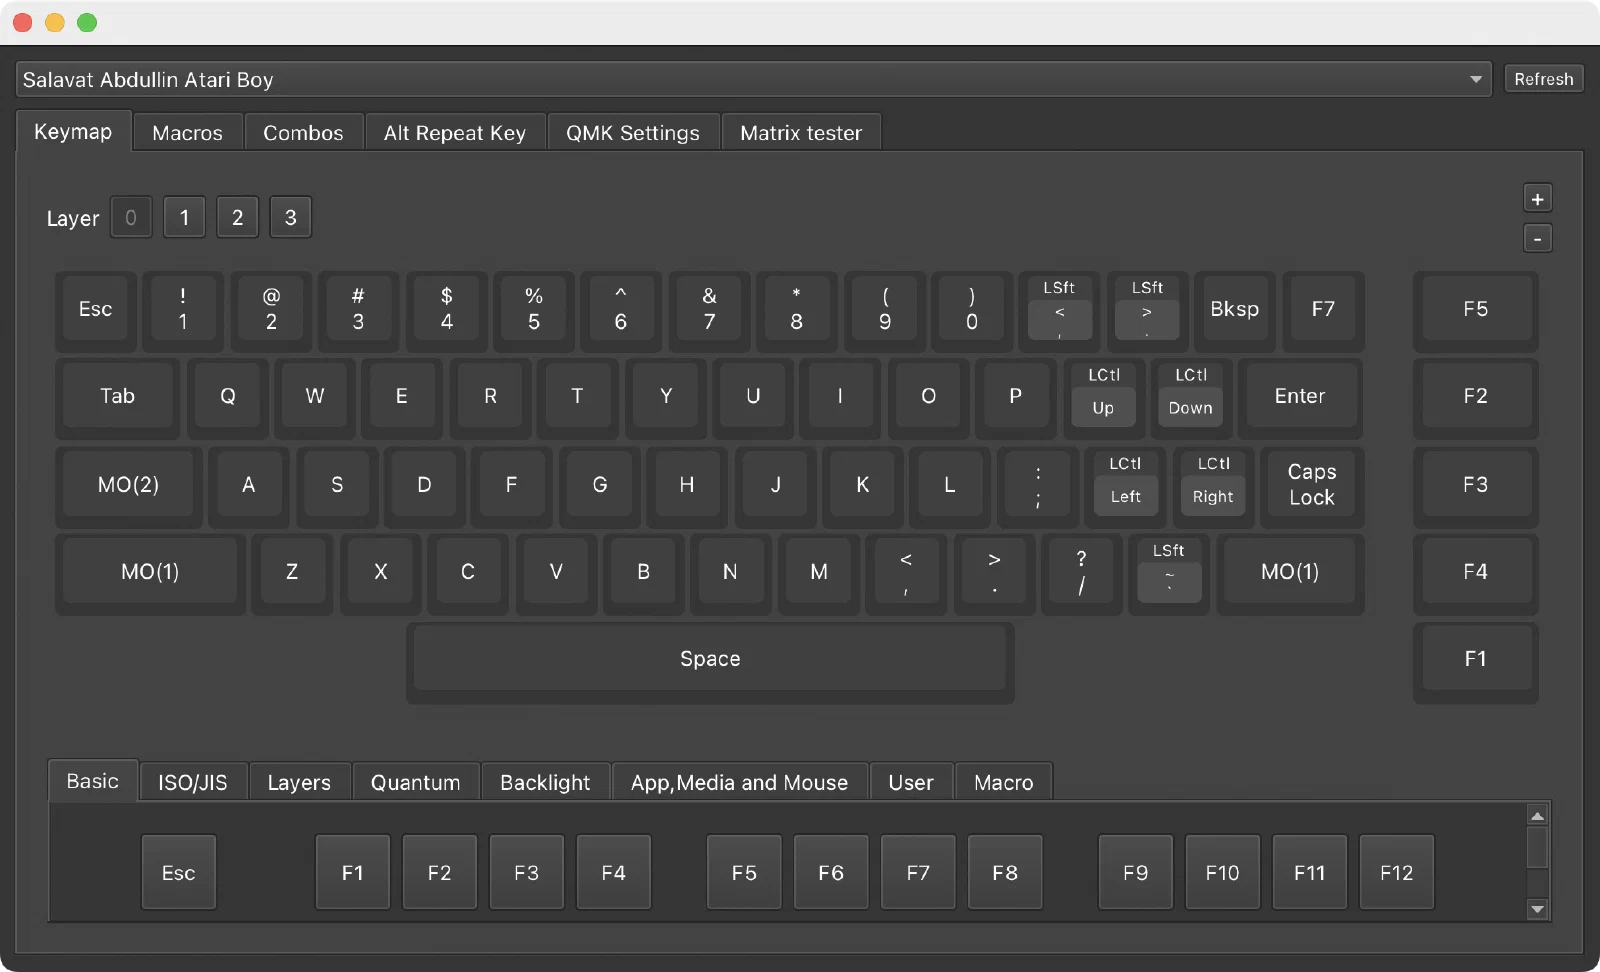
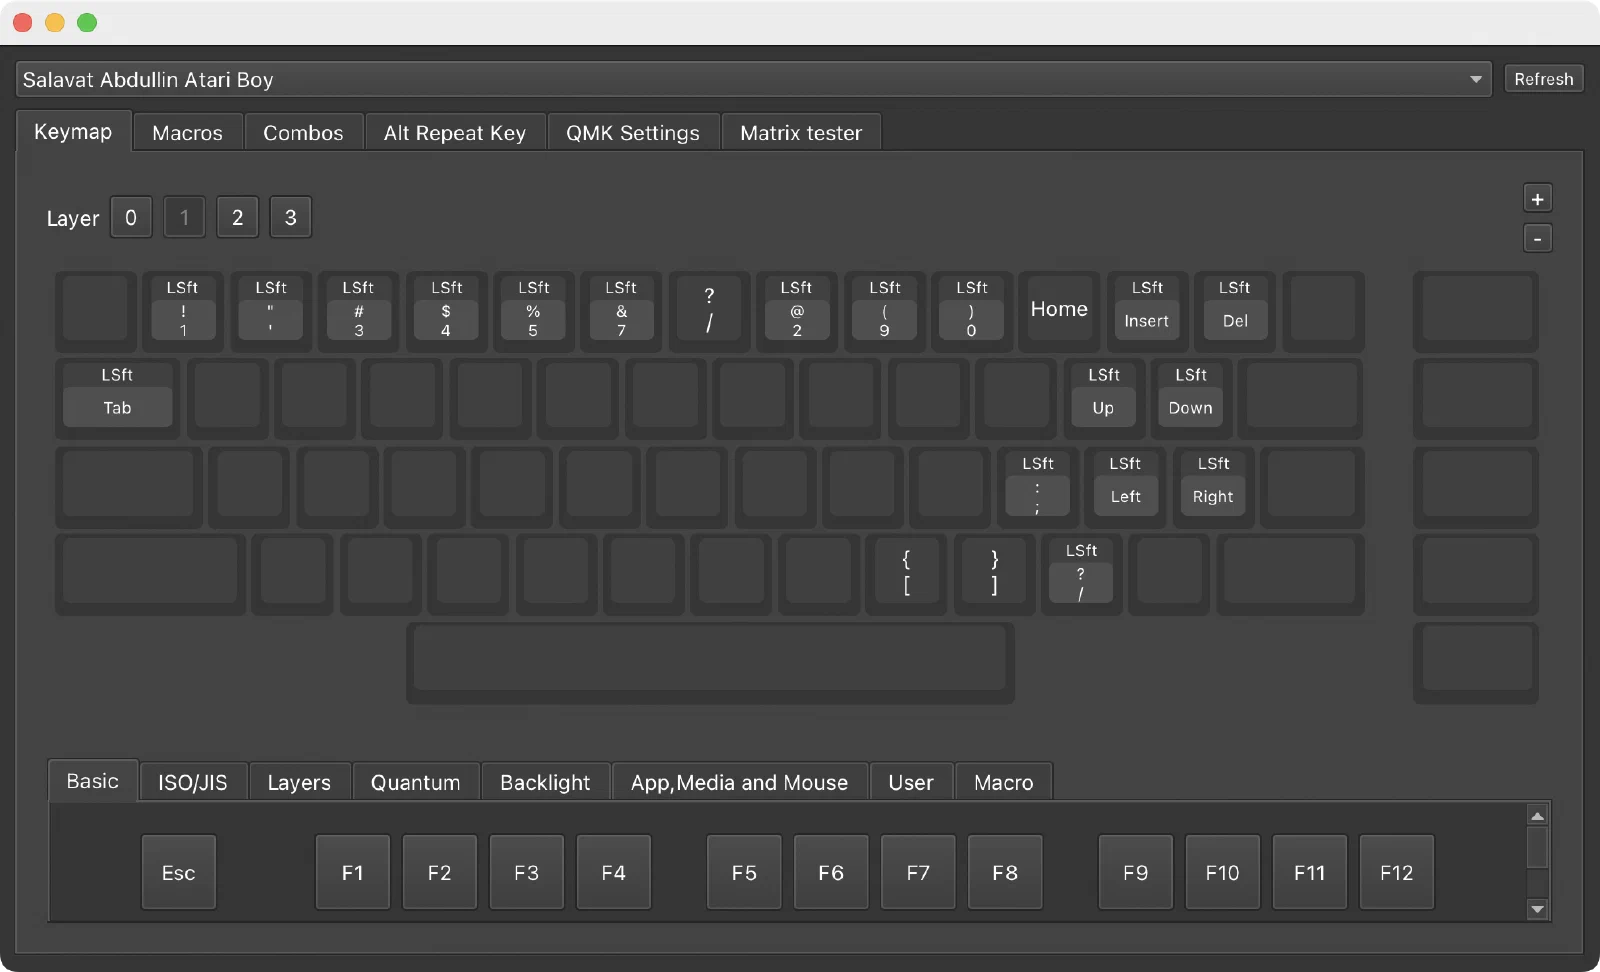
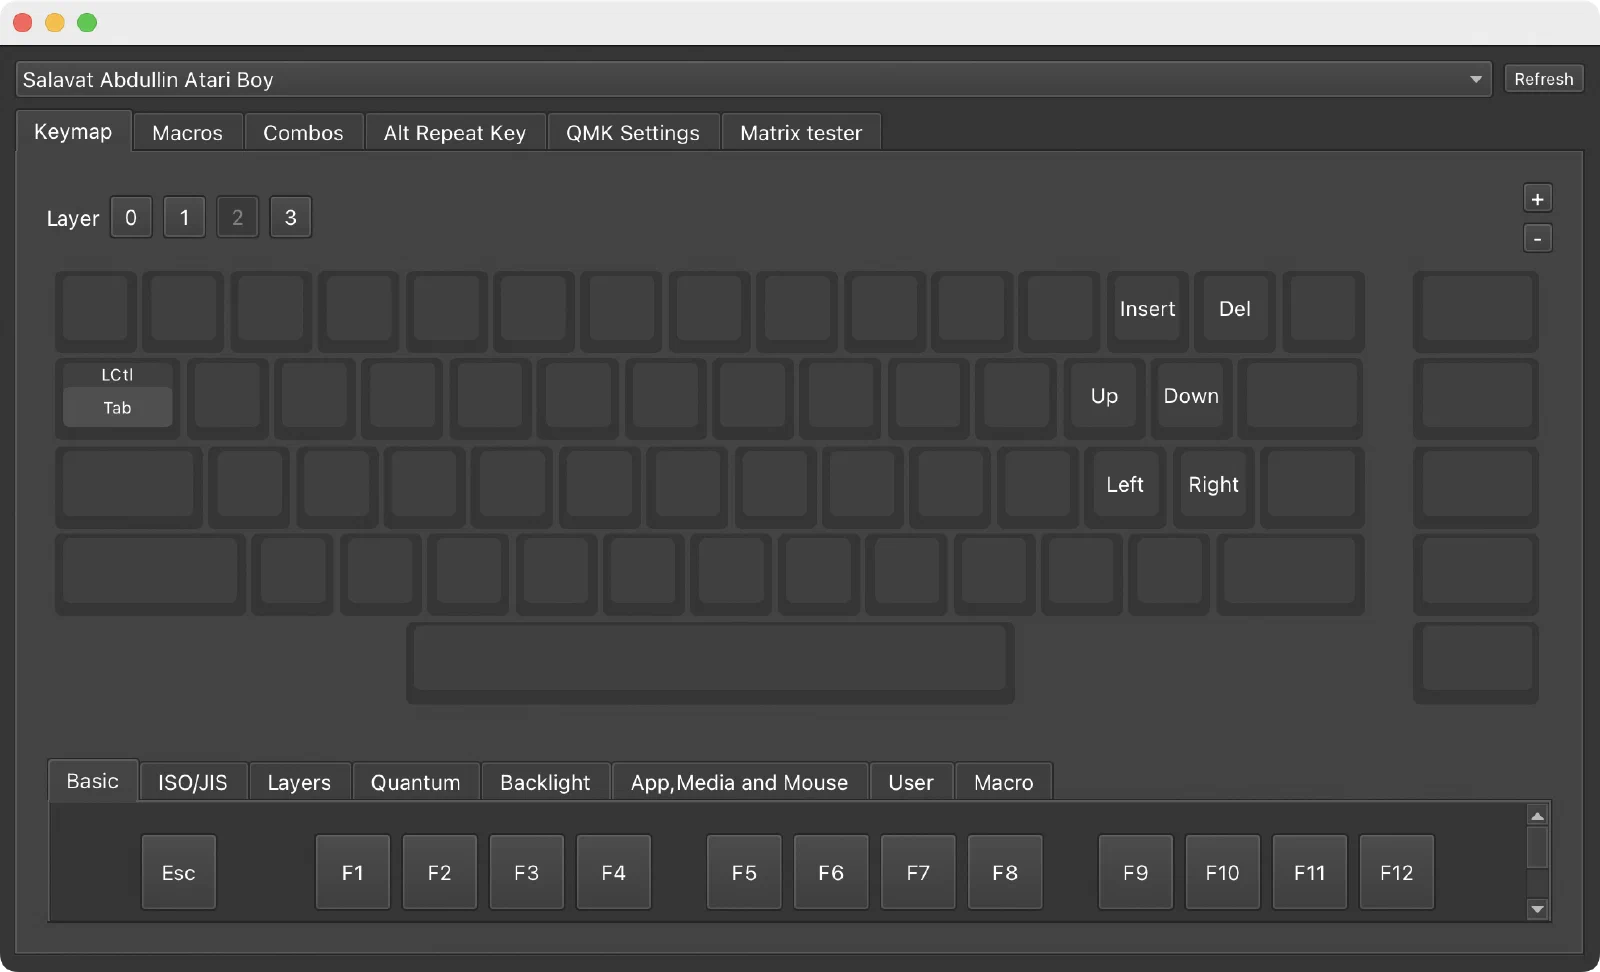
The keycodes are mapped to what the Atari800 emulator expects. SHIFT and CONTROL are momentary layers rather than plain modifiers, because of how Atari800 binds keys. If you target a different Atari emulator, Vial lets you remap any of this live, layers and all, without recompiling.
Resources
- Keycaps: Yuzu
- Case print files on Printables
- Repo: GitHub
- Pre-compiled firmware
What next
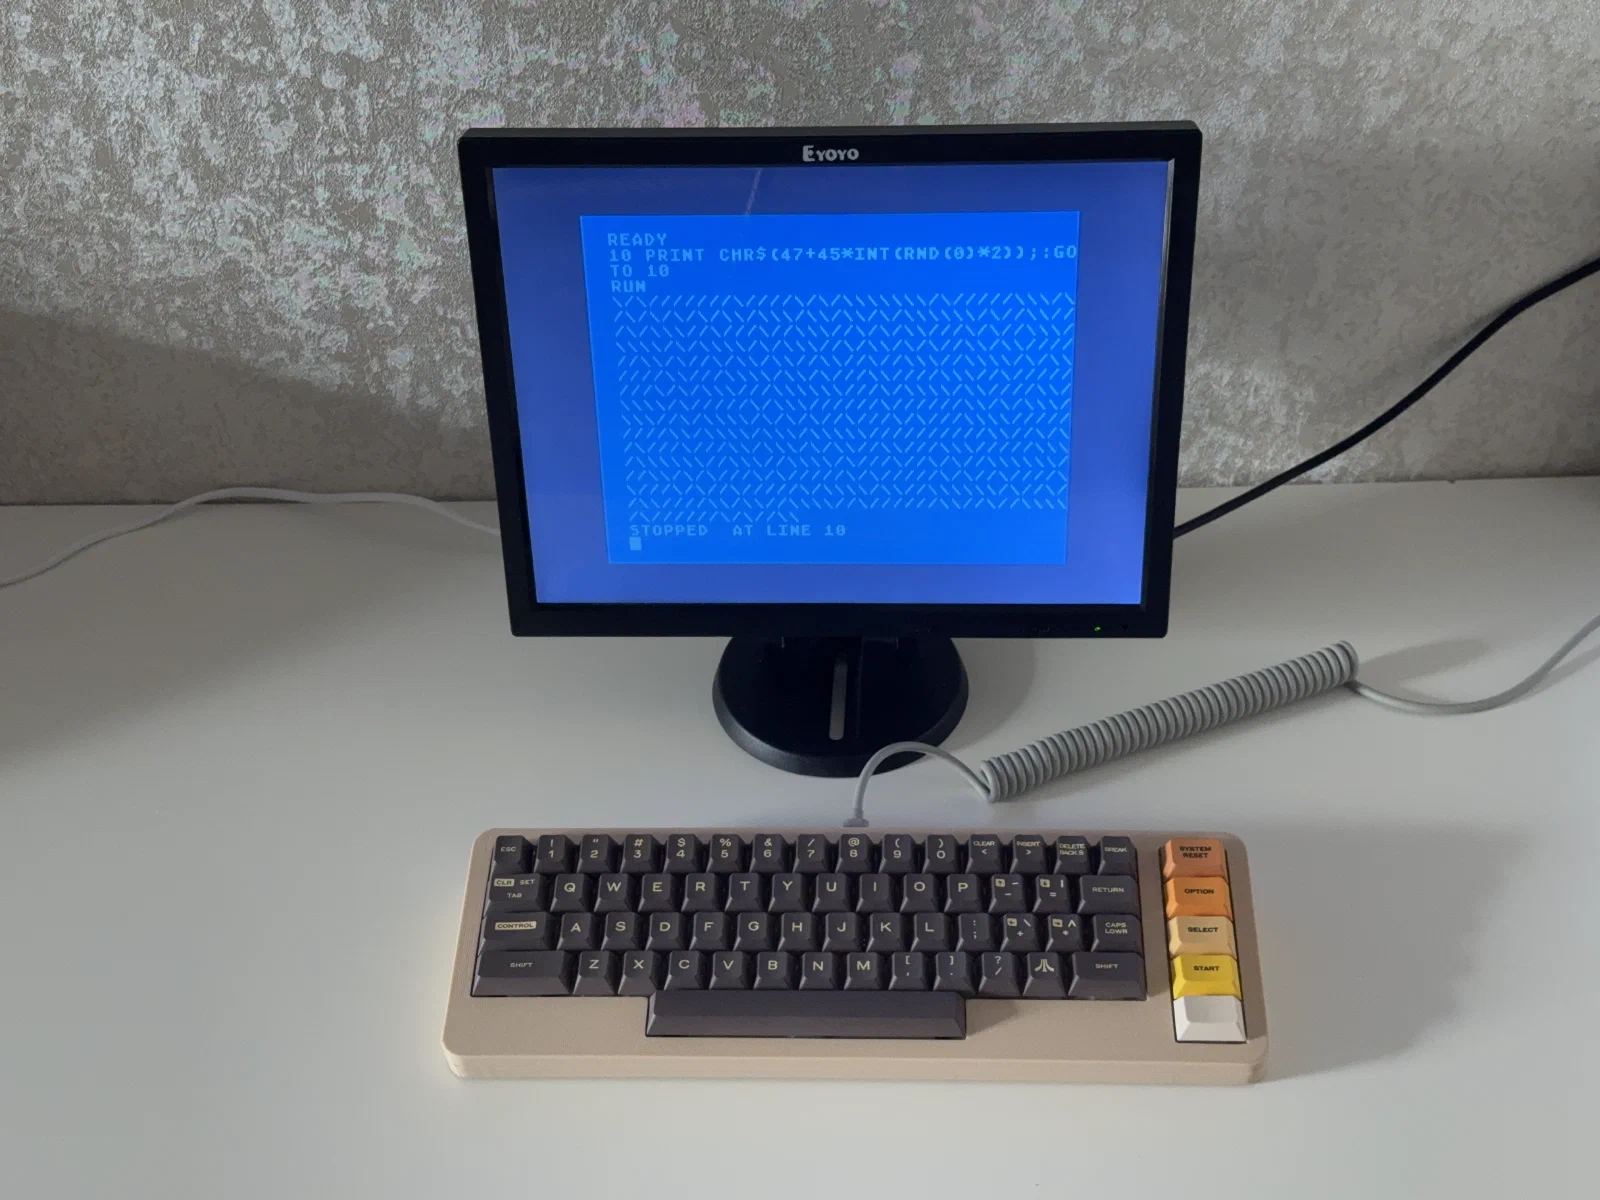
I’d love to build an emulator right into the keyboard, so I could just plug it into a monitor and get straight to work (or gaming). I know the Atari 400 Mini exists, but this would be its own dedicated Atari 800 emulation device with a full-size “original” keyboard.